Thursday, October 31, 2019

She Was Unaware of Her Peril...

Hi Friends,

I have been checking "Dig That Crazy Chick" Blog every day to see her ongoing #13 - 31 series of Halloween tags.  So inspirational Vicki!!  I figured if I was going to join in on the Halloween fun I better get to it!  I chose a Paper Doll that is my favorite from the pack.  I found the original photo at the Three Speckled Hens Antique Show a few years ago and I just love that she is holding a rabbit!  I know, it's probably an Easter Photo but we put her in the Halloween pack because there's that "Fatal Attraction" thing going on in her eyes!  Enjoy!
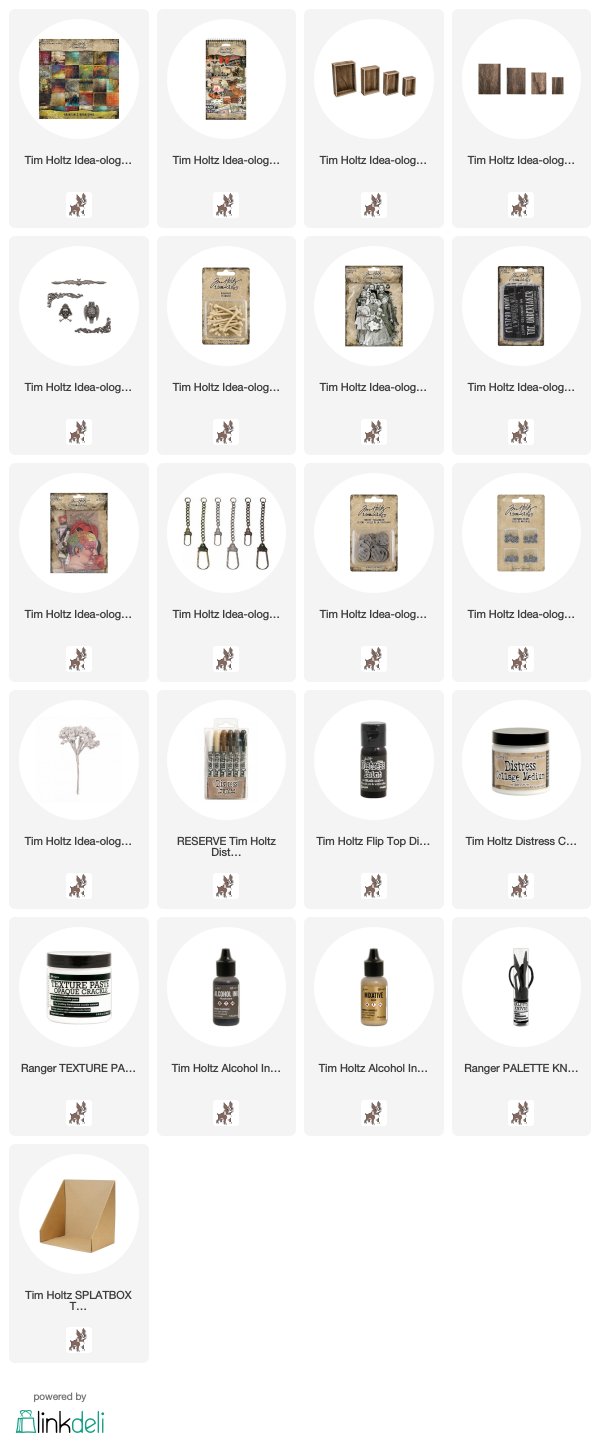
Paper Doll + Distress Crayons + limited water
 Mini Etcetera Tag + 2 pieces of Distress Watercolor paper + 3D Lumber Texture Folder.
Glue to tag with Collage Medium, let dry.  THEN spray with Distress Spray Stain.
Spray/splatter Oxide Spray: Ripe Persimmon + Shabby Shutters + Dusty Concord + a few mists of water.
Once ink is dry, rub Vintage Photo or other dark brown/black ink pad directly over tag to darken the high points.
First layer: Ripped Worn Wallpaper (Halloween pack) + round ephemera from the Halloween Layers and Baseboard Frames Pack (3D Foam Squares behind the ephemera).
Paper Doll +  3D foam Squares
 Words from Curiosities Halloween Sticker Book + Mica sheet (bought online) + string
Gadget Gears + Mini Gears with added Black Embossing Powder and Distress Crayon.
I was able to get the embossing powder to look this way by spraying the largest gear with Distress Resist Spray (makes a splatter) and then sprinkling the powder into the liquid.  Use an Embossing gun to heat/melt + caution as the metal will become VERY hot.  Color directly with Cray in Peeled Paint and Walnut Stain.  TIP: Remember to use a Splatter Box when using Resist Spray!
 Combine Gadget Gear + Mini Gear.  Color with Black paint and Peeled Paint Distress Crayon.
Vintage string colored with Distress Ink + held in place with Collage Medium (dries clear).

I hope you liked the tutorial today!  Thanks to Vicki for the inspiration to make, make, make!  It's what makes me HAPPY!
now carry on,
paula


Thursday, October 24, 2019

Life of the Party

Hi friends,

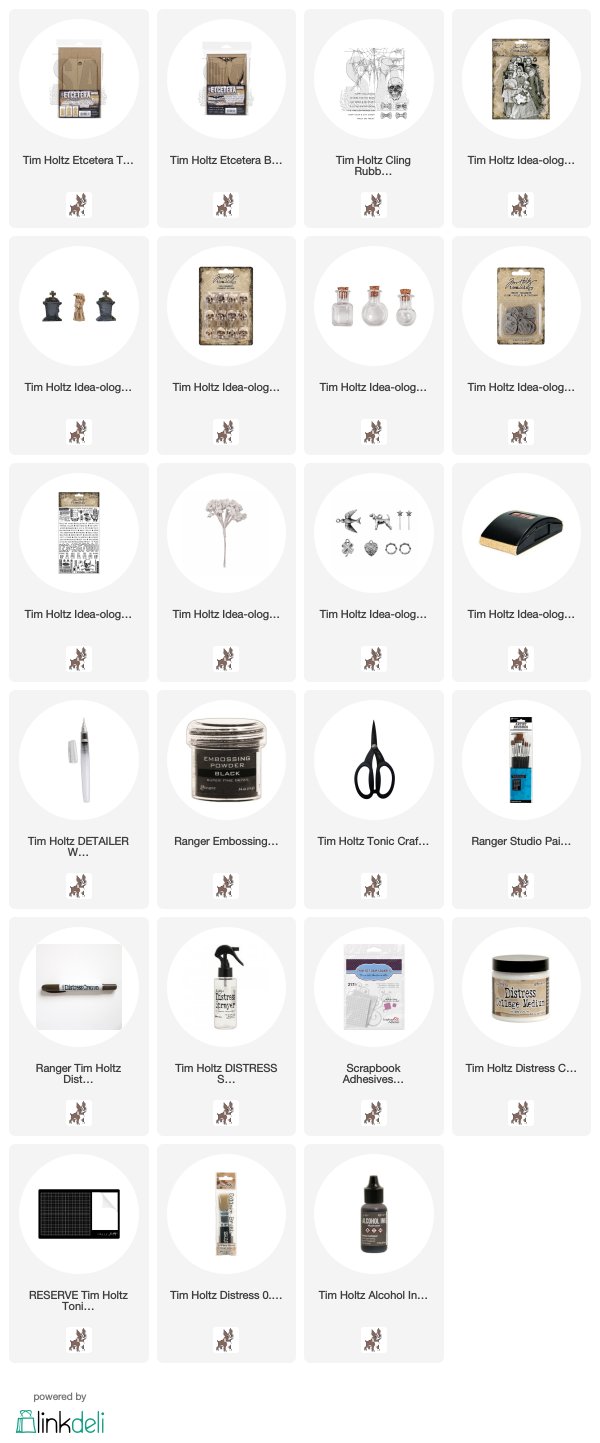
I'm here today with a simple Mini Etcetera Tag that features one of Stampers Anonymous/Tim Holtz Halloween stamps called, "Life of the Party".   This set has a friendly skull with fun bow ties however the tag I'm sharing today uses only the large web.  

I cut heavystock paper the same size as the Mini Etcetera Tag to use as an inked background.  I pounced Dusty Concord, Crushed Olive and Wild Honey over my craft sheet, sprayed it with water, then smooshed the paper into the colors...going back many times for more layers in between drying with a heat tool.  Nothing like original Distress Ink to make a great background!
Using embossing ink, I stamped the background with the huge web stamp from the "Life of the Party" set.  I dumped black embossing powder over the top, tapped off the excess, and heat set the web with my embossing gun.  Once embossed, I adhered the background to the tag with Collage Medium and cut away the excess paper.
I created a shelf with the new Halloween Etcetera trim pieces (love that web design) and painted it black.   I adhered the shelf to the Mini Tag and started adding pieces on top once the shelf was secure.  

To create a spooky scene like this one, add a tombstone, skull or bottles with moss and Mummy Cloth.  I poured white paint into the bottle and used Mushroom Alcohol Ink and a Remnant Rub on the outside.  I also added the Creepy Eye to the Tombstone and a dyed flower on top.  You might notice a star...that is from the Treasures Adornment pack.  I also added a strip of paper from the Abandoned paper pack to the bottom of the Mini Tag.
It was only right that the Paper Doll was holding up an appropriate sign, "PECULIAR THINGS".  Their shirts have been colored with Distress Crayons and a Detail Water Brush.  To get dimension, let the crayon dry a bit on the paper doll, then come back and add another layer of color.
Hope you liked this simple Mini Tag...it's a great way to use up leftover Halloween parts and pieces!
Now carry on,
paula

Monday, October 7, 2019

Holiday Class Schedule

Hi friends,

It's that time of year for holiday classes.  I will be teaching at three great places, starting with The Crafty Scrapper in Waxahachie, TX.  There are only 1-2 spots in each of the classes so if you are interested, please act quickly.  I have added the direct link for each class to sign up.
For the classes in LA (out by Magic Mountain) you will need to contact the super nice Ginger Nelson who owns and runs the event at gingbugg@cs.com   She will be happy to help!
And last but not least Whim So Doodle, class registration is not open yet but you can find the dates for the Holiday Open House and classes below.
I know some people will be interested in kits.  Each of the stores sells class kits so you can contact the store nearest you or contact me at paula@timholtz.com and I can direct you.
now carry on,
paula

The Crafty Scrapper
Waxahachie, TX
October 18-19th

Friday, October 18th - Spellbound
Friday, October 18th - Dear Santa..
Saturday, October 19th - Christmas Fabric Journal 

Down To Details 
Stevenson Ranch, CA
November 2nd

Saturday, November 2nd - Dear Santa...
Saturday, November 2nd - Winter Wonderland 
to register contact Ginger Nelson - gingbugg@cs.com

Whim So Doodle
Christmas Open House - ThursdayDecember 5th
free make and takes, snacks & someone will win a 30 second shopping spree!

Classes Friday and Saturday, December 6 & 7 (registration not yet open)
Dear Santa...
Winter Wonderland 
Christmas Fabric Journal


Spellbound
It’s that time of year to create something spooky to add to your Halloween decor!  This year it’s two boys who have made their way to the local Haunted house. This piece is 6.5 x 12” and heavy layered with baseboards, etcetera trims, Mirrored, and mica sheets as well as new Halloween products from the Tim Holtz line.  Most exciting will be creating the realistic woodgrain background from scratch.  You will also be able to personalize your piece with a variety of choices of background papers from the new Abandoned paper line.
Christmas Fabric Journal
Join me for a Christmas Fabric Journal Workshop! Each hand cut journal starts with a basic 8 x 5” cover and two sewn signatures made from heavyweight canvas.  We will be adding multiple Christmas fabrics and laces, as well as ephemera, paper dolls, and more bling inside.  Do you need to know how to sew?  Nope, just be willing to go for it.  This book is all about messy stitching!  You will be working at your own pace, spending time on the details that make this book so special.  
*All materials will be provided for you but if want to add something of personal meaning, you are welcome to bring fabric, lace or photos from home.

NOTE: You will need a sewing machine for this class or to be part of a group with a sewing machine.  Two to three people can share one machine.  If you are the one bringing the machine - please know how to thread it and run a bobbin.  You will need cream thread to sew the journal.  It might be helpful if you have a zipper foot for close stitching but not a deal breaker.  


Dear Santa...
Tic-tock…what time does the clock say?  It’s Christmas time!  The 7 x 10” wood box is the perfect size for this magical (and musical) scene of Christmas past.  In addition to tiny colored lights in the tree and a sweet little snow globe, there is a hidden music box that plays a Christmas tune.  Combined, they make for an unforgettable keepsake.  As always, the holiday kit comes delightfully packaged.  NOTE: Paper Dolls will be provided however, you are welcome to use a family photo in place of the Paper Doll if you wish.
Winter Wonderland
A glass glitter star hovers over your own whimsical winter wonderland.  The woodland cottage is set on a 8” wood pedestal base with miniature deer in a forest of baby pink trees and golden glitter.  A little wreath on the door made from vintage French metal fringe adds to the charm of the project.  As night falls, the glitter becomes more pronounced creating a magical scene.  A flickering, battery-operated, tea light is also included to give an added dimension at night.  As always, the kit is thoughtfully packaged. NOTE: I will have multiple colors of Spray Stain to color the trees if pink is not your passion.


Thursday, August 29, 2019

Beware Vignette Book

Hi friends,

I have a fun little Halloween zig-zag book project to share today.  I call this a "fun" project because anything goes!  It could be any color or size and the inside could contain anything that suits your fancy.  I decided to use a fabulous green and yellow paper from the Halloween Paper Stash called Abandoned.  I'm just going to say, buy two packs because you'll need more of this paper than you think you might.  Super cool designs and colors, from pink and purple to green, black and orange!
I started with one of the Vignette boxes that is 2 3/4 x 4" and the matching Vignette panel (for the lid).  So in theory, if you have one set of Vignette Boxes and 1 set of Vignette Panels, you could create 4 books in 4 sizes.  
I cut a piece of the Distress Heavystock... this piece wraps from the back of the Vignette Box, up the left side and over the lid.  For my project, the measurement was 7 x 4" - you will have to adapt that measurement depending on the size of the box and matching lid.  I adhered the green patterned paper to the Heavystock (on the backside of the white piece shown here) and scored it where the paper turns a corner to create the spine of the book.
This is what it will look like once glued to the box and lid.  NOTE: I painted both the lid and box BEFORE adhering to the paper cover.  Once it was dry, I painted the spine too.
Maybe this will help - this is what it looks like finished.  The lid opens like a book and the paper spine is not attached to the box.
I smeared Opaque Crackle Texture Paste over the edges of the cover and let it dry before adding Distress Crayon to age it.  The owl has been inked with Gold and Mushroom Alcohol Ink and then splattered with black paint using the Distress Splatter Tool (love that tool).
The zig-zag book was created with Distress Heavystock paper and then sprayed (both sides) with Distress Oxide Spray.  That keyhole is actually a sticker, yes I said sticker!...it's from the new Halloween sticker book.  I added Distress Crayon and Hardware Heads to make it more realistic.
 The inside is ephemera, paper dolls and clipping stickers (also in the new sticker book).
 I colored the paper dolls with Distress Crayons and a Water Brush to get all the fine details.  NOTE: If you want to know more about how to color a paper doll you can find that here.
More stitching and stamping!  The Stampers Anonymous stamp is from the CMS187 Purveryor stamp set.  One of my all time favorites for backgrounds.
 Once the little book is done, add to the box.
I painted the Vignette panel with black paint.  You could easily put additional paper on the Vignette lid, I just choose to leave it black.
 A book should have a title so I added this perfect little token to the spine.
And another token on a chain (I swiped the chain from a Swivel Clasp) so you would have a "pull" to open the book.

I love this little book (just something about the size).  It was easy to make and very fun to fill the inside with ephemera and stitching.  I hope you will give it a try!
Now carry on,
paula
Tuesday, August 27, 2019

Spring Kits

Hello friends!

I have listed my remaining Spring kits in my Etsy shop.  Each kit comes with all the product and full color step-out instructions as well as written instructions.   If you are interested in any of the kits shown below, click on the link HERE or use the Etsy icon on the right sidebar.
thank you!
and now carry on!
paula

Lost and Found


Tokens Of Affection
sold out


Be Genuine

 Wildflower Garden