Hello Friends,
Today we are talking all about Distress Spritz! Twelve colors of Spritz that match the Distress palette were released today. It's hard to capture the brilliant shine the new Distress Spritz create, but I think I got a few good photos for this post that really show them off.
You might notice that the bottle is long and narrow. The new bottle helps with a quicker mixing process. It does not take much shaking to mix the liquid and the pearl because there is a mixing ball inside. Distress Spritz are sold individually, so if you want to buy more of one color, you can! Fossilized Amber is my favorite and I know I will be needing more! Another feature is that the label does not reach all the way around the bottle, so you can easily see how much is inside. So helpful to actually see the liquid to determine if you need to order more.
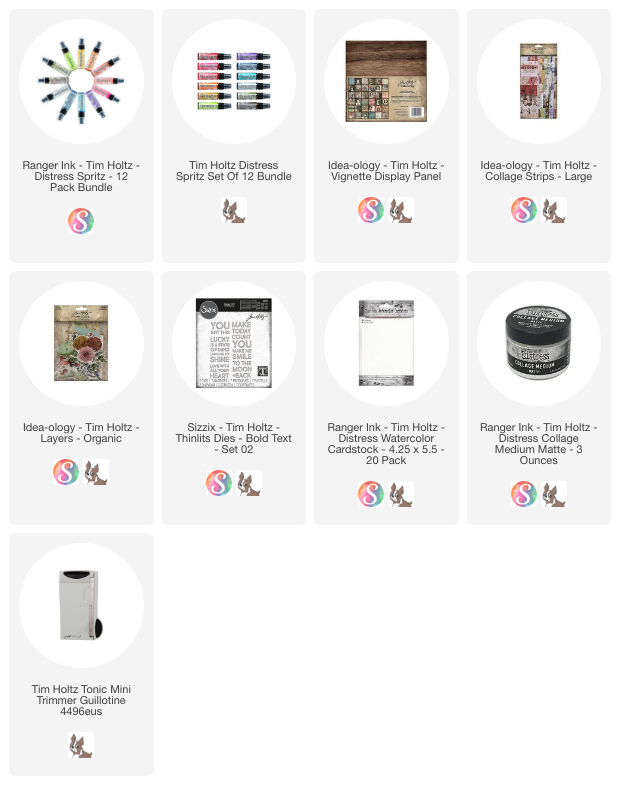
I used 6 different colors in my project today: Wilted Violet, Peacock Feathers, Peeled Paint, Fossilized Amber, Spiced Marmalade, and Worn Lipstick.
The Spritzers also come in Walnut Stain, Weathered Wood, Barn Door, Picked Raspberry, Twisted Citron and Uncharted Mariner.
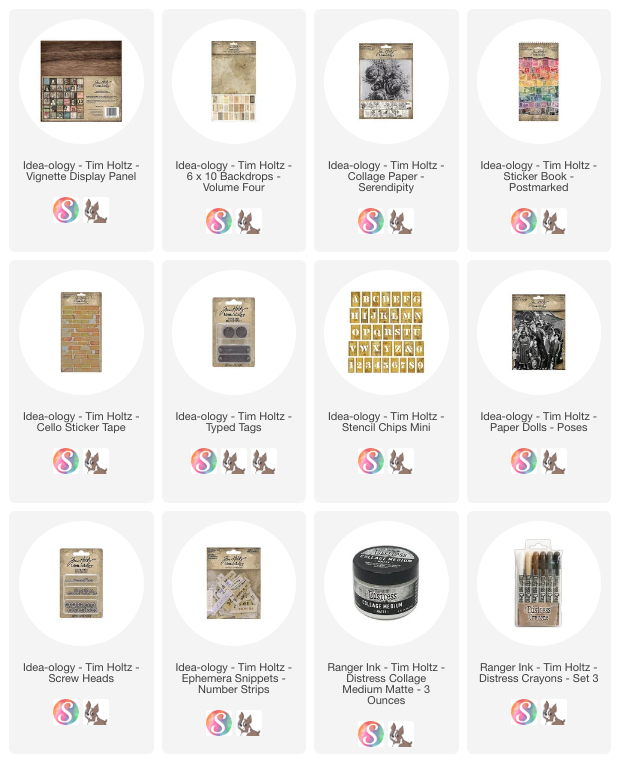
You can see some of the colors that I sprayed over the new large Collage Strips. You might notice the two strips at the front - the difference between Picked Raspberry on the left and Worn Lipstick in the center. Both are pretty wonderful.
I sprayed a bunch of Collage Paper strips in coordinating colors. I didn't want to use photos in project, so I just cut the strips with my Tonic Mini Guillotine Trimmer to use just the portion that I wanted. Super easy with my handy trimmer.
I cut a piece of cardstock the same size as the Display Panel. Then I added the cut up strips (no glue yet) to see what should go where. I didn't want a rainbow effect, but rather a overall Spring/Summer feel.
Here is what it looked like once I got everything into place. You might be able to see all the colors of Spritz I used too!
Once I had all the pieces in place (
using just a bit of tape runner), I took the background to the sewing machine and sewed the Collage Strips to the cardstock.
This is what the back of the cardstock looked like when I was done sewing.
NOTE:
I used Collage Medium to glue the paper background to the Display Panel and set it aside to dry while I worked on a few other things.I added Saltwater Taffy Distress ink to Watercolor paper, the added both Worn Lipstick and Fossilized Amber Distress Spritz to the paper.
Bold Text 2 had the sentiment I wanted, so I easily cut out the words for the project.
I like this photo of Peeled Paint Distress Spritzer over leaves from the Layers Organic pack. The Spritz will dry over a non-porous surface (
which is amazing). The coordinating pearl in the liquid gives the leaves a shine that stays. It almost looks like the leaves are wet when they are not.
I added the embellishments I made to the panel with different levels of foam squares (standard and thin).
When you tip the surface the shine from the Spritz is there,
Worn Lipstick Spritz is a favorite! Subtle pink shine!
The Peeled Paint Spritz matches perfectly with the leaves.
And Fossilized Amber is the connector color that just goes with everything.
Worn Lipstick and Fossilized Amber next to each other.
Some added vintage buttons.
Fossilized Amber over the floral element.
And just one more "test" to share with you.
I tested to see how the Spritz worked over Collage Medium to answer the questions: would it dry and would it still shine?
On the left, I added Collage Medium to the paper, dried it, THEN added the Spritz. After drying again, the Spritz was stable enough to not come off on your hands and it was still shiny.
On the right, I added the Collage Medium and sprayed the Spritz directly over the glue when wet. Once dry, the Spritz was stable and still had shine even though it was embedded into the Collage Medium.
Great results on both tests!
I know this is just the start of the journey for Distress Spritz. Can't wait to try out more techniques using Distress Spritz!
Now carry on,
paula


