Showing posts with label easy cards. Show all posts

Friday, December 20, 2019

Stampers Anonymous Holiday Cards

Hello friends,

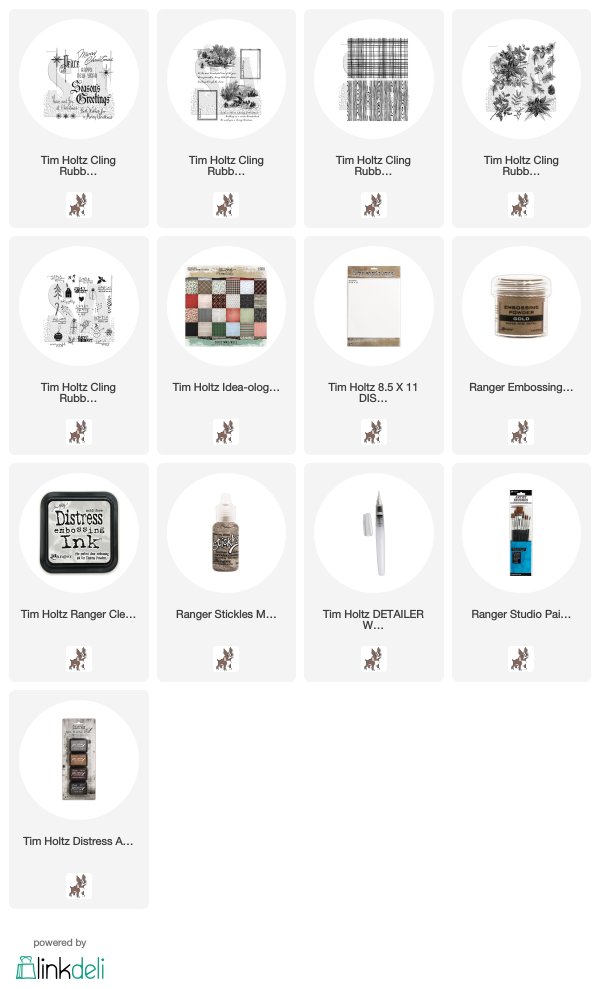
Today I'm sharing a few cards I made using Tim Holtz/Stampers Anonymous Christmas stamps.

Scenic Holiday
I love this winter scene from the Scenic Holiday set so I stamped it on Distress Watercolor paper (smooth side) and then colored it with a Detailer Water Brush and Distress Inks that coordinate with the plaid paper in the background (one of the favorites from the 2019 Christmas Paper Stash).
Seasonal Scribbles
Lumberjack (background)
For my second one, I started with the whimsical Seasonal Scribbles to create the small center card.  The background was stamped using the woodgrain stamp from the Lumberjack set then cut to size and stitched to a green card base.
Yuletide Gatherings (floral)
Christmastime 2 (sentiment)
The last card was again created on Distress Watercolor Cardstock.  I used a wide paint brush from the Ranger set of brushes to hand paint stripes across the cardstock in Festive Berries Distress Ink.  When the ink was dry, I stamped the sentiment in the center with Embossing Ink and added Gold embossing powder.  Once the embossing powder melts, the sentiment comes to life in the rich gold color.
For the floral images, I stamped over the stripes with the Yuletide Gatherings stamp and Black Soot Archival Ink.  Then colored the image with the Detailer Water Brush and Distress Ink.
As an added touch, I squeezed dots of Mercury Glass Stickles onto the dots of the embossed image.
Hope you like the cards and they give you inspiration for your holiday makes!
Now carry on,
paula
Friday, April 8, 2016

Distress Crayons: a subtle approach

It's raining here today (not something we say often in CA) and I always like to be working in the craft room when it rains.  If it's not too cold I sometimes even open the window so I can hear it better.

Well today I thought I experiment a little more with the Distress Crayons.  Follow along and I'll show you what I did.

Scribble out some crayon on to the craft mat.  You will also need a Mini Blending tool and a bit of water.
Use the Mini Blending tool to pick up the crayon.  The foam must be damp not wet.  Here are some hints:
  • too much water - it picks up the crayon way too easy and almost makes suds
  • too little water (or none) - it won't pick up the crayon (it will just squeak across the mat)
  • damp sponge - picks up the crayon easily (if you feel like you have too much water on the foam just pounce it on a paper towel a couple times and that will take cake of it)
 I cut a card front from Mixed Media paper and used a large stencil to add a pattern with the Blending Tool.
Now go back and pick up another color.  Same blending foam (no need to change the pad) - I just pounced it on the paper towel a couple times before going into the Fossilized Amber. 
 This time I'm using a Mini Stencil to change the scale of the circles.

 Another Mini Stencil to add some numbers with Seedless Preserves.
 I mounted the card from on Silver Metallic cardstock and then on a turquoise Kraft Core.
 A little stitching around the card finishes it off.
 Next, I mounted the self adhesive Deco Sheet onto a piece of cardstock then punched tiny 1/2" hexagons using the Tim Holtz Hexagon punch.  A quick way to make a lot of hexagon pieces.
 A dot of Glossy Accents works perfectly to adhere the hexagons to the card front.
 A sentiment from the Hashtags stamp set.
I thought the card needed a bit more detail so I used Ranger Watercolor paper and the Tattered Flower Garland to cut a few small flowers.  They have been colored with Distress Inks and a waterbrush.
 I adhered a small Crinkle Ribbon bow with Glossy Accents.
And then added the flowers.  These flowers have a hole in the center for layering with a brad.  I find that if you bend and squish the flower to make them more realistic, the hole fades away.
I added a Heart Charm to complete the cluster.

Its hard to show the shine of the silver Deco Sheets but that textured surface really makes the card fun.  The hexagon punch was super easy to use to create all those hexs...can't imagine doing that by hand.
Well, I hope you will try the crayons/blending tool technique to make a background.  I ended up creating a few card fronts while I was experimenting.  I found that more often than not, I did not even have to wipe off the foam pad between colors (that foam pad is kinda magic).  I think this would be a great way to add color to an art journal.  I guess I better try that size surface next!
now carry on,
paula


Thursday, August 13, 2015

Distress DIY Ink Pad

Hi everyone!
A super quick post today to share a few ideas about Distress DIY Ink pads.  The best news of all is that they are very easy to make (in fact quite additive).  Tim created a video back when the DIY ink pads came out - you can see that here to get started.
Today I'm working with the new Blueprint Sketch, Peacock Feathers, and Twisted Citron.  Killer combination right?
NOTE: to keep the color stable and vibrant on the paper label, rub Distress Micro Glaze over the top, then lightly buff away the excess (a little goes a long way).  Also, if you use a heat tool to dry your inked label, be sure to let it cool before adding the Micro Glaze, otherwise it can melt on contact (and no one wants that).

I decided I to use the beautiful Watercolor stamp set with the new ink pad.
I stamped each butterfly onto a piece of Distress Watercolor paper (smooth side).  What I wanted to show here is that even though the DIY Ink pad was created in "stripes" of color, the way you place your stamp on the pad, will determine the look.  You can see here that the butterflies were stamped so that the darker color is at the top, on the bottom, on the right, and on the left.  The butterfly on the top left was even inked on the diagonal.  So even though I used the same ink pad, each butterfly has it's own look. 
I sprayed the butterflies with Brushed Pewter Distress Spray Stain just to give them a bit of shine.
Once dry, I cut them out.
To make a card front for the butterflies, I decided to use watercolor paper for the background (because of it's weight it makes a great impression).  I'm using Snowflake Texture Fade.  Love when a die or embossing folder can be used beyond the season it was intended for!
I stamped a sentiment for the front of the card using the super cute Crazy Talk stamp set.
Then a little Crinkle Ribbon.  I used Blueprint Distress Stain to color the ribbon leaving some white areas.  Before drying the ribbon,  I dripped Twisted Citron re-inker to get a super intense green color intertwined with the Blueprint Sketch.
Put it all the pieces together on Core'dinations cardstock.
Then add butterflies.  I secured the butterflies with two small foam dots under each wing.
This may be the first card I have ever made that I did not use Distress Ink on the edges!  First time for everything I guess.  I am super happy with the coloring on the butterflies.
Loving the ribbon too.  I wish you could really see how vibrant the color is!  I've never dripped ink from a re-inker onto Crinkle ribbon before but it was fun and very effective to get a super intense color.

I hope today's post will give you a few ideas on using a Distress DIY Ink pad (or 10).  I know I will be making more, because with over 50 colors of Distress, the sky's the limit!

now carry on,
paula