Showing posts with label baubles. Show all posts

Tuesday, November 10, 2020

New Color Rustic Wilderness

 Hello friends, 

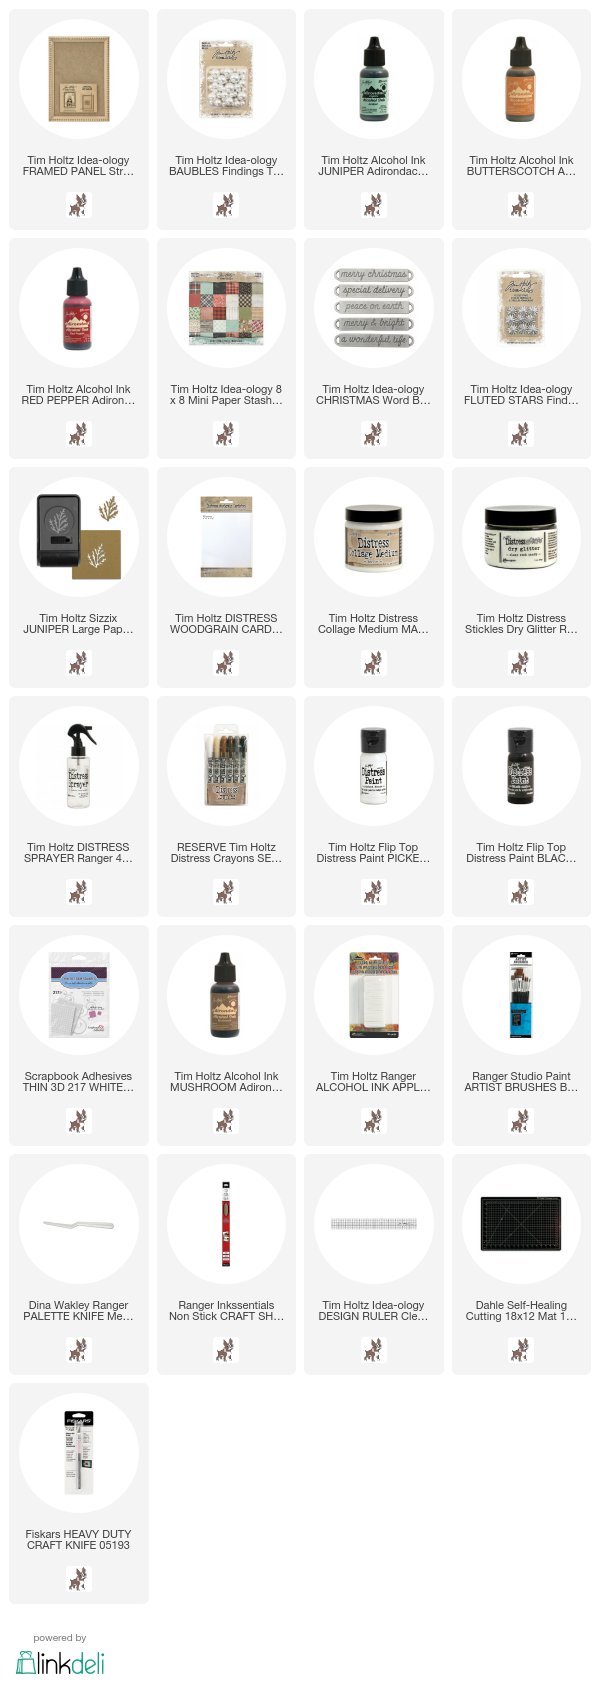
I have so much to share this week! Including 4 projects using the new color from Tim Holtz and Ranger. Today I am sharing the Merry and Bright Vignette Tray. This is the large tray that comes in the pack. The box at the bottom comes from the Vignette Box set and it is the second from the largest.

I used Collage Medium to adhere the Holly Collage Paper to the outside of the Vignette Tray. I like the look of the Collage Paper directly over the wood Tray because if you do it right, the woodgrain comes through the paper and the print looks as if it is part of the wood. 
You can see that I followed up the Collage Paper by painting the lip edge and inside of the Tray with Rustic Wilderness.  After the paint was dry, I rolled out the gold Trim Tape (4 separate pieces) onto my craft mat.  I added Mushroom Alcohol Ink to a Blending Tool and pounced over the tape multiple times (letting it dry for a minute between layers) to create the mottled finish that you can see here.  The Alcohol Ink layers really add interest to the tape and give it a vintage vibe.
As you can tell, I did use Tiny Lights to light up the Vellum Scene in the background!
  1. Adhere holly patterned paper (from the Christmas Paper pad) to the back of the Tray.  Add a layer of Collage Medium over the top to seal.  Use damp paint brush to add Distress Crayon Walnut Stain over the paper to age.
  2. Paint the Vignette Box with Rustic Wilderness Distress Paint (inside and out).  Once dry, add plaid paper to the inside back of the box.  Use Collage Medium to glue the box into the tray.  Let dry in place before standing the Tray up.
  3. Thread the Tiny Lights through a drilled hole in the Tray (or in my case I just used an awl and hammer to make the hole).  Secure battery pack to the back as shown in a previous photo.
  4. Wind up lights in a loose circle inside the tray and secure with hot glue on the wire or Scotch Tape over the wire.  I personally think Scotch Tape or cut pieces of packing tape are easier.
  5. Adhere the Vellum Scene to the plaid Baseboard Frame (USE TAPE, not wet glue to do this).
  6. Add risers to the back of the frame - I used small wood blocks but you could use bingo chips or another riser of your choosing.
  7. Add the white Warm and Natural to the top of the box.  Fluff it up with a Tonic Scratch Tool.
  8. Now adhere the plaid frame to the tray, over the lights, so it rests on the top of the box.  Let dry completely.
Use Distress Crayons to color the Paper Dolls of your choosing.  I used Aged Mahogany for her coat and Faded Jeans for his.  Fossilized Amber for the buttons and skate blades.  If you have never colored Paper Dolls before, please refer to my post back in March on Distress Crayons.
I added foam squares to the back of the Paper Dolls so they can be added to the plaid frame. 
The urn pictured here is from the Halloween 2020 and was is called "Grave Relics" but unless you own them already you will need to Google the name to see who still has some.  
I used Picked Fence Distress Paint to wash over the Urn to give it a wintery vibe!  The tree in the urn is the medium size that comes with the Woodlands set.  There is also a small tree to the left, and that one is the tiny tree size in the Woodlands package. I sprayed each tree with Rustic Wilderness and then used Stickles glitter glue to add some sparkle.
At the top left there is a very pretty poinsettia ephemera piece that came from the Snippets Ephemera pack.  I also added two glittered Bells and some pine that has been been cut from paper (Heavystock white) that I colored with Rustic Wilderness.
The bottom box was really easy to create:
  1. Use Alcohol Ink to color Baubles.  I used Lettuce, Crimson, Patina and Butterscotch.  Once dry, add all the Baubles to a plastic baggie and add a few drops of Mushroom Alcohol Ink.  Squish around and dump out onto a paper plate to dry.  Add to the Vignette box before you glue the acetate in place.
  2. Cut a piece of acetate to fit the top of the box.
  3. Stamp acetate with Staz-on Ink and the Stampers Anonymous Sketch Greenery stamp set.
  4. Adhere the acetate to the top of the box with Collage medium, let dry.
  5. Color white Heavystock paper with Rustic Wilderness Distress Spray Stain.
  6. Using the Sizzix Merry and Bright Thinlit, cut TWO sets of the words so they can be glued together to make then even thicker.  
  7. Once they are glued together, paint over each word with Collage Medium (one word at a time) and then add Rock Candy Glitter.  Let dry completely.
  8. Add the black Merry Christmas Trim Tape to the box edge (it will cover the edge of the acetate).
  9. Add the words with Collage Medium.  Let them dry in place before you move the box.  Don't worry that the letters might run off the edge of the box!  It's fine!

I added a Curio Knob to the top of the box + more cut pine and red Velvet ribbon.

Thank you everyone for stopping by!  I'll try and have another new color project up on the blog on Friday!
now carry on,
paula


paula

Sunday, December 10, 2017

The Bauble Tree

Hi Everyone!

You can find me today over on the Simon Says Stamp blog showing how I made this cute little Bauble Tree!  It might just be my favorite Christmas project this year!  So pop on over to see the step by step tutorial on how I created it!
cheers!
paula


Thursday, December 1, 2016

Mini Mason Jar - Christmas

Hi Everyone,

Glad to be back here on the blog to share an easy Christmas project using the Mini Mason Jar from idea-ology.  I am sure you have seen these before, but I'm hoping to put a spin on it with a classic Christmas die and a few cans of spray paint.
 
First you need a Mini Mason Jar.  They come in a set of three so it's easy to make multiples for gifts.
I added the Mini Mason Jar Photo Clip kit to each jar.  That means I removed the lid that comes with the jar and added this one to it.
I spray painted the lid and clip with a red spray paint for this traditional themed jar. 
 
I believe I found the perfect color red for the lid of the jar.  It is RUST-OLEUM in Colonial Red GLOSS.  I purchased this can from Home Depot but I am sure they have it at other hardware stores.  It takes longer to dry than standard spray paints (maybe because of the gloss finish?)...in about 20 minutes you can pick the lid up, but an hour to really handle them.  The instructions say it cures in 24 hours, which I found to be true.  Once dry, it looks and feels like a lacquer finish.
 
I also added Gold Alcohol Ink to the Word Band before coloring the text with Picket Fence Distress Crayon.
I bet you're thinking, how did you bend the Word Band?  Easy.  I used Bending Pliers that can be found on Amazon.  The pliers are about $15 depending on brand.  There are also differences in how much they curve the metal.  I believe this pair would be considered a "gentle curve" so I did have to work at it a bit to get the curve to fit around the lid.  All in all, the tool make the bending easy work.  Just don't try to bend 40 in one night like I did.  Let's just say my grip took a couple days of rest to recover!
I used large trees from Tree Lot (bulk Woodland trees) - you get 5 trees in one package which again, makes creating multiples super easy.  
1.  Cut the tree to fit into the jar.  You MUST use wire cutters to cut the steel center of the tree.  
2.  Spray with Distress Spray Stain.  
I tried all of the Distress green colors and I found three favorites depending on what look I was going for.
Mowed Lawn: bright true green, great for traditional projects
Bundled Sage: my personal favorite - a softer green, beautiful mixed with platinum Stickles on the tips of the the tree.
Peeled Paint: bright green (but not a true green like Mowed Lawn) - a good all around color for trees.

I also found that adding a small piece of chipboard glued to the bottom of the tree made it easier to glue into the base of the glass jar. (thank you Richele for the tip!)
3. Add Collage Medium to the tips of the tree and roll in Clear Rock Candy.  Let dry.
 4. Use Glossy Accents to add colored Baubles into the tree.  I used Baubles colored  in Sailboat Blue, Red Pepper, and Butterscotch Alcohol Ink.  One might think that using Gold Mixative is the way to go when wanting gold ornaments but I beg to differ...Butterscotch and a tiny bit of Mushroom make for the most beautiful gold ornaments!
For a more feminine look, I used a totally different color story of Tattered Rose and Antique Linen.  For this jar, I sprayed the tree Tattered Rose and rolled it in Clear Rock Candy.  The Baubles for the tree ornaments were left just as they came in the package, a pretty pearl.
I used gold spray paint for the lid and hinge clip and then added a piece of ephemera from the Christmastime pack.  The poinsettia is cut from Distress Watercolor paper using the Tattered Poinsettia die, another personal favorite.  I dipped the pieces into Distress Ink Tattered Rose and Worn Lipstick (+ water) and let dry. 
Gathered Twigs Distress Ink was used to age the edges of the petals before layering the individual pieces to create the poinsettia.  A Bauble works perfectly for the center of the flower!  To give it a bit of sparkle,  I added a thin layer of Collage Medium (with a small paintbrush) on the petals and over the Bauble and sprinkled it with Clear Rock Candy.  The greenery was cut using the Holiday Greens die.
 
I love how the Mini Mason Jar came out.  I am always amazed at how a can of spray paint can really change something so plain into something special.  That can of Colonial Red did just that!  Then there is my all time favorite Christmas die, Tattered Poinsettia.  No matter if you color is red, pink or something in between, it's beautiful.  If you don't already own this one, I'd add it to your Christmas list!

Also, if you missed the Winter Wonderland shadowbox I created 
for the Tim Holtz Holiday Inspiration Series, you can see the full tutorial here.
Now carry on, 
paula