Wednesday, May 31, 2023

I Know That I Am Home

Hello Friends,

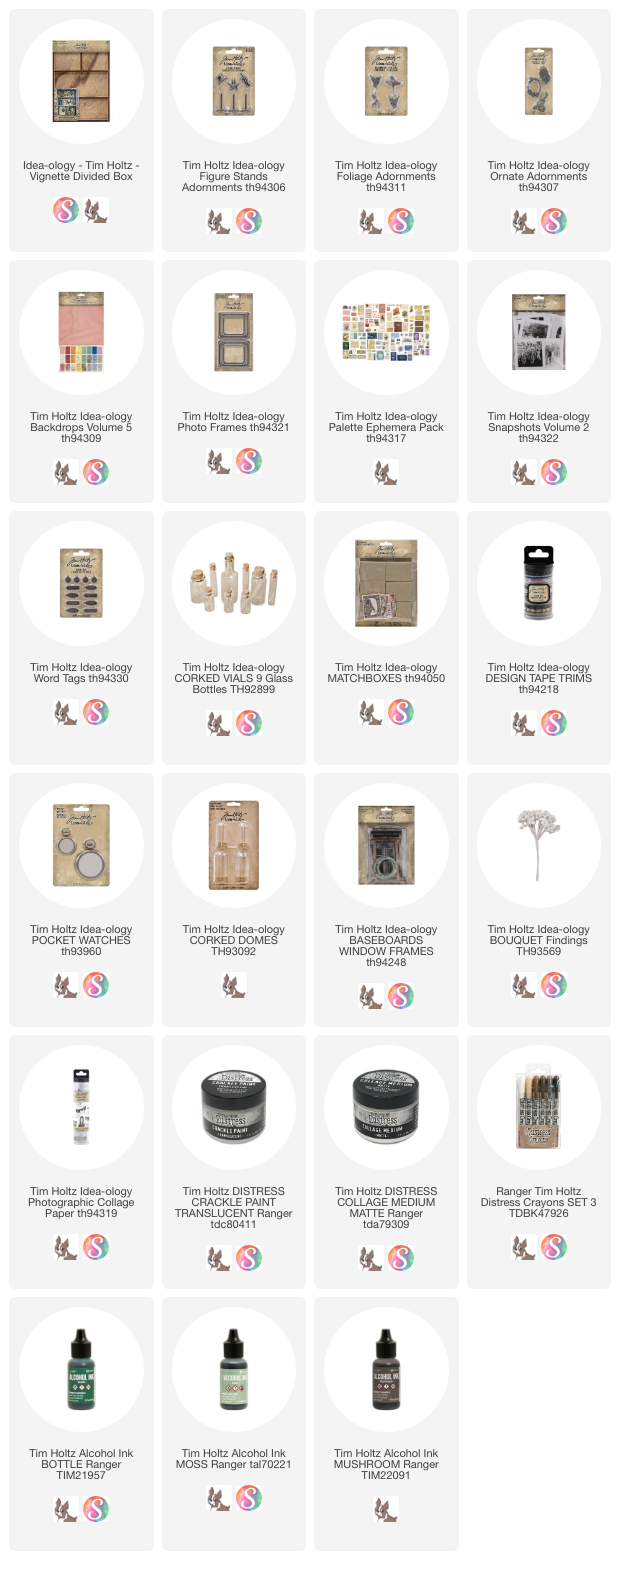
I am circling back to idea-ology today and a favorite project I created earlier in the year. I love this one, created with the Divided Box, which has been a favorite substrate of mine over the years.  I have loved it's size, depth and that it had so many way to configure it.  But all things comes to an end of their lifecycle and this is one such product.  I know many retailers still have the Divided Box in stock, but when retailers are out, they are gone for good. So fair warning.
The entire box was covered inside and out with Backdrops Volume 5.  I used blue and cream for the front, then added aqua, purple and pink to cover the back.  It takes time to cover any Vignette Box with paper so I alway measure, cut and glue (Collage Medium) on day one.  Then I walk away and come back to the filling the box.  For me, it feels good to come back into the workroom the next day with the box ready to go.
My paper choice led me to the blue color scheme that runs through each compartment.  The shade of blue varies for interest, but blue and cream are dominate throughout.  I chose a black Design Tape with numbers for the lip edge of the box.  You could use multiple tape designs if you wish but I liked the continuity of just one design.
On the back you might notice that I mixed in two Collage Strips.
The pink strip on the left and the group of neutral pieces on the far right side.  You can tell it's a Collage Strip because of the scale of the images.  I think they work really well with the larger Backdrop images.
When working on this box, I knew I was going to need multiple Corked Vials to fill the space, so I created all the bottles at the beginning.  Then when the box was ready to fill, I could just use the ones that fit the space the best.

CORKED VIALS
1. coat with a base of Collage Medium - let dry.
2. coat with Crackle Paint- translucent - let dry
3. drip or pounce Alcohol Ink over the bottle (do not soak or your crackle finish might lift).  I used Mushroom, Moss and Bottle Alcohol Ink to color the glass.
4. don't forget the cork - paint it or rub Alcohol ink on it, maybe add a Hitch Fastener, pick at the cork so it's not perfect, etc. Mine are all different.
5. add string or wire around the neck of the bottle.
Now back to the large compartment...
The entire piece started with this photo from Snapshots 2
1.  I pounced Gathered Twigs Distress Ink on my glass mat then sprayed it with water to created droplets.  I pressed the Snapshot into the ink repeatedly (drying the ink in between) until I had an aged look to the photo.  This method only works on a slick surface if you press, then dry, then press, then dry.  Somehow the ink fuses to the surface enough to create the aged look. I used this same method on the blue label that sits below the Snapshot on the right.  

2. Tint the Snapshot photo with Distress Crayons and a cotton swab.  To get the textured look on the skirt and red coat, I tinted the skirt and coat with darker colors.  Then I pressed a piece of paper towel over the top (do not rub).  The paper towel pulls enough of the dark crayon away, making the clothes appear to have the texture worn away. 

3.  If you look closely, you can see that I also used a cutting knife to cut around the top of the car and along the top of the frame.  I also cut out the windows of the car so you are able to see through.

4.  I added thin foam squares to the frame, then added a 'scene' of a house that can be found in the Ephemera Palette Pack. 

5. Once the photo is ready, it can be mounted on foam squares and added to the back of the tray,


The bottom of the large compartment can be filled with anything you have on hand.  A little vintage is a must. Here is a list of what I've added:
from left to right:
+ Corked Vial with ephemera label and vintage lace.
+ Foliage Adornment - white paint added
+ Photo Frame - Foundry Wax + Mushroom Alcohol ink.  I cut a piece of chipboard for the center of the frame.  Then covered the chipboard with a piece of vintage velvet. I used Scor-tape to add the velvet so I could still stitch through the velvet to add the Bouquet flowers.  As you can see, it just added three stitches to hold the flowers in place. There was no glue involved.
+ Mini Flair with 4 leaf clover
+ Second bottle with snippet label (Curator pack) and wire around the neck
+ Corked Dome filled with vintage buttons (I collect buttons that have been used and still have the sewing thread in place).
+ vintage spool of silk thread with added threaded needle.
+ Figure Stand - I painted the top hat black and added the metal flower that I cut from a vintage earring.  I LOVE the new Figure Stands so much!  Tim's idea to have interchangeable pieces (the other pieces are a pointing finger and star) on a stick is just brilliant. They are the perfect miniature size.
The figures are double sided, so for instance, the pointing finger can face either left or right.
The MADE IN paper is vintage.  It was on a bunch of vintage flowers and I removed it to use here.
If you are wondering how I made the Butterfly stand up in the background, it's very simple.  I cut a sturdy wire and hot glued the butterfly to the end.  On the other end I added a cork (larger end down) which gave me something to glue to the bottom of the box.
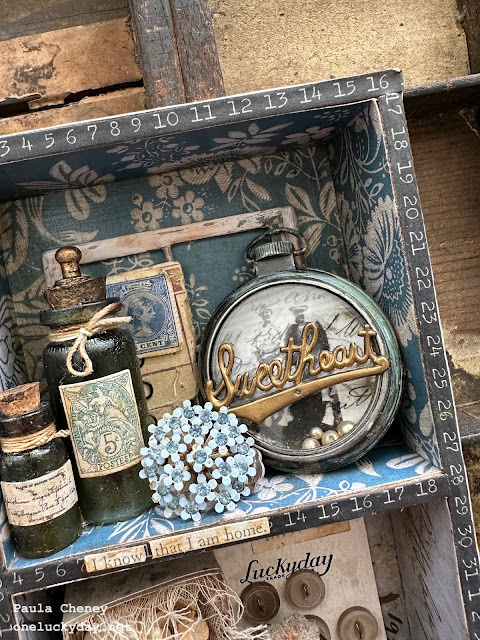
The top right compartment has blue paper so I tried to use more cream items.  Cream in the labels I chose for the two bottles, the Baseboard window frame in the background, and the Collage Paper I used inside the large Pocket Watch.  
The word Sweetheart is vintage, as well as the blue flower cluster (a vintage earring I have had for years). You can see I added the Hitch Fastener to the top of the Corked Vial to make it look like a stopper of some sort. I painted the metal and the cork with metallic paint so the two pieces look like they are one.  The blue stamp in the background is from the ephemera pack and I just stapled it to a vintage card of hook and eyes.
I added the phrase, "I know that I am home" from the Clippings sticker book.
In the bottom compartment, you will find a Matchbox filled with more Bouquet Flowers (Antique Linen Distress Spray was used for color).  The metal embellishment with the French feel, is from the Ornate Embellishments pack.  The words are, again, from the Clippings Sticker book.
I added a Word Tag to the neck of the bottle and a snippet label (I LOVE the Curator pack of tiny labels).  
To make the ball of string, I just started with one of the larger Bubbles left over from a Halloween project...winding and winding till I had a ball of string.  I stuck two tiny Sequin Pins into the ball like they were knitting needles.
The vintage button card with added ephemera was added to the background.
And that is it.
Creating all the bottles at the same time made the work seem easier, since it really is messy when you are coloring with Alcohol Ink and paint, and inked string, and wire, etc.  Once that's all done, you can clean up and then come back to assembling.
Three cheers for idea-ology...I love the kooky, creative thought process to make things come together!

now carry on,
paula

Wednesday, May 24, 2023

Ladies Who Lunch

Hello Friends,

May has been a very busy month - most of which has been behind the scenes work.  Some of you may have "seen" that I was at also Tim's in May for a production meeting that collided with a Saturday Live about the Tonic Media Mat.  I say,"seen" because I actually stepped in front of the camera a couple times to to "Hi and Bye" to the audience.  It was a fun experience to see what happens behind the scenes when Tim is on Live.  He has a true gift for thinking on his feet and being able to intelligently speak at the same time.  That is not something I was blessed with.
Any-who! this post is on the 9 x 9" Display Panel I created for the Embark release.  This is just so simple that you can see exactly how it is done without me telling you, but I will attempt to at least tell you about the basic things I used to create it.
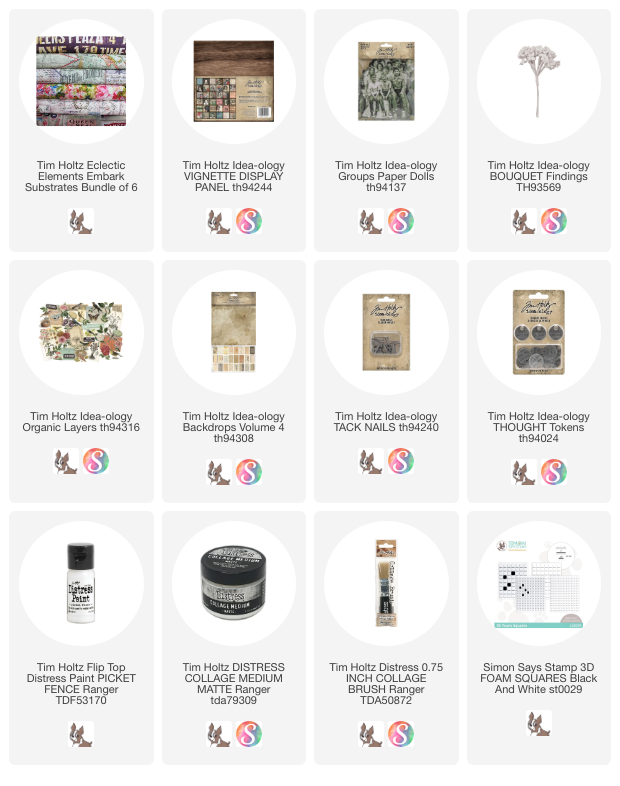
Gather these products or something similar:
idea-ology Display Panel
Backdrops 4 (the neutral pack)
*wood squares (1-1/2" tall x 1-1/2" wide x 3/16" thick)
Embark Fabric
Collage Medium
*Purchased at craftparts.com (pack of 25 is $4.50)

1.  I covered the front of the Display Panel with a couple sheets of Backdrop paper.  I picked two neutral pieces so the fabric squares would stand out.  I left the sides just plain wood but you could paint or cover with paper.
2. I cut random pieces of 4 different Embark Fabric for the squares.  I cut the fabric larger than the wood piece, then once glued, I trimmed away the excess fabric.  
3. Once the squares were ready, I tried different patterns on the panel before deciding on this simple one. 
Once I made the final decision, I used my Design Ruler to give me a straight line to work from.  I added Collage Medium to the back of the 4 squares on the right, lining them up with the Ruler.  NOTE: when the Collage Medium is put on in a small blob, rather than brushed on, it takes longer to dry.  Giving you time to move the squares into the correct position.
Once the right side was in place, I moved the ruler to the top and added the additional 2 squares to make the top row.  The last six squares were then added to complete the pattern.
While the Collage Medium dried, I colored some Paper Dolls ladies (from the Groups pack) with Distress Crayons.  If you are wondering about the stripes I created on her coat, it was done by removing the Crayon...meaning, color the coat with the crayon of choice, then use a damp Detailer Water Brush to remove the color, thereby creating the stripes.
I added the Paper Dolls to the panel with foam squares, so I could slip the ephemera behind the ladies.  NOTE: the mint green ephemera that the lady is resting her arm on was too short, so I cut it in half and added each piece to the sides (you never see the gap in the center). 
I added the Bouquet Flowers along with leaves from the Layers Organic pack and some vintage lace. Once the flowers were in place, I used a very tiny paintbrush to color the center with Fossilized Amber Distress Paint.  Once the paint was dry, I cut a piece of sturdy wire and used the end to add the dot of black paint in the center.

The Thought Token was nailed right into the square with an idea-ology Tack Nail.


And that is it!  So simple to make and fun to add the texture of the Embark fabrics.  Simon Says Stamp sells an Embark pack of 10 x 10" squares, so if you don't already have yardage, you might think of purchasing it in small pieces.

now carry on,
paula


Tuesday, May 2, 2023

Embark Envelope

Hello friends,

What an exciting few days it's been, seeing all the fabric makes being posted on social media!  I can sew but I am no Richele, who is a master quilter and sewer.  Seeing what she can do with fabric is really amazing!

Today's project is and easy one.  You could also make this using fusible bond and a little hand stitching if you don't have a machine.   

1.  Cut TWO 8 x 12" rectangles.  Place them wrong side to wrong side on your cutting mat.
2.  Find the center of one end (this will be the peak of the envelope). 
3.  Place your ruler on the diagonal, from the center mark to about 8 1/2" on one side. Cut off triangle then repeat on the other side.

Take the envelope to the sewing machine and stitch around the outside edge.
*if you are doing the non-sew method, then you would use a fusible webbing between the two pieces to create the double sided envelope.
Once the edges are sewn, fold the fabric to make a 4" pocket. Pin in place before sewing up the sides. 
Please note, I chose to leave a small portion of the envelope flap to fold down over the pocket.  You can see what this looks like when closed, back up in the first photo.
Stitch up the two sides and remove any pins.
Use a Crop-a-Dile to punch a hole in the flap.
Then add an eyelet (3/16th)

Optional: Hand stitch a Word Plaque to the front flap to hold the twill ribbon in place. 
THE BOOK
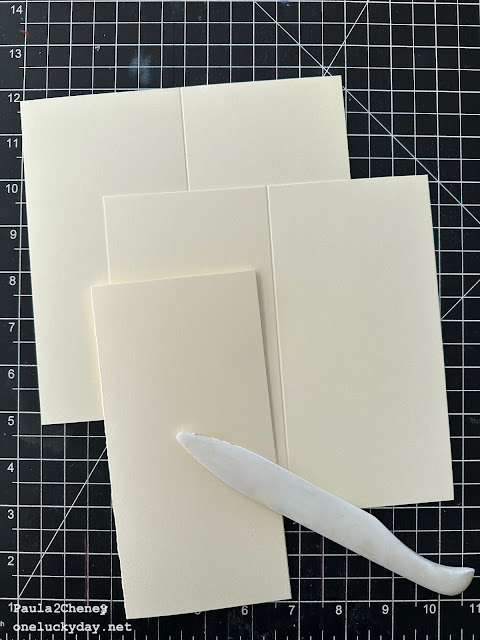
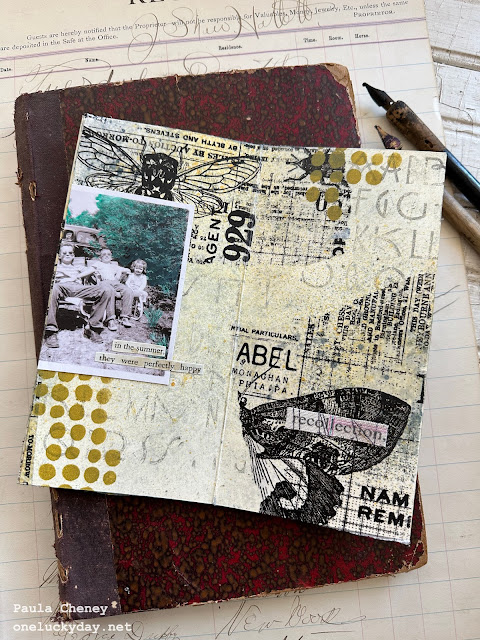
The book can be any size that fits into the envelope you create.  I cut three, 7 x 7" pieces of Distress Mixed Media Heavystock, then scored and folded each.
I opened them back up and sprayed with Antique Linen Distress Spray Stain on both the front and back.  I like to randomly wipe the Heavystock with a paper towel after spraying because although I like the color of the Antique Linen, I don't like the spray dots. Dry with a heat tool.

I didn't take any in process photos, so I hope these final photos will help to understand the process.
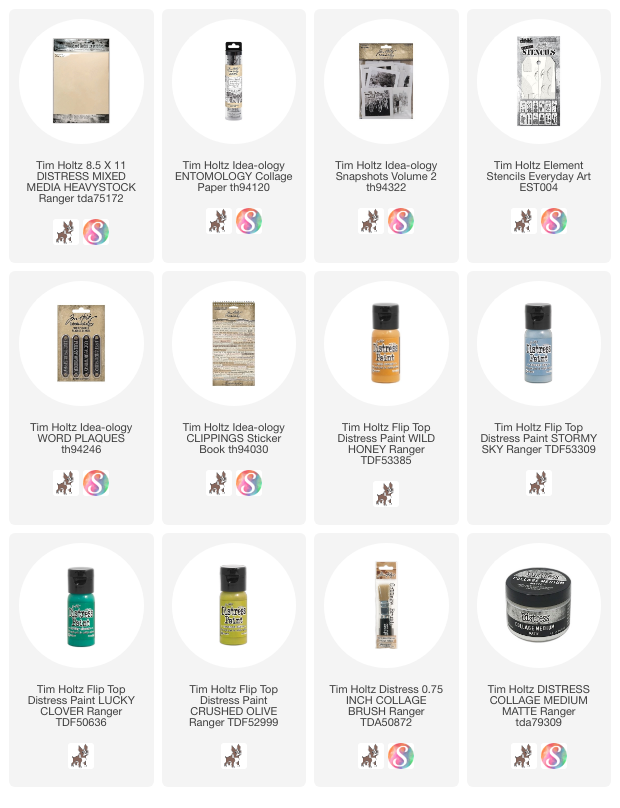
Each page was done using the same materials:
Collage medium
Collage brush
Weathered Wood + Scattered Straw Spray Stain
The Inspector stamp set
Collage Paper Entomology
Everyday Art Stencil set (dots)
Distress Paint Crushed Olive + Stormy Sky 
Archival Ink Hickory Smoke
1 x 4" strips of Embark Fabric
*I created all the pages, then connected them with Fabric strips and Collage Medium.

Cover:

Basic Technique: you must work very quickly using this technique
1.  Cover the entire 7 x 7" page with Collage Medium.
2.  Quickly add ripped pieces of Collage Paper. Add more Collage Medium over the top.
3.  Immediately Spray with Weathered Wood Spray Stain.  Working quickly, pounce over the top of ink/glue with a wet wipe to disperse the ink over parts of the surface. 
4.  Spray Scattered Straw sparingly in random spots, then again muddle the surface of ink and glue with a wet wipe.  
5.  Randomly stamp (no block) the typography stamp with Hickory Smoke Archival Ink.  NOTE: You will need to wipe off your stamp after use since there will be portions of wet glue still on the surface that you are stamping into.  
6.  Dry surface with a heat tool.
7.  Use "Everyday Art" circles stencil + Distress Paint to add paint details.
8.  Add Snapshot photo and Clippings Stickers.

I use these 4 "From the Vault" paints in the booklet.
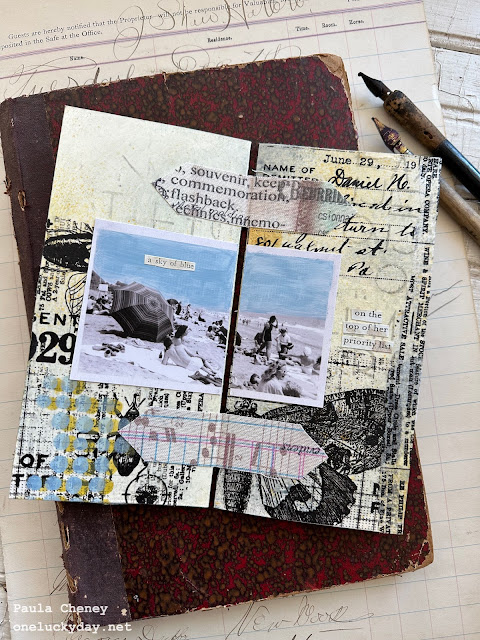
Pages 1/2
Wild Honey Paint on the Snapshot
Close-up
Pages 3/4
Stormy Sky Paint on the Snapshot
Pages 5/6
Lucky Clover Paint on the Snapshot
Back Cover
And there you have it, and fabric envelope with a paper insert. It's and easy make and really you can do anything you wish with the booklet. I like this technique because you have to be fast (working with wet glue!) so it goes together quickly. I would just say, have your Collage Paper ripped into pieces before you start! It will make it much easier!
Thanks for stopping by! I sure appreciate it!
now carry on,
paula