Thursday, October 15, 2020

October Tag


hello friends,

Just a quick post today with an EASY tag I created using Halloween idea-ology products.  Lets get started!
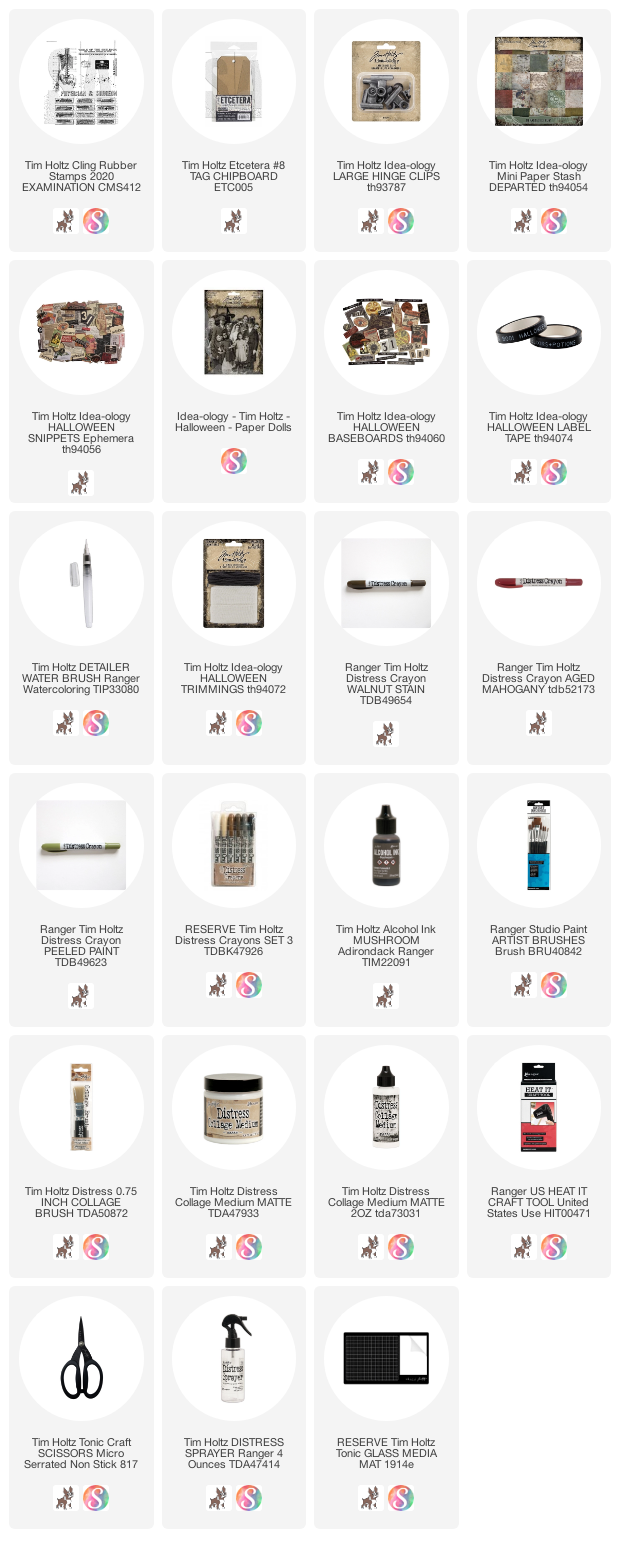
Paper from the Departed paper pad added to a #8 Etcetera Tag. Covered in Collage Medium to seal.
Bits of Departed paper ripped up and adhered to the tag with Collage Medium + Walnut Stain Crayon and Media White Gesso,
Stamp from Stampers Anonymous CMS412 Examination + Archival Ink in Black Soot.  More added crayon but this time with Black Soot.
Large Hinge Clip + 31 from the Baseboard Halloween pack.  Self-adhesive Halloween Label Tape was added across the top.
I colored the Paper Doll I chose, then used a cutting knife and self healing mat board to cut around the hands.  That let me insert the card from the Snippets Halloween pack.  Gosh I love the tiny flash cards...this is the third project in a row that I have used one of them!  Note to self...add more tiny flashcards to the next pack.  I covered the card with collage medium that allowed me to use the crayon over the top.
Clock added from the same pack as the 31.  Sting from the Mummy Cloth pack at the top.  Foam pads on the back of the Paper Dolls to raise them up to "stand" on the 31. 
Easy, easy, I tell you...
The tiny flash card gets me every time!
now carry on,
paula

Tuesday, October 13, 2020

Dreadfully Wicked

Hello friends,

Glad to be here today to share a Halloween project using the Divided Drawer for the substrate.  This projects lights up with very little trouble so it's a great project if you have never used Tiny Lights before.  Lets get started!
  1. Drill or punch a hole (awl and hammer) in the top portion of the Divided Drawer.
  2. Paint the outside and well as one shelf of the Divided Drawer with Black Soot Distress Paint.
  3. Paint the lip edge in white.
  4. Once the paint is dry, cover the interior of the large top compartment with paper from the Abandoned Paper Pad.
  5. Run the black pinked-edge tape (from the Halloween Trim Tape pack) around the lip edge. 
Thread Halloween Tiny Lights from the back of the box to the inside (Halloween Tiny lights come in a pack with both purple and orange).  I wound them up in this oval shape so they would show through the Vellum Scene.  I added a couple pieces of scotch tape to keep them in place.
This is my favorite frame from the Baseboard pack so I had to use it here.  Before adding the Halloween Vellum to the back, I used the Splatter Brush to flick orange paint over the surface.
Once the frame was ready to go, I adhered it to the box with two wood blocks so it stands up and away from the lights.
Next is to add the Paper Doll.  She can be found in the Halloween Paper Doll pack although her dress is plain black.  I wanted a different look so I used the Distress Embossing Pen to draw the stripes of her skirt.  The Embossing Pens come in a set of two, bullet tip and brush tip.  I used the brush tip which makes creating the stripes even easier.  The pen leaves a shiny mark on the surface so you can see exactly where you are drawing.  I drew 3-4 lines at a time, then stopped and embossed the lines with Crackling Campfire Distress Embossing Glaze.  I repeated the process over and over until I got to the top of the skirt.  Then for good measure I created a waistband and colored the neckline.  The mask is from the Halloween Sicker Book and it works perfectly to make her look like she fits right in at the Masquerade Ball.
I added Worn Wallpaper to the shelf for a bit of pattern.  Then placed a wood block at the bottom of her skirt so she would stand on her own with only the block glued to the bottom.  The 13 card came from the Snippets Ephemera Pack.  Just for scale, that card is only 1 1/2" long!


I wanted to fill in the hole at the right with something so I decided on a Metal Gate.  I painted the gate with Peeled Paint Distress Paint, then pounced Black Alcohol Ink over the top to grunge it up.  I just broke off the part of the gate I would use and glued it into the box with Collage Medium.  Shredded up dyed cheesecloth (peeled Paint Distress Spray Stain) is my nod to grass or moss growing up the old gate.
Once the Tiny Lights are on, the eerie glow is the perfect backdrop.
THE WALLS
Use the Lumber 3D Texture Folder to create the woodgrain background (watercolor paper).  I sprayed the paper with Crackling Campfire Distress Spray Stain and dried with a heat too.  Then I used a Ground Espresso Ink Pad to rub directly over the surface of the woodgrain to color all the highpoint of the texture.  And lastly, I added Collage Medium to the surface give it a finished sheen.
THE BUILD UP
If you look at the compartment, you can see that the left side is higher than the right.  I used a small piece of Oasis (stuff used in floral arrangements) to build up the left side.  By added the Oasis, it gave me different levels to work with and a place to push the Mushroom into, giving it the ability to stand on it's own.
THE OBJECTS
As for the objects found the this compartment: the largest of the Toadstools in the pack, a Grave Relic (urn) that has been purposely broken with a hammer, a skull, and Bouquet flowers colored with Crackling Campfire and Milled Lavender.
I added the Quote Chips from the Baseboard pack to the shelf along with Hardware Heads on each end.  Since they are made from Chipboard you can cut the quotes to fit.
I couldn't decide what to do on the outside of the box so I waited till the end.  I knew I wanted something that might relate to the number 13 card so I decided on stamped numbers using Crackling Campfire Distress Paint.  I squeezed paint onto the craft sheet, then spread it thin with my finger.  I placed the numbers on the block (multiple at a time), then pressed the stamps into the paint and then on the wood box.  I love how they turned out, almost like old carnival numbers.
At the top of the box is a Finial.  I painted it with Crackling Campfire, let it dry completely, then painted it with Black Soot.  Once that was dry, I sanded it lightly with steel wool to reveal the Crackling Campfire underneath.  Perfect for a Halloween make.
Hope you liked the Halloween Divided Box featuring Crackling Campfire.  I hope you give it a go, even if it's on a smaller scale. There is still time to make something fun for Halloween! 
now carry on,
paula

Tuesday, October 6, 2020

Wicked Halloween Clock

Hello friends

Today I am sharing the process to make the Halloween Assemblage Clock.  There are a lot of photos that go with this clock so grab some snacks and follow along!

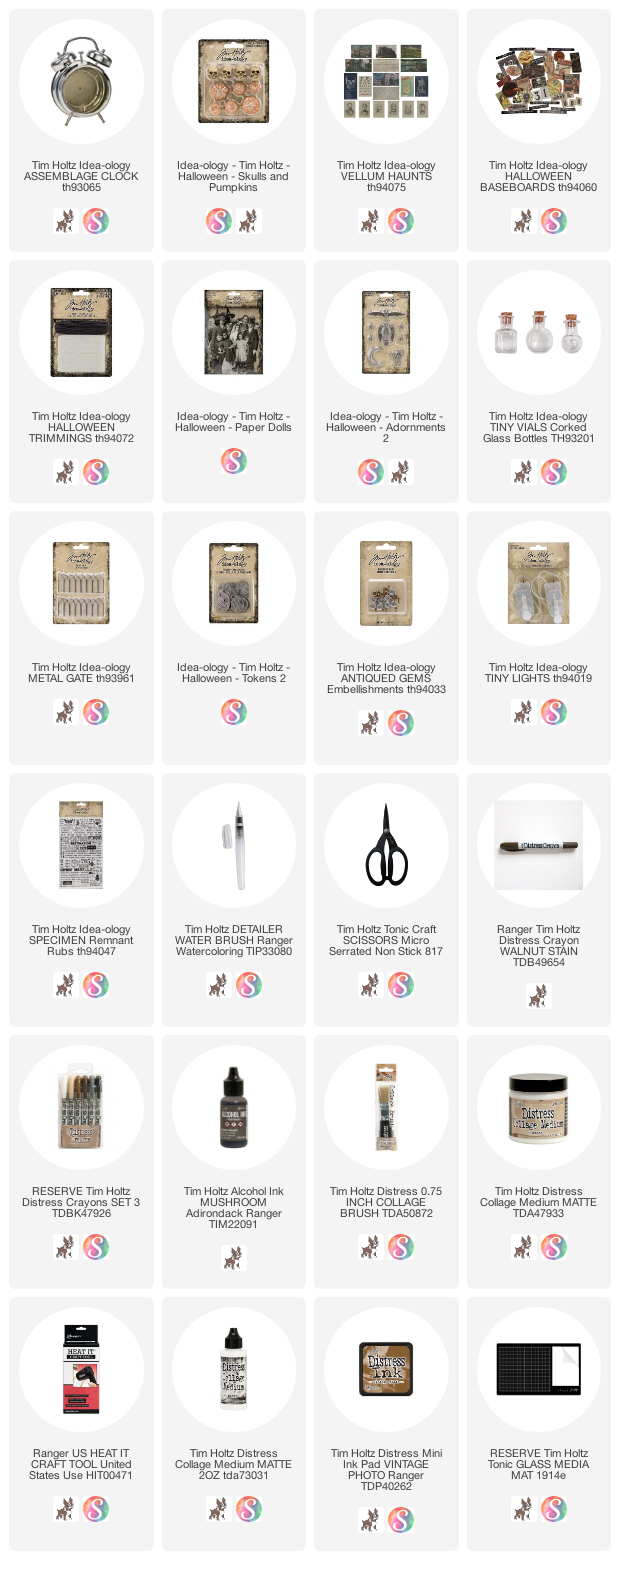
I took the glass out of the clock so I could spray paint the body of the clock black. It's just the easiest way to cover the silver surface quickly.

I put the glass back in (you could wait till you are done with all the painting) then dry brushed the clock body with Pumice Stone Distress Paint. Be sure not to cover the black paint entirely.

Dry brush Forrest Moss Distress Paint in random places.  

Once the paint is dry, scribble on Walnut Stain Distress Crayon.

Rub crayon with a damp fingers to give it a more aged appearance. Set clock body aside.
NOTE: I also used a Splatter Tool to flick black paint over the surface. I didn't photograph it, but it will show up in the photos at the end.

Use an awl to punch a hole in the back of the clock for the lights.

Turn the back over and paint it with white gesso or white paint - it does not matter.  Let it dry.
Once dry. thread Tiny Lights from the back to the white interior and tape into place.
Cut an acetate circle to fit the inside of the clock body (as a reference, scroll down three photos to see how the acetate sits inside the clock body)
Adhere one of the Halloween Vellum Scenes to the acetate.  I did have to piece the scene but the lower half is not visible in the finished piece so it didn't make any difference.

I used Collage Medium on the outer edge - this is a choice I would CHANGE.  I do not like the way the wet medium reacts with the Vellum.  If I had it to do over again, I would use Score Tape around the circle instead of the wet medium which makes the Vellum bubble.  I have found that Score Tape is barely visible under the colored Vellum and therefore has become my "glue" of choice for the Vellum Scenes.
TEST the circle in the clock before continuing. 
NOTE: When you are ready to make it permanent, tape instead of a wet medium will come into play.  Scotch Tape will work to adhere the acetate to the clock.  Maybe one piece at 12, 3, 6, and 9?
Color the Paper Doll with Distress Crayons.
Adhere with small wood blocks so she sits out from the back.
I used the flashcard from the Halloween Snippets ephemera pack to give her something to hold in her hand.  It fit perfectly!
Then added a metal cat from the embellishment pack. 
This is an optional idea: I added Mica to the glass to make it looked like it was cracked.  I do like the idea but it will obscure the pumpkins that will be set behind the glass.  
There is enough of a lip edge inside to add the glue and no one will see it.
I added some green cheesecloth that I previously dyed with Distress Spray Stain in Peeled Paint.
It runs along the inside bottom to create a bed for the pumpkins.
I transformed 4 pumpkins with Picket Fence Paint, a thin stick for stems and strings from the dyed cheesecloth.
Its best to hot glue the pumpkins into the base.

Then I create a rickety fence with paint and alcohol ink and the leftover stick (it was laying on the table so I had to use it).
Again, hot glue is key.

To finish the clock body:
1. Drop the acetate into the back as previously show.  Use tape to secure.
2. Add the back with lights to the clock.
Additional embellishments:
I created a chain to dangle off the the clock bell that includes a metal token, 2 Antiqued Gems (added Alcohol ink), Baseboard piece (punch hole with Crop-a-dile), and a potion bottle smeared with Crushed Olive Distress Paint + remnant rub.
I also added a Mummy Cloth bow.  It is much blacker in person rather than the grey it shows up in the photos.  I sprayed the Mummy Cloth with Black Soot Distress Spray Stain and dried with a heat tool.  I tied the bow to the clock handle and arranged it just so.  Then used my secret weapon, hairspray, to keep it in place.  The clock has been sent to Tim's house and back again, and the bow is still in the same place as I arranged it.  Secret weapon I tell you.


Like I said at the beginning, lots of steps and photos.  This is just one of those projects where you need to take your time.  If fact I'd do the clock body one day and the inside the next.  That way it doesn't become overwhelming.  Thanks for stopping by!!

now carry on,
paula