I am sharing an easy Christmas project today featuring die cuts. This project is really about looking at the dies you own in a different light. I used six different Thinlit die sets for my Paper Tree. They were already in my collection of dies and maybe in a lot of yours too! Four are Christmas dies, two are not. I chose each die based on shape and scale...and I tested more shapes than I will show in the following process photos. All pieces were cut using Distress Watercolor Cardstock which is nice a thick.
So here are the dies sets that made the last cut:
Festive Greens
Mini Christmas Things
Mini Paper Snowflakes
Funky Foliage
Funky Floral #1
Mini Holiday Greens
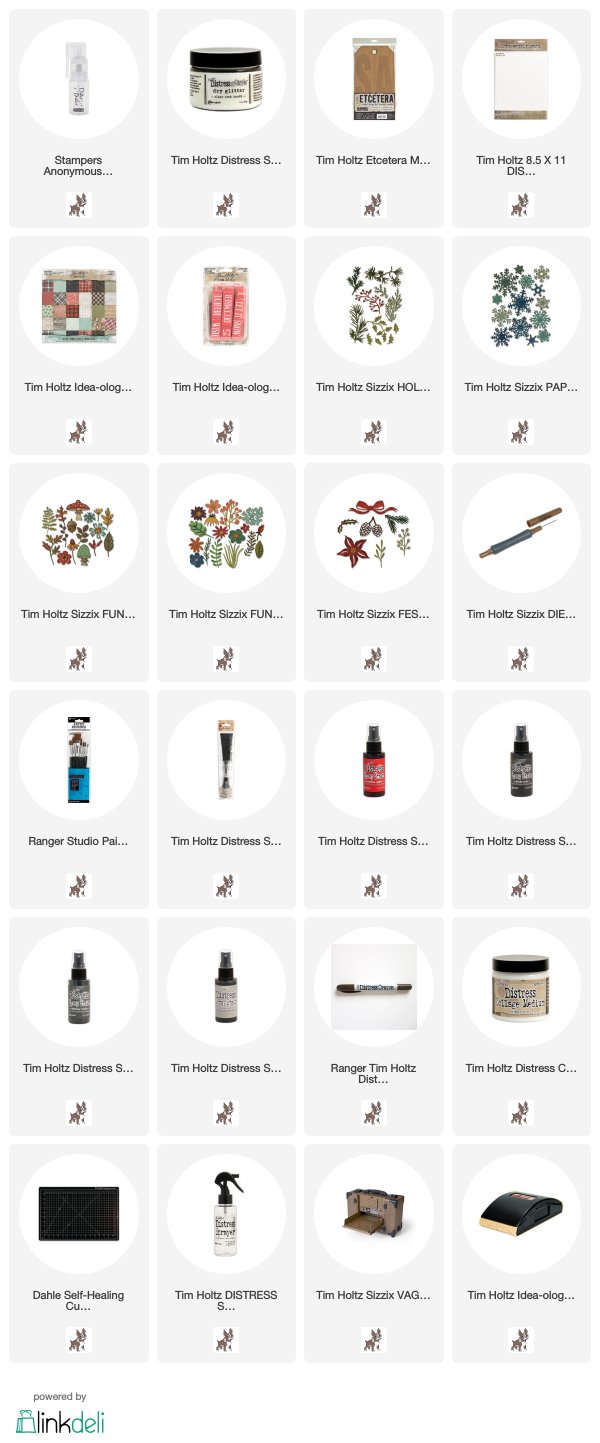
This is a list of the dies I used (top to bottom):
Mini Christmas Things - I only used the tiny snowflake that is on the die with the cup.Mini Holiday Greens - four holly leaves + holly branch (I cut this in half to make two pieces)
Funky Floral #1 - smallest flower
Festive Greens - pine + long stem
Mini Paper Snowflakes - 4 of the smallest in the set
Funky Foliage - large flower (bottom left) - I only used the center, not the flower itself + large leaf (bottom right)
I built the tree shape on a piece of scrap cardstock to see how big the tree would turn out. Basically I worked large to small...snowflakes, then leaves, holly, etc.
Once the tree was formed I could tell a medium Etcetera Tag would be perfect for the substrate. I used Collage Medium to adhere the plaid paper to the substrate. Once dry, I added a layer of Collage Medium over the top of the paper as well. It does take two sheets of the 8 x 8" paper to cover the medium Etcetera Tag. I didn't have any problem matching up the plaid to make it look like one sheet.
One by one, I moved the pieces to the tag and recreated the tree. Two things helped in this endeavor. First, I took a picture of the original tree with my phone so I could refer to the photo. Second, I used my Sizzix Die Pick to adjust the pieces. This worked MUCH better than trying to use my fingertip.
I glued each piece down with Collage Medium. I also always keep a small paint brush nearby when working with small die cuts. It's the perfect tool to brush away excess Collage Medium.
I decided to use a Christmas Quote Chip as the trunk of the tree. I love Merry and Bright but Believe won out since it was a shorter piece and looked more like a trunk.
I had an idea to fill in some of the open space with "berries" to go with the holly leaves. I used a 1/8th punch to quickly make a lot of "berries".
Then added them to the tree. That die pick came in handy again, moving each little circle to the glue. Once again, I used the small paintbrush to brush away the excess glue.
Once all the pieces were in place, I used Picket Fence Distress Paint and a Splatter Brush to create a snowy background over the tag. I LOVE using the Splatter Brush - it just works like magic every single time. I'm impatient so I dried the paint with my heat tool.
I decided I wanted a bit a sparkle so I got out the Glitter Duster filled with Rock Candy.
Flip the nozzle up to prepare to spray.
Working quickly, I added Collage Medium over just the white die cuts before spraying the Rock Candy over the surface. Using the Glitter Duster you get a light dusting of Rock Candy over the tree which is perfect for a piece like this!
It's hard to see Rock Candy in a photo but it's there and I know the tree will really sparkle at night.
I still needed to add the reinforcer (which I painted black) and a bow at the top of the tag. I used Crinkle Ribbon and 4 colors of Distress Spray in this order: Pumice Stone, then Hickory Smoke, Candied Apple and Black Soot. Only Pumice Stone had complete coverage. All other colors were randomly sprayed and dried in-between with a heat tool.
I added the black reinforcer, then tied a fluffy bow.And there you have it, a cute little piece all made from three pieces of paper! I think it's going to look great as part of my Christmas decor. Remember, you can use whatever shapes you want to create the tree - the bigger the shapes , the bigger the tree!
Happy Holidays!
now carry on,
paula


