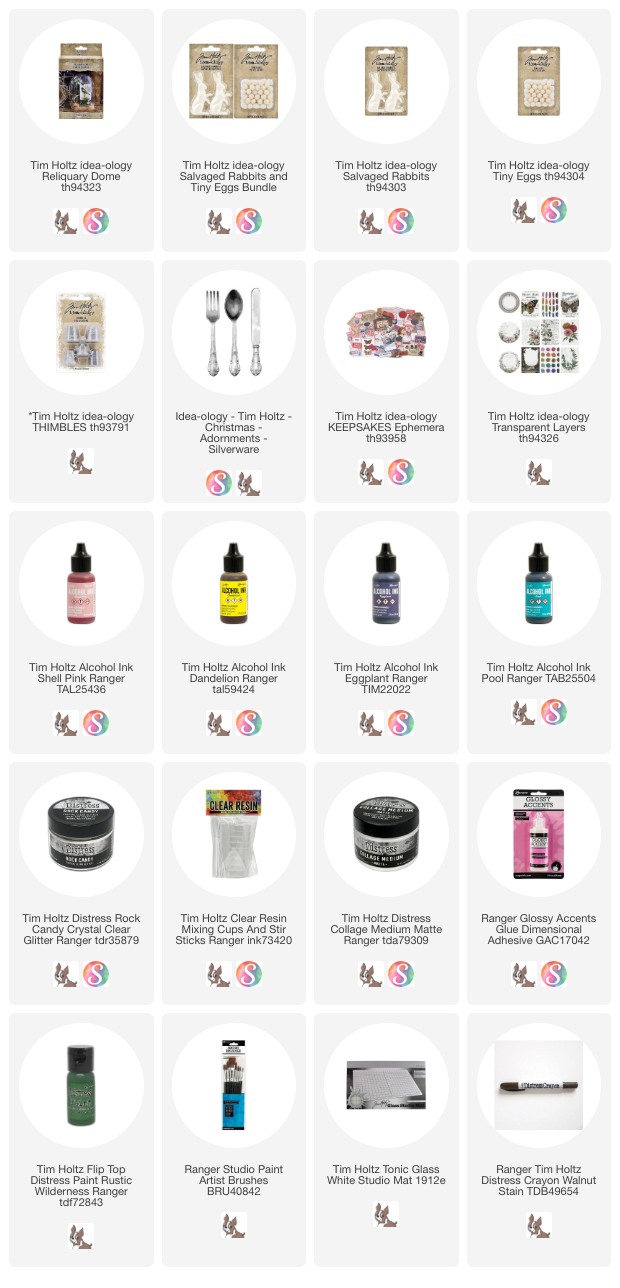
I'm so excited to share one last Easter make with you all before the holiday passes! This project showcases the wonderful idea-ology Reliquary Dome, a personal favorite. And of course, it wouldn't be Easter without the adorable Salvaged Rabbit and some glittery Tiny Eggs. A highlight of this project was creating the tiny white Easter baskets to perfectly cradle these eggs, resulting in a sweet and dream-like springtime scene. I hope you will read through the tutorial and find something that you might like to incorporate into a make this Easter season.
It's a lot easier to see with the glass dome removed!
I started the project by coloring idea-ology Tiny Eggs with tinted Rock Candy Glitter. Tim has a great video where he explains how to tint Rock Candy with Alcohol Ink. The VIDEO is timestamped so you just click on the timestamp and it takes you to exactly that point in the video.
Now back to the colors I chose for the Rock Candy - Dandelion, Eggplant, Pool, and Shell Pink. I found that these color worked really well for me, but so many other colors can be used. Admittedly, it is kind of addicting...I made about 10 in total! Afterwards, I set the eggs aside to dry completely while I worked on other parts of the project.
Starting with the cork base. You could leave it brown but I decided to switch it up and paint it with Rustic Wilderness Distress Paint. Let it dry while you work on the baskets,
Once dry, I highlighted the Thimble texture with Walnut Stain Distress Crayon. I just scribbled it on and rubbed it in with a damp finger. It worked perfectly. They are really starting to look like baskets!
Please Note: Salvaged Rabbits and Tiny Eggs are retired products. So if you think you might make this in the future, they will only be around for so long before they are gone. Just something to keep in mind.
I had the idea to make Easter Baskets out of Thimbles and wire. I used a flexible 18-Gauge Stem Wire I bought at Michaels in the floral department. When I say flexible, I mean it is very easy to bend into a shape. The first one I did with just my hands (that's the wonky one in the center). Then I figured out that I could use a Distress Crayon and bend the wire around the outside to get the perfect handle. I decided I still liked the wonky one so I left it. I used a generous amount of hot glue to attach the wire to each Thimble.
Next up is painting. I used a craft paint instead of Distress Paint because I wanted it to be a thicker mat paint (and its also quick drying).Once dry, I highlighted the Thimble texture with Walnut Stain Distress Crayon. I just scribbled it on and rubbed it in with a damp finger. It worked perfectly. They are really starting to look like baskets!
For the "grass" in these tiny baskets, I used a fine weave Grade 90 Cheesecloth (can be bought on Etsy) . I colored a large piece with Peeled Paint Distress Spray about 5 years ago and I am still using that piece. I just cut off a bit when I need it and shred it up!
NOTE: There is a hot glue gun in this shot because I filled the Thimbles with hot glue, leaving about a 1/4" at the top. When they were almost dry, I pressed the shredded cheesecloth into the barely warm glue. If you miss the window, just use Collage Medium to add the cheesecloth.
You can see that the hot glue does not go all the way to the top of the Thimble, leaving room for the eggs.So, so cute! I probably should have made 10 of these, not three!Okay, on to the Salvaged Rabbit. The rabbit can be any color. I went with two coats of Pumice Stone, letting it dry between coats.
Once dry, I added Walnut Stain Distress Crayon with a damp brush. I started with a wash...Then just kept working it over the rabbit as the crayon started to dry. When I was happy with the way it looked I just set it aside to finish drying.Cut a bamboo skewer about 4" long to use as a sign post. I colored it with Distress Ink and a bit of water to help the ink wick out.
Now just push the skewer into the cork. Super easy!Next - the rabbit and the three baskets are added with Collage Medium. I set it aside for an hour or so to let the glue dry enough so the basket did not move when I added the eggs and moss. Once it dries overnight the baskets will be secure.
Once dry, I added Walnut Stain Distress Crayon with a damp brush. I started with a wash...Then just kept working it over the rabbit as the crayon started to dry. When I was happy with the way it looked I just set it aside to finish drying.Cut a bamboo skewer about 4" long to use as a sign post. I colored it with Distress Ink and a bit of water to help the ink wick out.
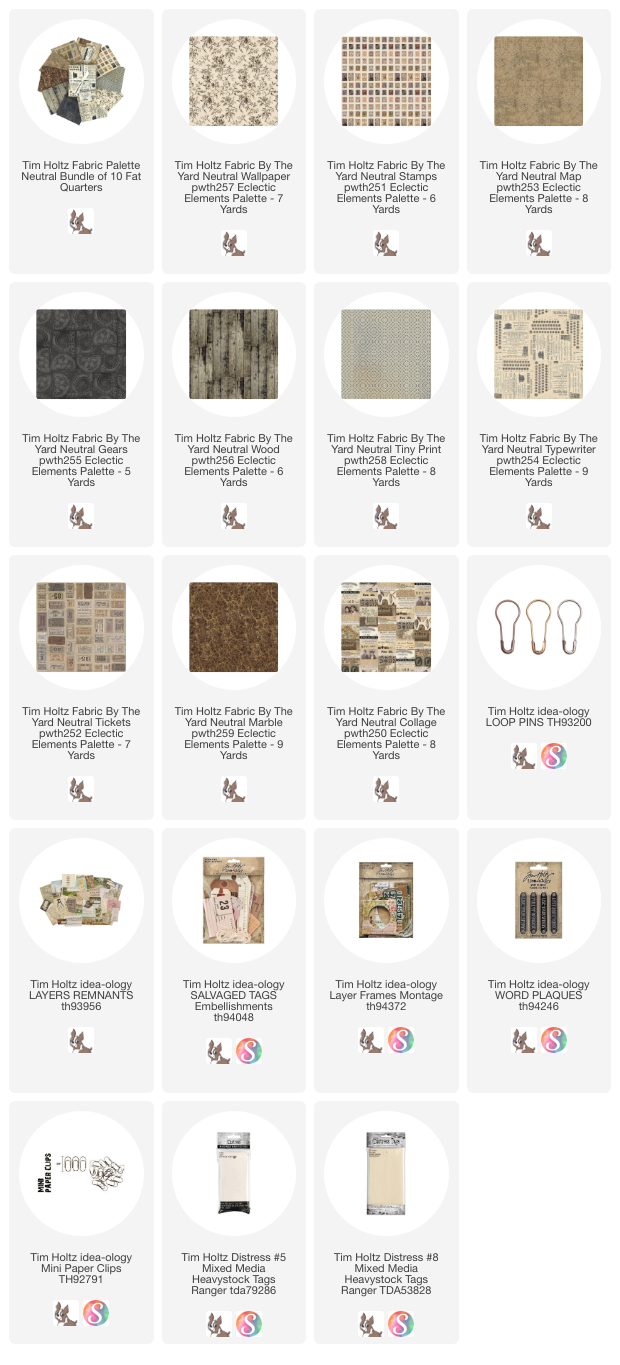
I pulled a couple pieces of Ephemera from the Keepsakes Ephemera pack for my sign (one for each side of the sign). I added a piece of chipboard to the back so when I attached it to the skewer, the ephemera on the front would stay flat.
This is the back - it did not matter that the bubble is showing on this side. Now just push the skewer into the cork. Super easy!Next - the rabbit and the three baskets are added with Collage Medium. I set it aside for an hour or so to let the glue dry enough so the basket did not move when I added the eggs and moss. Once it dries overnight the baskets will be secure.
Break up the moss into small pieces and add to the surface with Collage Medium. If the moss is too "fluffy" you can shoot hot glue underneath and press down.
Then add the Tiny Eggs in and around the baskets and moss.
While the eggs were drying I worked on the dome, adding one of the Transparent Layers. First I had to round the corners of the transparency and cut about 1/2" off the bottom to make it fit. I added Scor-tape to the bottom edge so it will attach to the glass dome.Lay the dome on it side and slip the transparency into the opening, adhering the Scor-tape to the glass. Test it out with the base.. does the transparency need to be adjusted? Now is the time.
I added string around the glass, held on with Cello Sticker Tape. Then added a Remnant Rub - "Lost and Found" to the glass, right above the bow. Then I had an idea...
If the eggs are "lost and the found", my rabbit would need something it dig them up with. So I grabbed an idea-ology fork from the Silverware pack to use as the digging tool. I had to remove one egg I had glued in that spot, but no matter, the fork was worth it. I did need to use my Texture Hammer to get the fork to go into the cork base (no hammering on the glass mat though).
If the eggs are "lost and the found", my rabbit would need something it dig them up with. So I grabbed an idea-ology fork from the Silverware pack to use as the digging tool. I had to remove one egg I had glued in that spot, but no matter, the fork was worth it. I did need to use my Texture Hammer to get the fork to go into the cork base (no hammering on the glass mat though).
You could add more eggs if you wish but I ended up with what was good for me (2-3 of each color).


