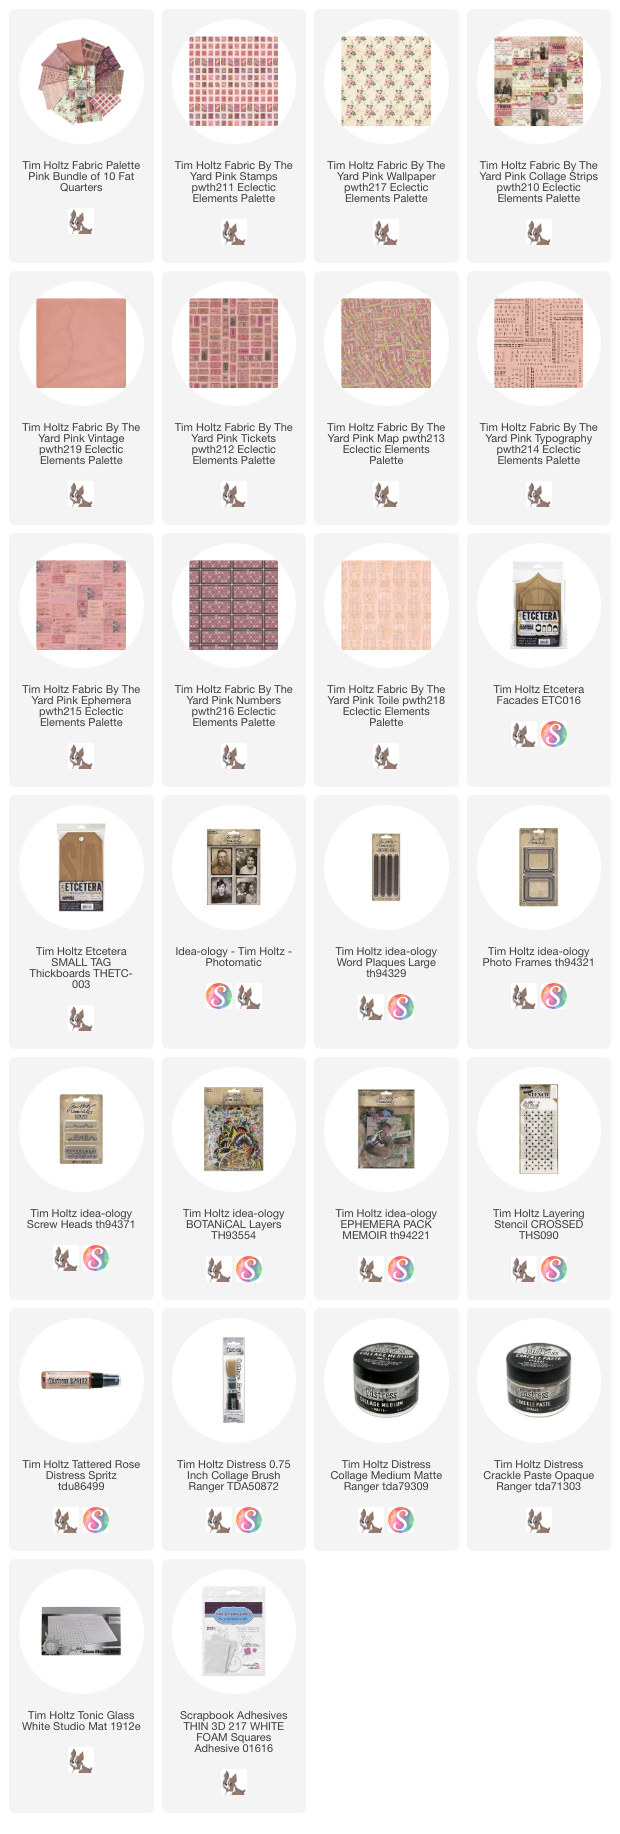
The first color of Eclectic Elements Palette has finally arrived in stores, so I'm able to share my project using the new fabric. There are 10 prints for each color so it was hard to choose which two to use for my project! The "Pink Stamps" fabric was calling my name so I knew it was the one to start with. Let me show you how this came together.
I cut a piece of Pink Stamps that was big enough to cover the Etcetera shield shape I intended to use. I added Warm and Natural cotton batting to the back, then quilted it between the stamps (the stamps make a great guide for stitching).
I love how it looks when the stitching is done. I think you could use a background like this for a variety of projects.
I added a good amount Collage Medium to the shield Etcetera Shape (leaving the center circle in place).
Then laid the shield on the batting side of the fabric. This helped to see the stitched grid so I could make sure the shield was straight. Once dry, I cut around the shape with sharp scissors and my rotary cutter.
I needed a focal point so I grabbed one of my favorite ladies from the Photomatic set (2 x 2 1/2"). I used a cotton swab to add a bit of color to the background and her cheeks.
Then I went back to the sewing machine to add cotton batting to the back of the photo + some vintage lace to a couple of spots (yes I did want to leave all the crazy strings long!).
I also chose a Word Plaques (Large) to go with the Photomatic. The pack comes with 4 choices. I chose "Life is Meant for Adventure".Fill in the recessed portion by scribbling Picket Fence Distress Crayon over the raised letters, then rubbing it in with your thumbs. Use Collage Medium to add Screw Heads to each end to cover the holes.
Next we need a Photo Frame for our image. I painted it with Speckled Egg Distress Paint and let it dry completely. *Once dry, sand with steel wool and splatter with white paint.
I wanted to add some decoration to the background and decided to use the Stampers Anonymous "Crossed" stencil + Opaque Crackle Paste (you could also use Texture Paste). I used just a couple small areas to add the stencil design, then immediately cleaned the stencil and palette knife.This is what it looked like once the paste had dried and crackled.I decided to spray Distress Spritz over the area where I added the paste. Its hard to see the final result until after the Spritz is dry. The Spritz maintains it's shine even over the fabric (somewhat surprising!)
The quilted background is so wonderful, with the stitched pattern adding to the visual texture. I just love it!
I also like that added touch of the Distress Spritz in the background.
Now carry on,
Arrange the Word Plaque and a few flowers from the Botanical Layers pack on the front of the shield shape. I used THIN foam squares under the flowers to give them a bit of dimension. The Plaque was secured with Collage Medium.
Now add the Photo Frame to the center. I used regular 3D foam that I cut in skinny strips so it would fit behind the metal frame.The Photomatic image goes on next, again using 3D foam squares, so the image is floating over the frame. Now trim the threads to your liking.I also used Collage Medium to add a small black ephemera piece from the Memoir pack to the right side.Once the shield is complete, add a piece of Pink Wallpaper Palette Fabric over a small Etcetera Tag. I used Collage Medium and I did not have any issues with the glue soaking through. I did have to work quickly though!Use a rotary cutter to cut away the excess fabric from the Etcetera Tag.I wanted to add some decoration to the background and decided to use the Stampers Anonymous "Crossed" stencil + Opaque Crackle Paste (you could also use Texture Paste). I used just a couple small areas to add the stencil design, then immediately cleaned the stencil and palette knife.This is what it looked like once the paste had dried and crackled.I decided to spray Distress Spritz over the area where I added the paste. Its hard to see the final result until after the Spritz is dry. The Spritz maintains it's shine even over the fabric (somewhat surprising!)
The next step is combining the Etcetera two pieces. You can use Collage Medium or add 3D foam squares for a more pronounced layer.
The quilted background is so wonderful, with the stitched pattern adding to the visual texture. I just love it!
I also like that added touch of the Distress Spritz in the background.
Hope you'll give the Pink Palette fabric a go. I'm not sure what I'm going to make next, but I do know I have 10 great fabrics to choose from!
paula


Fabulous xx
ReplyDelete