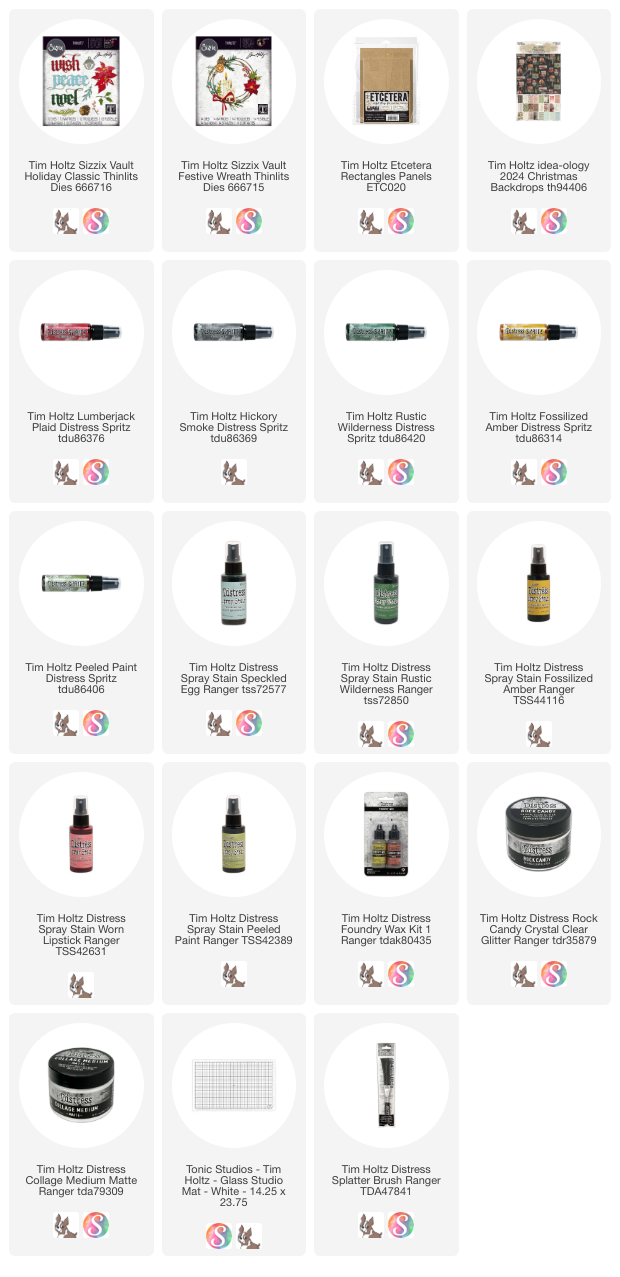
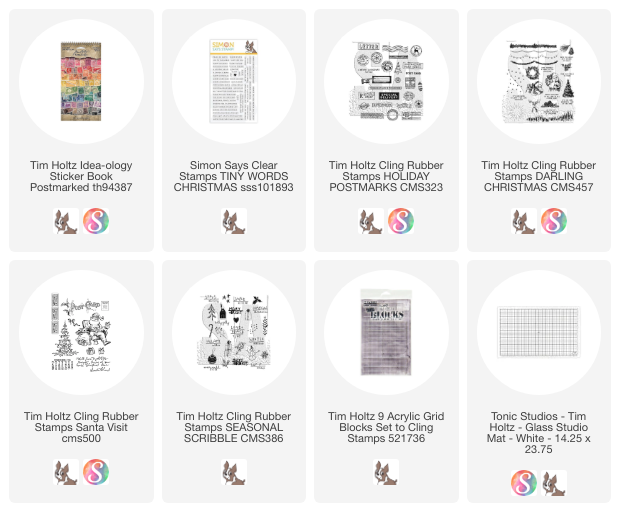
I love the Sizzix vault dies that were released for Christmas this year and I thought, what could I make that isn't a card? I also wanted something that was really festive and that could be used for a decor piece. Anyway, this is what I came up with and I love it. It was fun to make (I love anything I can dip into Rock Candy) and fun to arrange all the pieces. So lets get started so I can show you the process!So this is how I started. I die cut a bunch of pieces using 2 vault sets (see below) from Distress Watercolor Cardstock. At this point I'm just trying to get the shape of a tree using the die-cut. You will notice that in the end I added another piece of pine and a bow. I also combined the juniper and the berries, but for the most part, these are the main pieces I used.I used two vault dies: Vault Holiday Classic and Festive Wreath. The majority of the die shapes are from Holiday Classic.
I wanted a snowy look so I used my Splatter Brush to platter white paint over the surface.
Once the paint was dry, I added l" low tape tape in the shape of a tree.
Before spraying, I laid paper towels over the exposed paper.
I sprayed Hickory Smoke Distress Spritz over the open space.
Then followed with water.
As I was drying the Spritz with the heat tool, I pounced over any puddles of the Spritz.After removing the tape strips, you can see the tree shape is very shiny over the dark background (sorry about my thumb in the photo, lol).
Now to work on the die cuts -
I only used the bow from the Festive Wreath die.
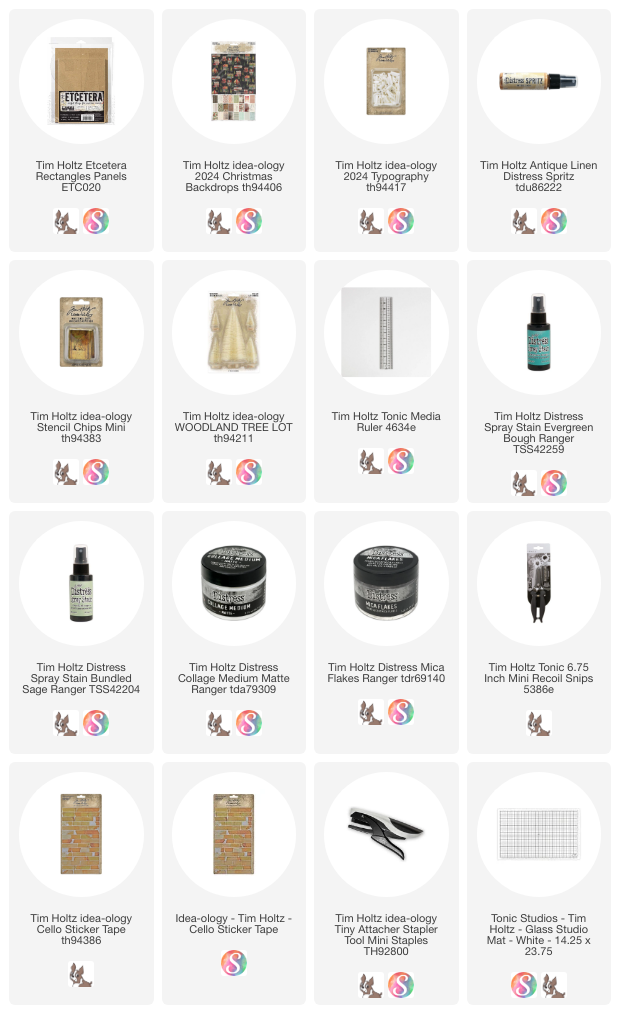
Lets get started with the large Etcetera panel. This one is 6 x 8 1/2", so a bit bigger than the one I used on the Christmas tree panel last week. I chose one of the Backdrop Papers and adhered it to the panel with Collage Medium. I also added a layer of Collage Medium over the top of the plaid paper to seal it.
Once dry, I used my Walnut Stain Crayon on the edges of the panel.I wanted a snowy look so I used my Splatter Brush to platter white paint over the surface.
Once the paint was dry, I added l" low tape tape in the shape of a tree.
Before spraying, I laid paper towels over the exposed paper.
I sprayed Hickory Smoke Distress Spritz over the open space.
Then followed with water.
As I was drying the Spritz with the heat tool, I pounced over any puddles of the Spritz.After removing the tape strips, you can see the tree shape is very shiny over the dark background (sorry about my thumb in the photo, lol).
Now to work on the die cuts -
You can spray any of the pieces the colors you want or you could even watercolor them. I wanted to add Rock Candy Glitter for some texture so I decided to stick with Distress Ink in Peeled Paint and Rustic Wilderness. I did use some Spritz on the greens but it didn't show as much as I wanted because the pieces are so small. One thing I should mention is that I cut three pine pieces (right side), then I cut two of them into two pieces to get some smaller pine. You can also see I have added Rock Candy Glitter.
This is a combination of two pieces from the same die. One is a juniper and the other a berry branch. Once they were painted I combined them, then added the rock candy.
The poinsettias are my favorite. I was able to spray them with Lumberjack Plaid Distress Ink (dry them). Then spray with Lumberjack Plaid Distress Spritz (dry again). Then I gave them a few hits of Fossilized Amber Spritz (dry again). This combination is so beautiful! The centers were done with Foundry Wax Gilded.
I cut all the pieces from white Distress watercolor cardstock. I didn't want the white showing on the cut edges so I sprayed the word with Black Soot Spray Stain before adding two layers of Gilded Foundry Wax.
Now its time to add all the pieces to the tree. I started with the top and the bottom, then filled in the middle. I used thin foam tape under almost all the pieces to create different levels.You might be able to see just a little better in this shot. The poinsettias, the bell, the word peace all have thin foam tape underneath. As do some of the greens, like the holly and bits of the pine. I used it as best I could to make the tree more 3-dimensional. I think adding the bow (sprayed with Speckled Egg) over the bell also gave some great dimension.You may have also noticed in the last photo that I decided to add some gold droplets. I bought these at Hobby Lobby for another project but thought, why not add them to the tree? I could not leave them as is though, so I added a bit of Mushroom Alcohol Ink to make them more vintage looking.I kept it pretty simple but more could be added if you wanted.
I'm happy with the way it turned out. I think this is a great project since you could use any die that you might already own, use inks that you have on hand and make it whatever size you want to fit your surface!
Now carry on,


