
I call it "prep" day because we will be preparing the Card File and the cards for embellishment later in the week. As with any Card File, there are so many options that sometimes making a choice becomes the problem. So for this project, I'm going to show you how I tackle something of this size. It's actually very methodical, so what looks like random, really isn't random at all.
Today we'll tackle the box itself and add layer of Distress Ink over all the card we will be using.

Card File Box:
Use a small screw driver to remove the metal pull on the front of the Card File (be sure to put the screws in a safe place as they are VERY small!).
Paint the Card File and the metal pull with black paint - you can use Distress Paint or acrylic craft paint. Be sure to paint the inside of the Card File as well. Set aside to dry while you work on your cards. When you come back to it, the box should be dry and ready to sand and put back together.
Sand the edges of the Card File and the metal pull to distress the finish (I always use steel wool to sand metal, so if you have some it's the perfect time to break it out to use on the metal pull).
Use the small screwdriver to reattach the metal pull. There is no need to add the "title" to the metal pull - that can be done when you find the right words in the Sticker Book at a later time.
OPTION: If you want to cover the box with paper from Halloween Backdrops rather than painting it, I would still paint the inside of the box with black paint and just cover the outside with paper. Punch the two holes with an awl, the screw the metal pull back on the box.

File Cards:
The Card File will have 21 finished "cards" when we are done. Nine of the "cards" are pockets so they require an extra card or tag to go into the pocket. In our case, you will need 6 extra cards and 3 tags (exact information will be spelled out below). I cut the extra cards from Mixed Media Heavystock since it is the same material that the File Cards are made from.Here are the cards that will be used and what pack they came from:
File Cards (TH94223)
3 - folded cards
3 - tabbed cards
3 - plain cards
I did not use the pockets from this pack.

File Cards 2 (TH94369)
3 - zig- zag cards
3 - library pockets
3 - envelopes
3 - pockets with a hole in front

Additional card and tags (cards cut from Mixed Media Heavystock)
3 - #5 tags 2 3/8 x 4 1/4" (tags were shortened to 4 1/4")
3 - 2 3/4 x 4" with rounded corners
3 - 2 7/8 x 4 1/4"

COLORING PROCESS
All cards and tags have been colored with Gathered Twigs Distress Ink. We are going to be adding more ink later in the embellishment phase using Scorched Timber. The combination of Gathered Twigs and Scorched Timber is pleasing to me, but of course you can use your favorite Distress Ink colors.
I like using my Gathered Twigs ink pad rather that the spray ink, because it is hard for me to control the amount of ink on my mat. I have a tendency of over inking the cards and I really don't want that, so be cautious of how much ink you have on your mat.
I smooshed the ink pad onto the Tonic Surface Mat multiple times and sprayed with water. Then work in groups of tags, maybe 3 at a time (since you have to stop to add more ink and water before starting again). Everything is very loose and watery with lots of white space showing! Remember this is only the first layer of ink.
You can choose to use a heat tool or not when inking your cards. I use a paper towel to pounce over any heavy ink spots in the inking process, then give them a quick dry (like 10 -15 seconds depending on the size of the card).
Work your way through all the cards and tags until everything is colored as shown below. This is a process that will take some time, so don't rush. Open the window, listen to some music and just focus on the ink! Once you are done, double check that you have a little ink on every side. Then just leave the cards to dry overnight. They will be nice a crispy dry in the morning and we will be ready to start adding paper.

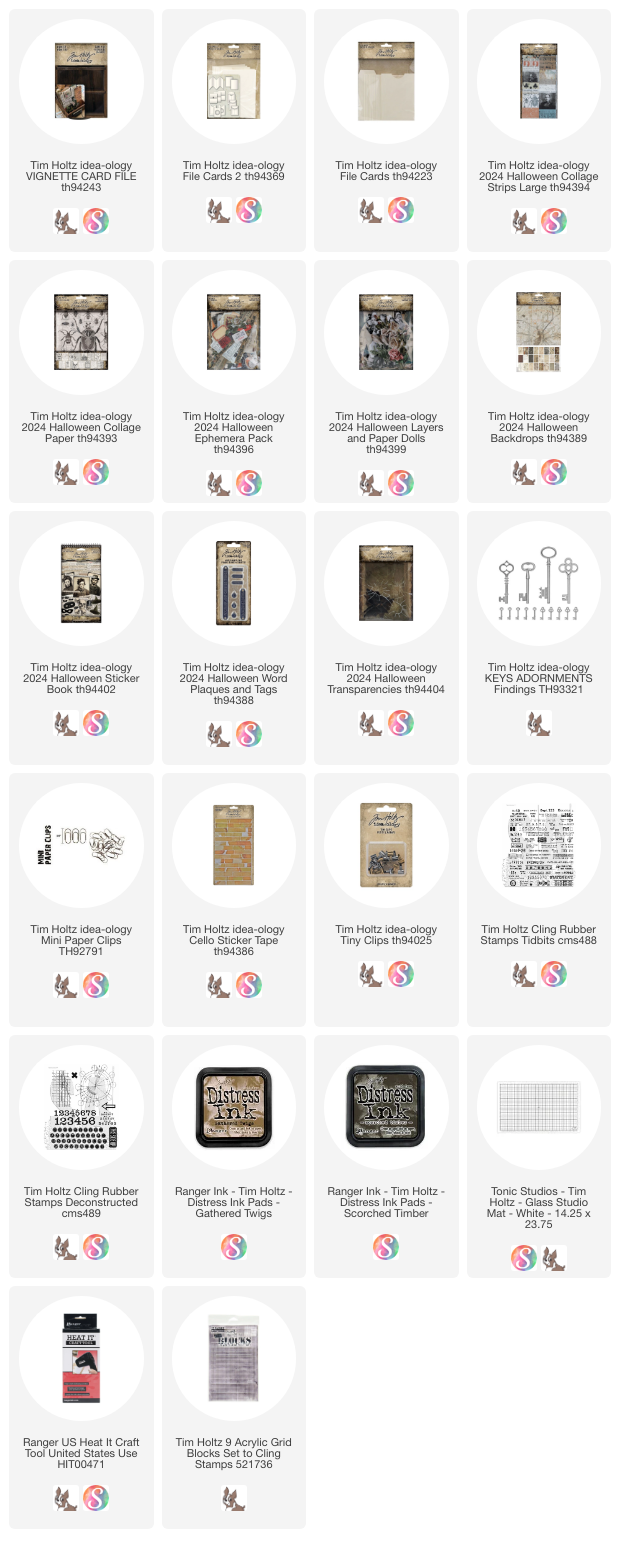
I posted the product list last week, but I thought I would post it again so you can gather items to use over the next week. Anything can be substituted for something you have on hand including the 2 stamp sets I will be using.
Vignette Card File
File Cards
File Cards 2
Halloween Collage Strips Large
Halloween Collage Paper
Halloween Ephemera Pack
Halloween Layers and Paper Dolls
Halloween Backdrops
Halloween Sticker Book
Halloween Word Plaques and Tags
Halloween Transparencies
Postmarked
Keys Adornments
Mini Paper Clips
Cello Tape Stickers
Tiny Clips
Stampers Anonymous Tidbits
Stampers Anonymous Deconstructed
Distress Ink Gathered Twigs and Scorched Timber
Mixed Media Heavystock (extra cards)
black paint
now carry on,
paula

paula
Thanks! I'm excited to get started!
ReplyDeleteThanks for joining in!
DeleteI love followiing with your card files. I still have a little room in the one I made last year. fun to add to it until I will it up and need another one, thanks as always for sharing and all the inspiration.
ReplyDeleteThanks for giving it a go Theresa!
DeleteThanks for sharing this! I ordered some of the materials and can’t wait to make this!
ReplyDeleteGlad that you are going to give it a go! (no matter when)
DeleteHi! Do I ink BOTH sides of the cards, pockets, etc? Thanks!
ReplyDeleteyes, ink both sides!
Delete