
Can you believe this is our last day? You are almost done!
I have saved the best for last! Because these cards use absolutely everything we have learned over the last week! Lets get started!


gather supplies

All of the zig zag cards build a little scene across the 4 sections of the card. You will need to think about how the 4 sections work together, how the Portrait fits into the scene, how to compensate for the width of the Portrait since it goes beyond the fold, and how you can make the the most of the space.
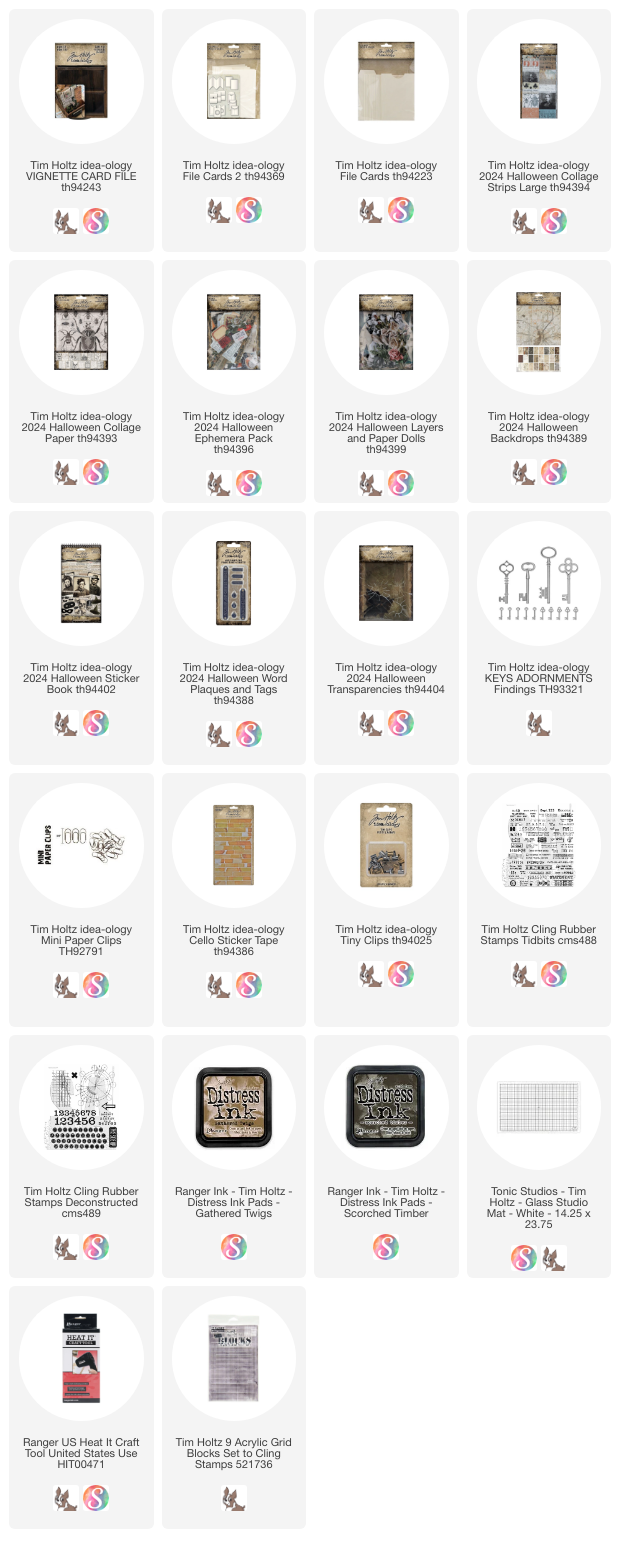
Card 1 supplies

I worked on panel 2, 3, and 4 first, then added the Collage Strip and Backdrop on panel 1. I did this so any stamping on panel 2 did not have to masked off, since panel 1 would be covered with paper.
I followed this order when putting the cards together:
- Stamping (with both Hickory Smoke and Scorched Timber Oxide Ink).
- Backdrop paper
- Collage Paper
- Ephemera
- Collage Strips
- Cello Tape

I apologize for the small photo of the entire zig zag card. The blog format does not allow for large horizontal images. To compensate for that, I have taken a photo of each section of the card to see the details.

panel 1
Backdrop + Collage Strip + mask

panel 2
stamping + ephemera strip + cheesecloth
You might notice I added some dyed cheesecloth (or Mummy Cloth) to some faux stitching. I say faux stitching, since it's only purpose is to hold the cheesecloth to the page.Please note - the ephemera strip is one strip that has been cut so it will reach to the other side (in other words, it does not really go behind the back of the portrait - it just looks that way).


 I used thin foam squares behind the head of the Portrait. Just enough to give him some dimension but not too thick that I can't close the folder. The bird also has a thin foam square.


panel 3
Backdrop + Collage Paper + Ephemera + Clippings + Cello Tape
Each of the zig zag cards has a portrait inside. These are from the Layers + Paper Dolls pack. I chose the three that looked the scariest to me! You'll notice that each portrait is wider than the fold of the zigzag. That presents a problem since if the arm sticks out of the folded card, it will not fit into the Card File box. I decided to fold the shoulder around the page. Sometimes I stuck it down with Scor-tape or I stitched it down with the sewing machine and once I just left it. Do whatever works best for you.
To age the Portrait, I dipped him into the ink puddle, then dried with a heat tool. Because the Portrait is a Layer, it is made from heavy coated paper. The paper will resist the ink (as it should) but I know that if you keep dipping and drying, some of the ink will remain on the image. I only want a small portion of ink to stick to the surface, so using the puddle and the heat tool is a good solution. Once you try this technique, I know you will love it! I also colored his tie with Crushed Olive Distress Crayon before adding the ephemera and the Cello Tape.

panel 4
stamping + Ephemera + Postmarked stamp + Cello Tape
Don't you just love the stamped numbers? Gets me every time! I also like the use of the two Oxide colors. The Hickory Smoke in the background, with the Scorched Timber in the front makes for a great combination.

card 2 supplies

The 2nd zig zag card is held together with a ribbon. I will show how the ribbon is stitched on later in the photos, but for now you can see all the wonderful colors of Distress Ink!


Panel 1
Backdrop + Collage Strip

stamping + ephemera + sticker book + stitching + cello tape


Note that stamping is always done first, then the Collage Paper is laid over the top creating a haze of layered lines and numbers.


card 3 supplies


Don't they look awesome together?

This is has been such a fun tutorial series. It's one of the reasons I love the Card File so much...you can do just a little bit of work each day and end up with a fabulous end result. Definitely the sum of its parts! Thank you so much for joining in on the journey!
paula

Love it! Can hardly wait to get started. I have been reading along each day. Waiting on a few supplies to get started. The very best of compartmental making on an accumulated level.
ReplyDeletenice blog
ReplyDeleteThank you so much for this series! I picked up so many cool tricks and have managed to make a few inserts for a Halloween folio. Tbh, I missed reading blog posts :)
ReplyDeleteI just found a your blog; your art is awesome and this card file project is so cute and I'm so sad I didn't know about it before!!! Will you do a Christmas version? Thanks, Carlene 🥀
ReplyDelete