Back here today with Day 7 of the Halloween Card file.
Today our pockets and tags feature images from the Collage Strips. You might go through the strips to pick the images you like before starting. It's good to have the images in hand so you can test the spacing for the transparencies. Lets get started!
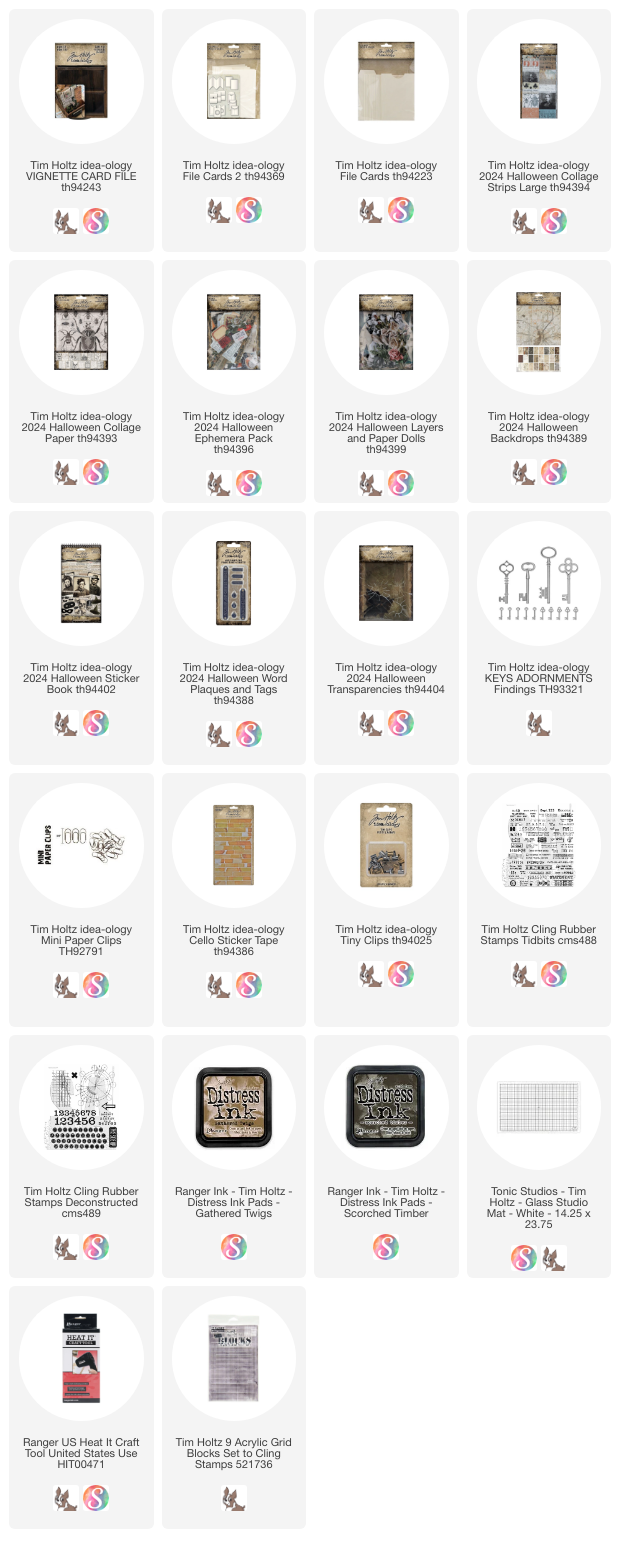
gather supplies
Let's start with the pockets. Each pocket is done similarly, but pocket 3 has the transparency on the inside of the pocket, instead of the outside.
Pocket 1 Supplies
Pocket 1
- Adhere Collage Paper to the pocket. Use ink puddle to color the Collage Paper.
- Once dry, rip paper away from the center hole (this does not have to be perfect).
- Use Scorched Timber to stamp directly on pocket.
- Cut a piece of the spiderweb transparency. Do not cover too much of the hole with the web pattern so the image can show through (see main photo for reference).
- Adhere spiderweb transparency with Scor-tape and Cello Tape Stickers. Note: I only used the Scor-tape on the right edge of the transparency. The rest of the web is held on with the pieces of Cello Tape.
Pocket 2 Supplies
Same as Pocket 1, except I used the Scor-tape on the left side of the transparency.Pocket 3 Supplies
This time I taped the cracked window transparency to the inside of the pocket (it's very fiddly). I made sure to put the opening where the face on the card would show through the hole. You can see I also left the Collage Paper very long. I loved the way the paper tore when I was removing it from the hole so I decided to leave it. Once Collage Paper has Collage Medium over it (even if it is not adhered to anything) the College Paper becomes thicker and sturdier than before. Yes, it will still rip but not as easily.I added the Cello Tape so the transparency would be connected to the center hole...the added tape also makes it similar to the other 2 pockets. Repetition is good in a Card File.
Now lets work on the cards to put in the three pockets.
Now lets work on the cards to put in the three pockets.
Card 1 Supplies
- Adhere the Collage Strip down the center of the card, making sure that the image is in the right place to see through the hole in the pocket.
- Add stitching. I wanted lots of rows of stitching with long tails of string. But you do you.
- Add a stamp from Postmarked, Cello Tape and Clippings stickers (if you want a sentiment).
- Add some kind of 'pull' at the top (all from the ephemera pack).
Card 2 Supplies
Card 2
Card 3 Supplies
Card 3
I love how the people are peering out from inside each card. The transparencies have been perfectly placed for each one to take the stage.
So, there you go...Day 7 is done and we are ready to move on to Day 8 - The last day of our Card File series! Now to gather supplies for Day 8 - We are going out will a bang with the zigzag cards!
They are the biggest and most fun to make! Can't wait to share!


No comments:
Post a Comment