When I created this Halloween Card File originally, this is where I started. I loved the size of the envelope that comes with Card Set 2, because if you leave the envelope open, they become taller than all the other cards. So you get a better visual of bugs, butterflies and bones Collage Paper that was added. Which in my mind is perfect for a Halloween make. You may have other ideas or just want the envelopes closed. I say, to each his own!
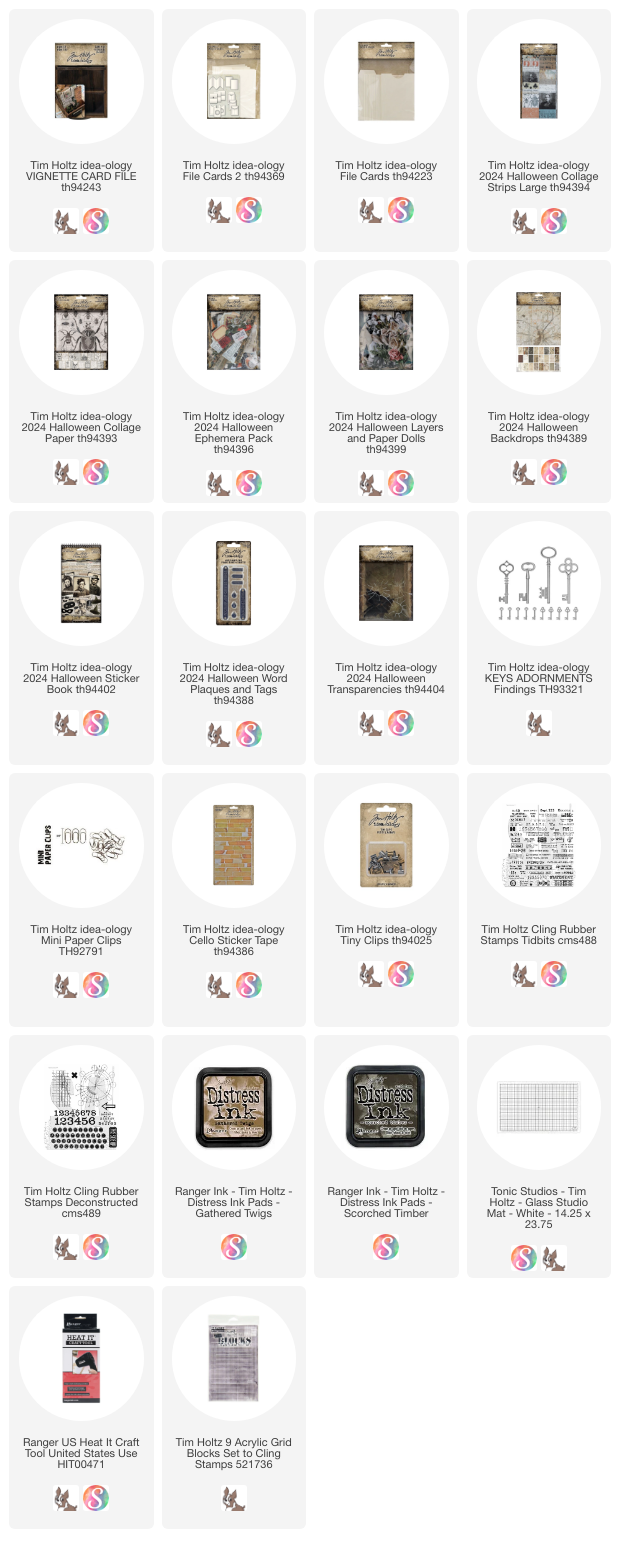
Gather supplies!
I've added Curator ephemera to the mix. Super handy ephemera that I use over and over. Recently, Tim produced a stamp set (called Curator too!) that could be used in a pinch (I've added it to the supply list at the bottom) but I still love to be able to just open up the box I keep them in and dig around to find the exact one I need for the project at hand.
First up, lets talk envelopes. All three envelopes are done the same way, using the Collage Paper/ink puddle technique that we learned on Day 4. Any ephemera that was added to each envelope was 'painted' (I'll use that term loosely since I just used my fingertip) with Collage Medium, then dunked into the ink puddle and dried with a heat tool. You might ask why add the Collage Medium and not just dip it in the ink? Ephemera is uncoated so the puddle of ink would soak in quickly and just make the ephemera a brown blob. The wet Collage Medium protects the paper while the wet ink stays on the surface and in most cases can't get to the paper.
The Collage Medium not only helps with the ink technique, but it also makes the ephemera stronger to you can crumple, rip, bend the edges without it disintegrating (like paper does when exposed to water/wet mediums).
I think the ephemera is most noticeable on the skeleton envelope. Look at the color change from how it came out of the package! Thank you Distress Ink!
And seriously, Cello Tape stickers makes everything look better.
Each card uses the same formula:
I think the ephemera is most noticeable on the skeleton envelope. Look at the color change from how it came out of the package! Thank you Distress Ink!
And seriously, Cello Tape stickers makes everything look better.
Rounded Cards
This next set of cards were really fun to make since they are a combination of stamping, paper, and sewing. That is my favorite combination.
I think the stitching really makes the cards interesting, so if at all possible, get out your sewing machine and add the stitching!
Card 1 suppliesEach card uses the same formula:
- Stamp the top half of the card with Scorched Timber Oxide Ink. Spritz with water to make the ink wick. Dry with a heat tool.
- Use Collage Medium to add Backdrop paper to the bottom half of the tag.
- Add strip from ephemera pack.
- Add stitching (is possible) of any kind. Does not matter if it's straight stitching, zigzag or otherwise. Leave strings long.
- Punch a hole at the top to add an eyelet. TIP: if you are having a hard finding eyelets, try the craft store sewing department next to the grommets (which are much bigger). I use 3/16" eyelets or sometimes they sell them as 4mm. This size works for the majority of things I make.
- Use phrases from your Sticker Book to create simple sentiments.
- Add Cello Tape stickers. I cut these very small so they would not overpower the words.
- Tie heavy string into the eyelet at the top.
- Add Curator labels back to back (so the string is between the two labels).
When combining phrases or even words, make them look like they are friends and want to be together! For instance I wanted this to be read with a pause in the middle. So I gave it a space between the two phrases, but making sure the keep the words of each phrase close to each other. When you read this in your head, you can hear exactly where the pause should be.
Card 2 supplies
I love all that stamping at the top!
I used one larger Curator label and just wrapped it around the heavy string, instead of placing two smaller ones back to back.
Card 3 supplies
Again, the break between the phrases for a slight pause in reading...
Insert a card into each envelope so the tails hang on the outside. And no, it does not mater what card goes in what pocket.
Seriously, my favorite!
Okay, now only 2 more days to go!
Gather your supplies and I'll meet you back here tomorrow!


No comments:
Post a Comment