
Hello Friends!
Are you ready for Day 4? This is an easy one, in fact easier than yesterday, since were going to repeat or maybe we should call it 'practice' the ink technique learned in Day 3.
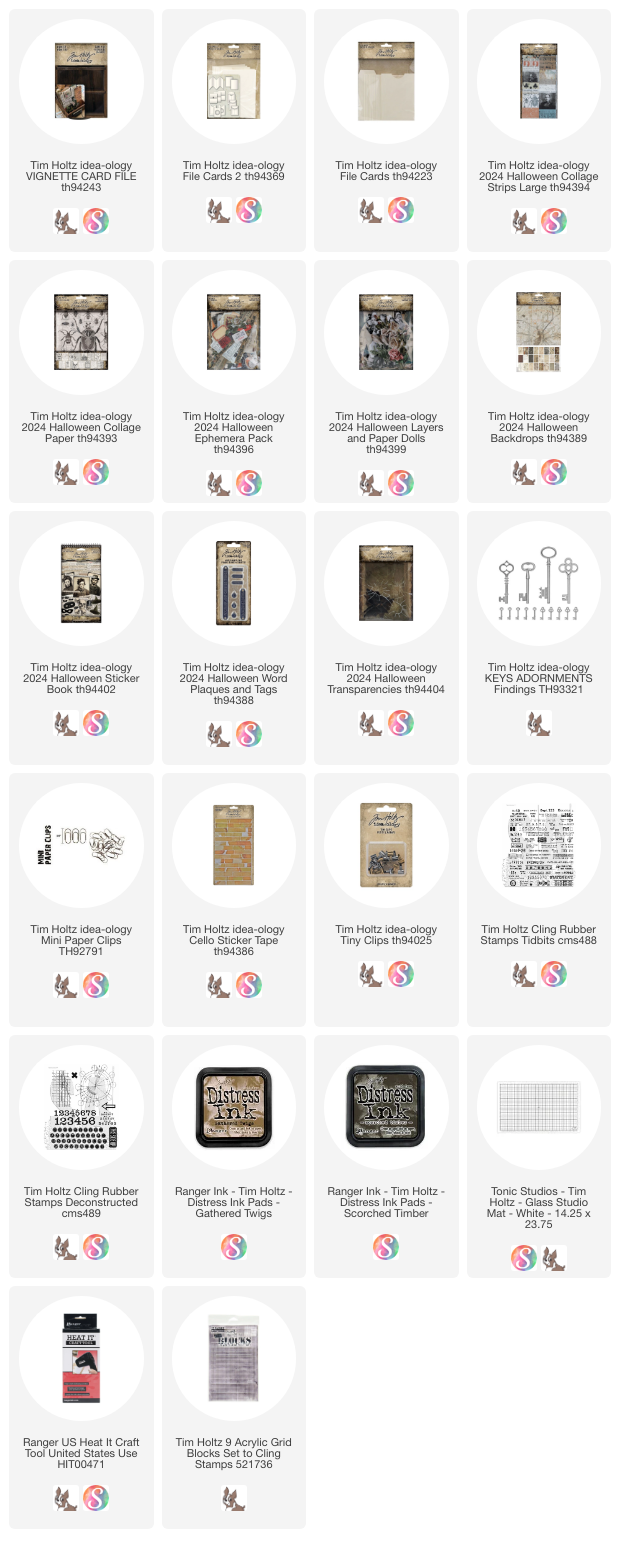
So we are now on to the three folded cards. Once you gather your supplies (found in the next photo) then we can get started. I'm going to start with the ink technique featuring card 1, then you can go from there. Today will be a great day to practice the ink technique with stamping and Collage Paper. By the end, you'll be a pro.
Day 4 - folded cards


Ink technique
Today's folded cards are all about grunge stamping (I just made up that term). This technique will be repeated on many other cards in the series. I call it a "connector" technique because it is repeated over the series, so the stamping becomes a visual 'connector', even though the cards are different in shape and purpose. I do suggest grabbing a piece of Mixed Media Heavystock to give it a go before starting on the folded cards. In preparation, make your puddle of Gathered Twigs Distress Ink off to the side of your mat.

Stamp the folded card using Scorched Timber Oxide Ink and the large numbers from the deconstructed stamp set.
 Spritz the Oxide Ink with water. Be careful to not add too much water as the ink will continue to wick while you dry it in the next step.

NOTE: the amount of water used is subjective, so that is why I suggested starting on a scrap paper. Once you can physically see how the Oxide Ink reacts on the Mixed Media Heavystock, you'll get a sense of how much to drip/spray over the ink.
 So compare this photo and the last one. You can see just how much the ink wicks in the short time I used the heat tool.

This is the stamping technique that you will repeat on all the cards today (and many cards to come).
 We still need to finish the card front with Collage Paper and our ink technique from yesterday.

Tear a piece of Collage Paper - the raw edge will cover the left edge of the stamping.
 So here is the set up...again, I'm right handed so I want that ink puddle on my right.
 Working quickly, paint Collage Medium over the entire card (it's just easier that way). Remember, the Collage Paper will only stick where there is glue, so be sure to cover the card.
 Lay the Collage Paper into the Collage Medium and press it into the glue. Notice the raw edge of the Collage Paper covers just the left edge of the stamping.


Use your brush to add Collage Medium over the top of the Collage Paper, smoothing it out.

So, over to the puddle to pick up some ink on your fingertip.

NOTE: If you have any spots that are not transparent after this technique, it is because there was either no glue or the glue dried before you added the Collage Paper to the card.


- Add Ephemera to card front.
- Add Cello Tape in one or more places.
- Add Clipping sticker from Sticker Book


Card 2 - Add Ephemera pieces

NOTE: I used my sewing machine (orange thread) to add the ephemera card to the front. Sewing with a machine is totally optional.

Card 3 -
- Use Collage Medium to add 65 (from Collage Paper) to the ephemera. Dry with heat tool.
- Add ephemera to the front of the card.
- Sew around the card (optional).
- Add Cello Tape pieces.

Okay, that's is for Day 4! I hope you loved the ink technique today. To me it was a game changer when using Mixed Media Heavystock and it made these cards so easy to do. We will be repeating this technique on Day 5, so you'll get even more practice!
Here are the supplies for Day 5 - Library Pocket + tag inserts
Halloween Backdrops
HalloweenCollage Paper
HalloweenSticker Book
Halloween Ephemera pack
Halloween Layers and Paper Dolls
Cello Tape Stickers
Mini Paper Clips
Tiny Attacher
1/4" ribbon
sewing machine (optional)
Now carry on,
paula
Paula, thank you so much for doing these step-by-step instructions! I love all the techniques you are teaching us. I cannot wait to make a Halloween box and also a Christmas one! 🧡🖤🧡
ReplyDeleteThat sounds like a great idea Amanda!
Delete