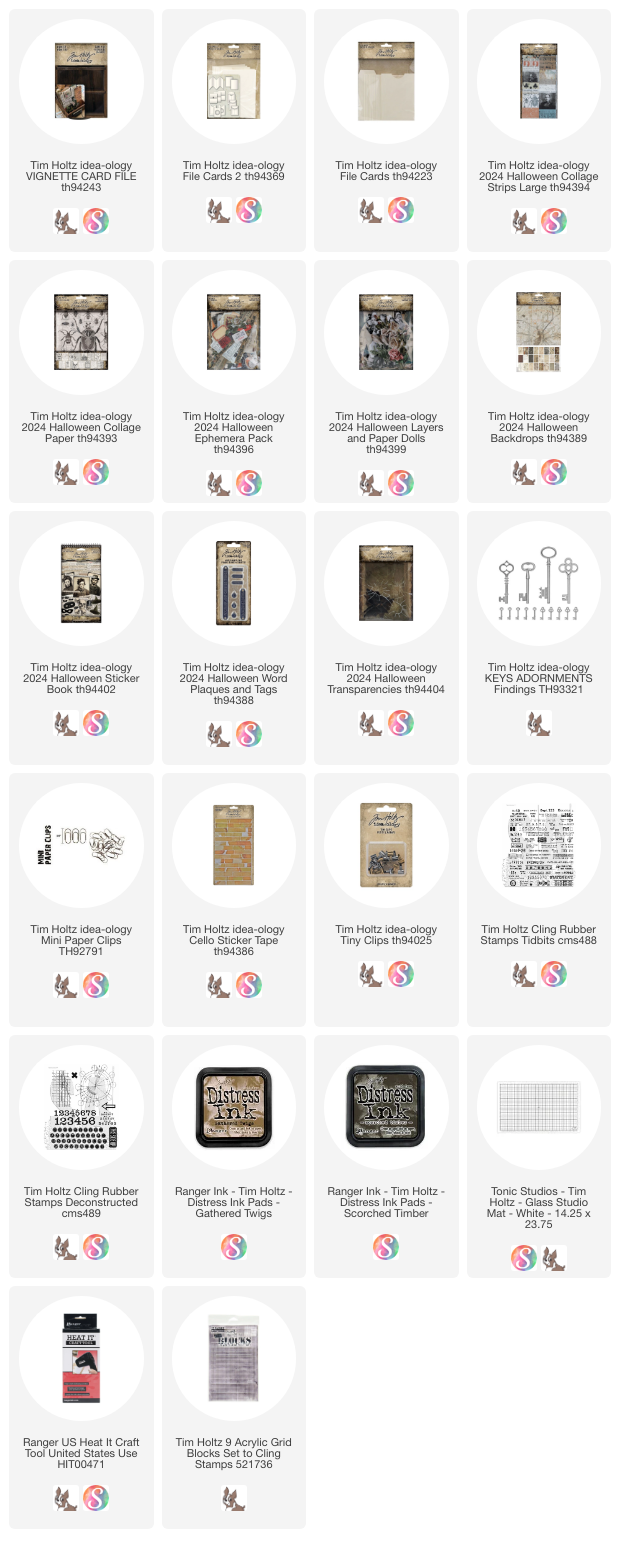
Hello Friends,
I hope "Day 1" was successful!Your Card File should be painted and all your card and tags should be colored with a wash of Gathered twigs Distress Ink!
Next up is to organize your cards and tags by 'kind' since we will be working on one set each day in the following order:
Day 2: tabbed cards (TODAY!)
Day 3: plain cards
Day 4: folded cards
Day 5: library pocket + tag inserts
Day 6: pocket + rounded corner inserts
Take break for the weekend to do any catch up!
Day 7: pocket with hole + 4 1/4" tall inserts
Day 8: zig zag cards
(Please, review my last post if you missed the key information about the cards and tags we are using)
Day 2- 4 are easy and should go quickly. Days 5 - 8 will take more time, but they are so fun to put together (they really are my favorite part of the whole project). According to my schedule we will finish the Card File on Tuesday the 15th, after taking the weekend to get any catch-up work done!Glue:
It's no surprise that I used Collage Medium for all glued paper and elements in this project. For todays tabbed cards, there is no collage Medium over the top of the paper. However, starting tomorrow we will explore more about Collage Medium - when to use it, when not to, etc.
Scraps:
When I am working on a project like this, I always have a dish/tray on my table that I can throw my scraps into while I am working. I use the scraps often to fill in any small spot that may need just a little something. The same goes for the Collage Paper (we will start working that on Day 3). All scraps are saved for use in later cards.
Tabbed Cards
So today we are working on the easiest of the the card - three tabbed cards. This is a great place to start our journey because the are so EASY!
I have laid out the exact papers and Collage Strips I used to cover the three tabbed cards.
The tabbed card are covered with Collage Strips (+ 2 Backdrops). Only cover one side of the card. The back is just the ink that was done the day before.
- Adhere the Collage Strip to the tabbed card (only cut what you need) with Collage Medium. Trim away the excess around the tab. Save the reminder of the Collage strip for later.
- Add a Clipping sticker to the tab from the Halloween Sticker Book.
- Ink card using a Mini Blending Tool and Gathered Twigs Distress Ink.
- Press ink pad on to craft mat. Spritz with water. Pick up ink with a brush and splatter over surface.
Tabbed Card 1
Tabbed Card 2
This card uses two Collage Strips
Tabbed Card 3
Notice on this card I switched the tab to the right side before adding the paper? If you want all your tabs on one side, that is fine, but I wanted to switch it up so they go left, right, left in the completed box.This card uses part of the leftovers from card 2 for the left side of the card.
Okay, that's 3 tabbed cards for your box!
I will be back tomorrow with Day 3 - flat cards.
In preparation for tomorrow, you will need:
Collage Strips
Collage Paper
Halloween Transparencies (spiderweb)
2 eyelets + Crop-A-Dile
Cello Tape Stickers
Word Plaques and Tags
1/4" rayon ribbon
string
small Adornment Key and some chain (if you have some on hand)
Picket Fence Distress Crayon


Hi, Paula. Did you add the backdrops to the first card before inking?
ReplyDeleteHi Marcie, I'm not sure I understand your question but I'll give it a go. All the inking on the cards was done on Day 1 (front and back). When you get to the tabbed cards, you add the paper as shown, then ink with a Blending Tool or splatter the ink as I suggested in the days instructions. Did that answer your question?
DeleteYou say to adhere collage strips, but don't mention Backdrops. I guess they get glued at the same time, before adding Clipping Sticker.
ReplyDeleteYes, you add the Backdrops after the Collage Strips have been added to fill in the rest of the card.
DeleteHi Paula,
ReplyDeleteI"m a bit late but all exited to join you. So far I gathered all the materials.
Thanks for all you do.
Just glad you even want to join in! So thank you!!
Delete