Hello friends,
I'm sharing my Curious Things Vignette Tray today. One of my favorite projects I made for the Halloween release. I'm going to show the finished project before I show some of the step-out photos because I think it might make more sense that way.
This project is hard to photograph because as you view it here, it looks like the small boxes are flat against the Vignette Tray, but they are not. The boxes are purposefully askew, just the way I wanted for this Halloween make. I also kept the boxes quite simple compared to most Vignettes I make. But that was also done on purpose, to show off the details of the "flooring" and to balance the wheel on the left.
I started with a large Vignette Tray + 3 Vignette Boxes (I have a plethora in numerous sizes). I used 2 of the smallest size + one of the second largest box. I was playing around with the boxes and I decided to knock the back off the larger box at the bottom. You will be able to see it later in the photos because it appears here as if it has the back, but in reality where you see the spider, is really the back of the tray.
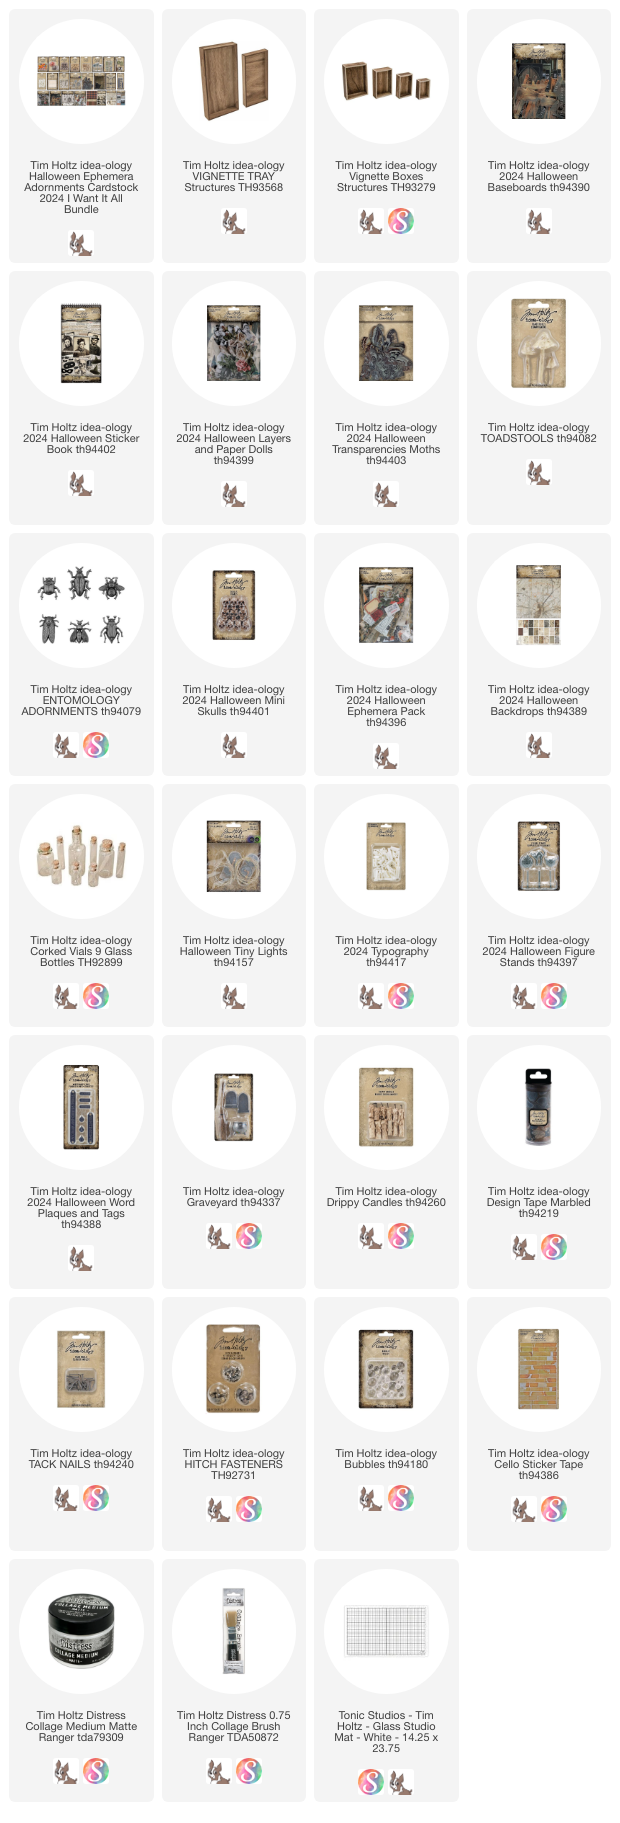
While I was working on this small box, I thought I might use the smallest Bubbles to mimic larva of the bug that I had already added to the box. I colored the Bubbles with Lettuce Alcohol Ink before adding them to the box with College Medium.
If you are going to have a bug, then you need a web. I decided to use nails and string to mimic the web.
The cauldron is filled with white Tiny Lights + Bubbles that have been colored purple and yellow Alcohol Ink (you will be able to see the color once it lights up).I purposefully stretched the hot glue across the Bubbles so it looks as if the spider in the background has walked back and forth over the Cauldron.
You can see that the bug box goes in at an angle.
Then the Curious Things box. I wiped black paint on the Typography letters, then sanded away the paint with steel wool. I love the look of the letters.I wanted the box to stick out from the tray so I needed to fill in the depth of the box on the left side.
Here you can see the side of the box that was extended with chipboard so it covered space all the way to the back of the tray.
Now lets go back to the bottom box to talk about the cauldron.
Wind the up the Tiny Lights so they fit into the Cauldron.
Add Collage Medium to the legs of the Collage Medium (it dries clear).
I hope you like this one as much as I do! Thanks so much for stopping by!


I finally got to read all the details; just so amazing Paula ! 🤩😍
ReplyDelete