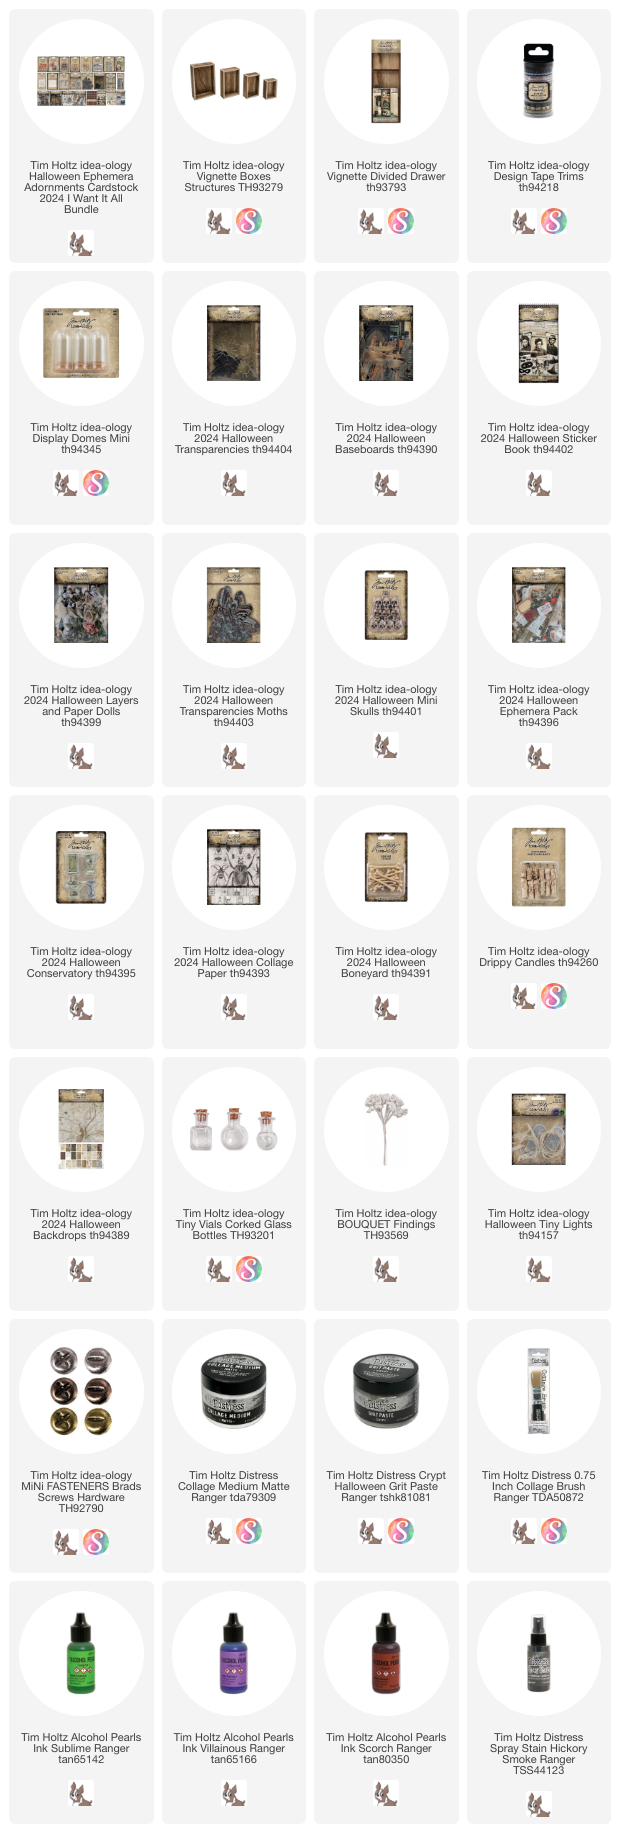
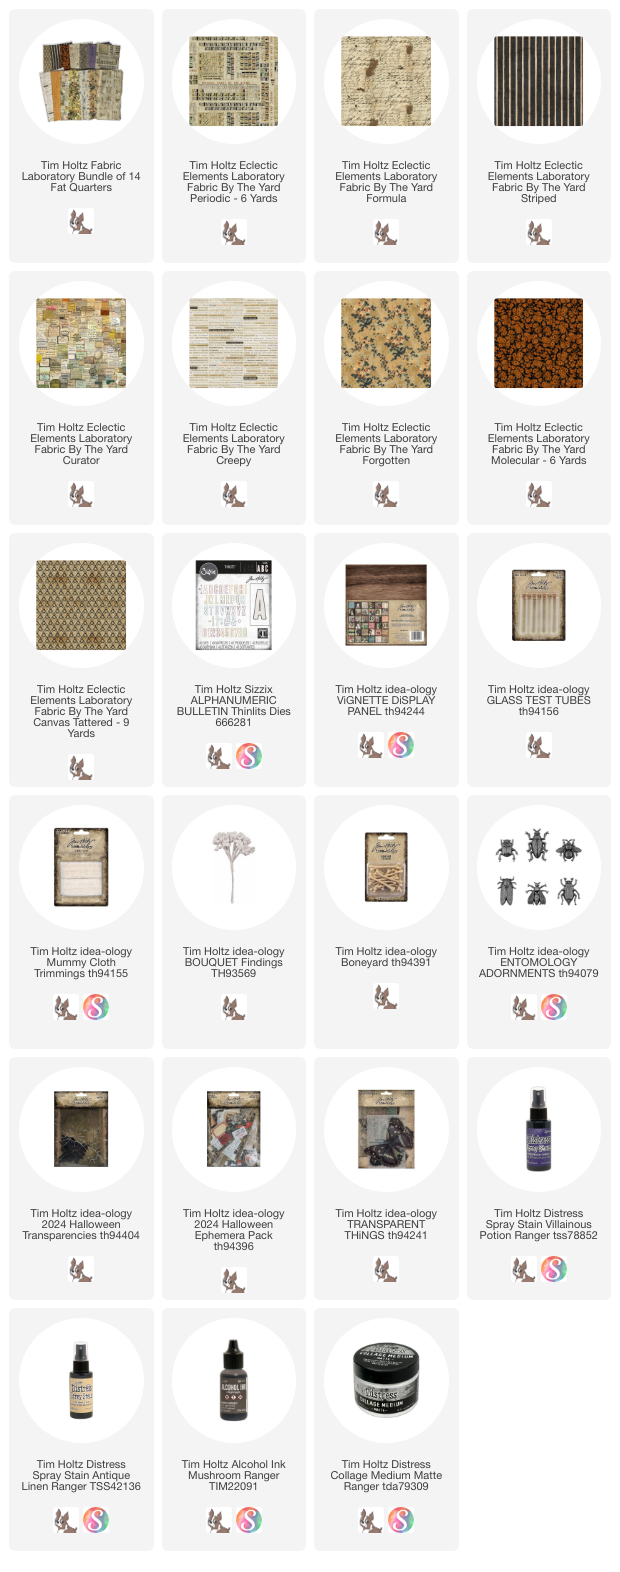
Today I am sharing one of my favorite makes from the idea-ology Halloween live, the Halloween Manor! This is not a exact step by step tutorial (it's very hard to stop and think about taking photos in the middle of the process). However, I will share some photos and explain some of the details you might have missed in the live. You can also go back and watch the replay on Tim's YouTube channel to see him talk about this and other samples.
If I turn the stack of boxes around, you can see all the Vignette Boxes. The center is a Divided Drawer + complete set of Vignette boxes (the 4 smaller boxes). You can also see where a hole has been drilled for the lights to come into the box with the boys. You also might notice the black crackle square on the left. That is Backdrop paper glued to the back of the door with the lady in green. If I would have had more time I would have added more Backdrop paper to the back or maybe used black Texture paste through a stencil...but the clock was ticking and I had more projects to make before moving on to something else. I will note that everything here was glued with Collage Medium, because its the best glue medium for both paper and 3D objects. Just give it time to dry overnight and its like cement.
Like I said, I have very few process photos but this one I thought was important. You can see where the drilled hole is and how I added the Tiny Lights. I did use hot glue on the wire to keep it in place. Of course this was done before I started stacking the boxes.
I'll talk about the interior before I circle back to the lights.
I used Distress Crayon to color the boys sweaters, then added skulls from the Halloween Sicker Book. I built the scene below by coloring bottles with Alcohol Pearls (Villainous, Sublime, Scorch). Then I made a nest of shredded Mummy Cloth and added the Tiny Vials, and Bones (all with Collage Medium). I added bingo chips to the back of the boys so they could float over the nest.
So here is the basic lighting. I was not sure where the concept was going at this point so I just took a chance of lighting the boxes how I thought they should go together. In the end I turned the box on the bottom right around to make the graveyard.
The green dots represent where a hole needs to be drilled for the lights. Keep in mind that the boxes are all different depths, but the entire piece should be able to lay flat on the table (at least till the battery pack is added to the back).
The wire comes in from the back (1), through the hole with the scene in the background. Then two more holes are drilled so the wire can go up to the top box (2). The wire then runs up and through the next set of holes (3) and into the top compartment of the Divided Drawer where it ends.
Hopefully the green dots are helpful to see approximately where to drill the holes. When my husband drilled the holes for me, I had not glued the boxes together yet. I get the boxes in place (flush on the backside) and he clamps them together, then drills the holes (so they always match up perfectly). The wire is hidden by the Baseboard windows and stone facade.
Even though I did not add the Baseboard facade till the end, I created it now.The web transparency was easily added with Scor-tape.
Then I made the sign using Halloween Collage Paper. You would never know that lettering was not printed at the factory! I also added the Mini Fastener at the top to look like the sign was nailed together.
In all honesty, I kept the sign and the doorway separate till I had all the boxes together because the doorway and the gate need to be secure BEFORE the sign is put in place.
You can also see why the boys needed to be floating up, over the nest below.
Lets talk about the window above the doorway. I worked on the window frame on the table, then added it once I finished with the inside.
This was my first make using the new planks that come in the Baseboard pack. Again I used Mini Fasteners to appear as if the planks were screwed shut. I used an awl to make a hole in the plank for each Fastener. Once I had placed all the planks, I added the shattered window transparency (these are now colored with a grungy color finish - which I love).
You might want to see what is inside the compartment?? I painted Collage Medium over the spider card, then added bits of shredded cheesecloth. Once dry, I added it to the back of box.Then added the window over the front.I'm quite sure that little moth has flown right out the window...or maybe he is looking for a place to get in?
So lets talk about the bottom half of the Divided Drawer. Meant to be the centerpiece of the story, about a Dr who passed away in mysterious circumstances.
Marbled paper from the Halloween backdrop pack was added + Ephemera and Collage Paper. Black Design Tape was added around the box. The numbers looked too pristine so I smeared a bit of black paint over parts of it.
To make the centerpiece for the mausoleum, I glued two pieces (urn and pedestal) together. Then brushed on a wash of black paint to "marry" the two pieces.
To make the centerpiece for the mausoleum, I glued two pieces (urn and pedestal) together. Then brushed on a wash of black paint to "marry" the two pieces.
I made another nest of Mummy Cloth in the urn then added dyed Bouquet flowers to the urn. Flowers were dyed with Hickory Smoke Distress Spray Stain.
I added the urn to the box, then added the word "farewell" that can be found in the Halloween sticker book. I wiped Collage Medium on both sides of the word sticker so I could bend the sticker to the shape I wanted. Once the Collage Medium dries it will keep its shape!
As for the gates to the mausoleum (I did not add these till the very end).
As for the gates to the mausoleum (I did not add these till the very end).
The gates have been rubbed with Crypt Grit Paste and left to dry overnight. When you do add the gates, use Collage Medium and glue to each side and along the bottom.
For the top box above the mausoleum, I altered the "theater stage front" from the Ephemera Layers pack. The piece was trimmed to fit the window that will go in front of it and colored with Distress Crayons. I added small books that I made, 2 of the new skulls and a Mini Dome filled with bones I previously covered in Crypt Grit Paste (just make sure they are dry before adding them to the dome). All the other pieces are from the Ephemera pack.
For the top box above the mausoleum, I altered the "theater stage front" from the Ephemera Layers pack. The piece was trimmed to fit the window that will go in front of it and colored with Distress Crayons. I added small books that I made, 2 of the new skulls and a Mini Dome filled with bones I previously covered in Crypt Grit Paste (just make sure they are dry before adding them to the dome). All the other pieces are from the Ephemera pack.
TAKE NOTE: the Tiny lights are hidden by the curtain!
The bottom right box is my version of a graveyard.
Here is what it looks like with the window and with the lights on.
In the Baseboard pack there is a window with 3 openings...I chose that one and just cut off the window on the right side to make it fit perfectly on the box. I also washed it with black paint to make it spookier! The window was added with Scor-tape so it is secure on all sides. The nails are just for show.
The frame is in the Layers pack - It fits the medium Vignette Box perfectly!!
The flower card comes from the Ephemera pack. Ephemera is not coated, so I painted it with Collage Medium to seal the paper. The flowers were colored with Distress Crayons.
I also added one of the new gravestones and a couple Drippy Candles and more flowers.
And the very last box...I added the door to the smallest Vignette Box. A great way to balance the project.
The Paper Doll comes in the Layers pack. She was colored with Peeled Paint Distress Crayon. I scribbled the crayon directly on the image and just rubbed the crayon with my fingertip to smooth it out. TIP: Use a damp cotton swab to wipe away an excess crayon that might get on her hands,
Now carry on,
paula
The bugs are a card found in the Layers pack. I laid the Shattered transparency over the bugs (secured with tape on the edges), then using a cutting knife, I cut out the shattered portion leaving a hole. I added the eye (from Ephemera) to the hole. One last step is to cover the back with Backdrop Paper (since the door is taller than the box it is glued to. Reference earlier photo of the back of the project.
I sewed the chain to the paper doll before she was put in place.Detail Photos
The one thing I will leave you with is that if this project seems daunting, think of it as 5 individual boxes. You could only make your favorite as a stand alone piece or make one box a week and be done before October! Either way, use the inspiration as the catalyst for other projects.
I have been asked if I'm making a kit for this project, but I am not. I don't have the time right now to put such a large kit together during our making season (we are all working on Christmas now). I may do something smaller, but it just depend on time. If you are on my mailing list, you will get notice of all available kits when they are ready for shipping.
paula


