Hello Friends,
Gosh, my week has gotten away from me. I had to have one of my wisdom teeth extracted (yes, I still had them all until Monday!) so Monday and Tuesday were all about taking it easy. I read a book I got for Christmas, organized a few drawers in my craft room and watched some episodes of Top Chef (like in the daytime!). For me, that's taking it slow and easy. But now I'm good and back to business (although still eating soft foods).
Another project today featuring the new Distress Color, Scorched Timber. I did not take photos of how I made this project so what are seeing today is me recreating the inked background I made for the project. I've also added some other information and a variation, just because wanted to try it. So lets get started!
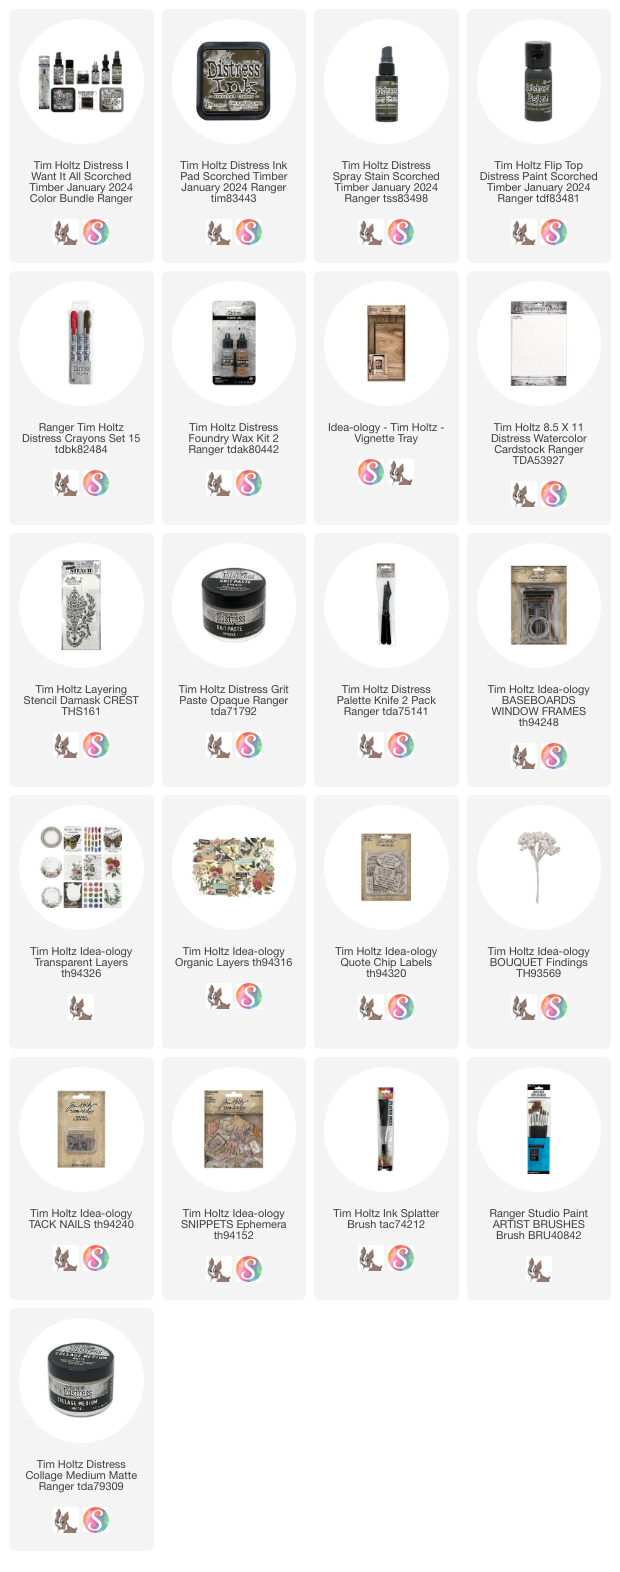
I am using the small Vignette Tray which is about 9" tall and 4 1/2" wide. I use Scorched Timber Distress paint to paint the entire Tray, except for the center of the tray that will be covered with paper. Once the paint was completely dry, I lightly sanded the edges, then added a coat of Collage Medium to give the wood a more finished look.
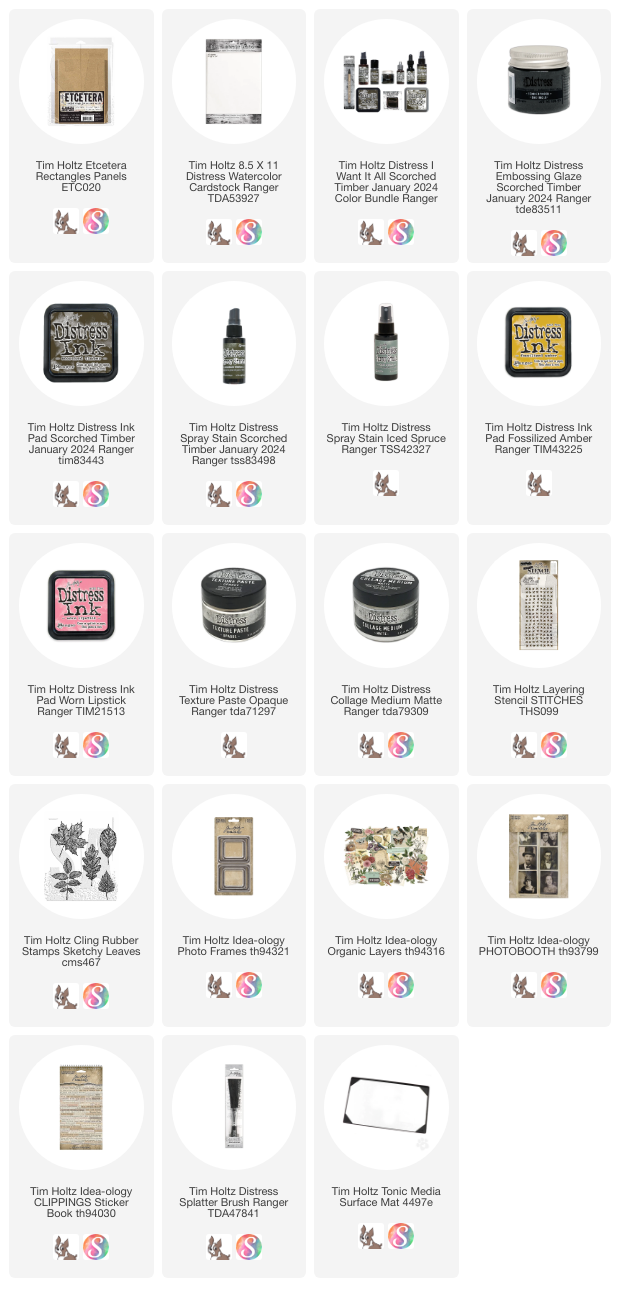
While the paint was drying, I cut a piece of Distress Watercolor cardstock just bigger than the opening of the tray (9 x 4 1/2") - I will trim to fit before adding to the tray.
I am using the Tim Holtz Crest Stencil and
Distress Grit Paste Opaque for this project. I spread the paste over the crest image from the bottom to the top, because this stencil has tiny parts in the leaves that will bend the wrong direction if you pull the paste down. So just spread the paste upwards!
Wash the stencil and palette knife immediately or place in a water bath. You will need let the Grit Paste dry (at least 20-30 minutes) then repeat the stencil on the right side.
Since I needed to wait for the paste to dry, I cut another piece of Watercolor cardstock and repeated the stenciling, but this time I used Texture Paste Opaque.
You really can see the difference in the two pastes in this close up.
I wanted to try this comparison so I could see how the two pastes react to the ink that will be added once the paste is completely dry.
Gather the supplies you will need:
Distress Spray Stain: Antique Linen and Scorched Timber
Distress Sprayer full of water
Multiple Paper Towels
Heat Tool
*I will add my Media Surface Mat over my Glass Media Mat before I start.
I wanted to show you this image (It won't effect what I do when I start with the sprays). I just wanted you to see why sprays are important. If you use an ink pad, it's very difficult to get the ink around the paste Especially in this case, where there is a lot of tiny spaces to fill. Just something to remember when using paste. Now on to the real deal...
This is really about layers so when you spray in the ink, don;t cover the entire surface of the Watercolor cardstock. Much better to spray in layers!
- Spray ink (I like to spray the ink, then spray with water to move the ink)
- Dry with heat tool (don't cook the paper, just dry for 30 seconds or so between layers)
- Blot of excess ink
- Repeat steps (probably 3 times)
Round One
Round One when dried and blotted.
*only Scorched Timber
Round Two
More of a splatter, rather than a spray (done by pushing down slowly)
Also spraying Antique Linen over any white areas.
Round Two when dried and blotted.
Round Three
Another splatter of Scorched Timber
Round Three when dried and blotted.
And just because they were there... I pressed the paper into some of those small ink droplets on the right. Then dried the paper again.
So here is the final layered paper.
I repeated the steps with the second Texture Paste card. Scroll down to see the difference in the two pastes. Absolutely fascinating...
The Grit Paste works as a resist to the Distress Ink and the Texture Paste soaks it in. Same exact steps leading up to this result. Both are great and either would work for the next step with the Foundry Wax. I think you could use less Foundry Wax with the Texture Paste or at least more random.
I'm going to continue this project with the Grit Paste background.
*I will save the Texture Paste background for another project, since its way too grungy good to pass up.
For the next step, you will need a thin brush, Foundry Wax (
I'm using Statue, but Gilded will work too), a wet wipe and a bit of Isopropyl Alcohol to clean your brush.
Shake the Foundry Wax until you hear the mixing ball. Squeeze a small amount on the Media Mat (it will not damage your mat). Foundry Wax dries quickly so it's important to work with a small amount at a time. Use the small brush to add the Foundry Wax over one area. As you are painting the paste, you will notice a build up of Wax on the brush. Just wipe it off the brush using a wet wipe, then continue painting.
Melt the Foundry Wax with an Embossing Tool. It melts very quickly so keep your eye on it. I like to tilt the paper to the light so I can see when it turns from dull to shiny.
Repeat the steps to paint the entire image:
- Shake (always with the cap on)
- Pour out a small amount
- Paint quickly
- Wipe off brush when there is build up
- Use Embossing Gun to melt
Squeeze out another puddle of Foundry Wax. You will also need your Splatter Brush.
Use the Splatter Brush to add splatter over all dark areas of Scorched Timber. It's hard to see here since it has not been embossed yet.
But once it has, it's like magic. Dull to glowing gold!
Use Isopropyl to clean the brush. So EASY!!
*You can see under the yellow cap that my Media Mat has soaked up the isopropyl. Don't worry, as soon as the area dries, it will be gone.Next, I used Scorched Earth Distress Crayon to scribble over the image.
I have just scribbled over the leaves on the right.
On the left, I have scribbled and rubbed it into the image. If you get to much, just pounce with a wet wipe.
Just as a comparison, you can see the image on the left is done and the image on the right has no crayon added (yet). Both work, it just depends on what kind of depth you want.
At this point, the paper was trimmed to size and added to the center of the Vignette Tray with Collage Medium.
Next step, the collage.
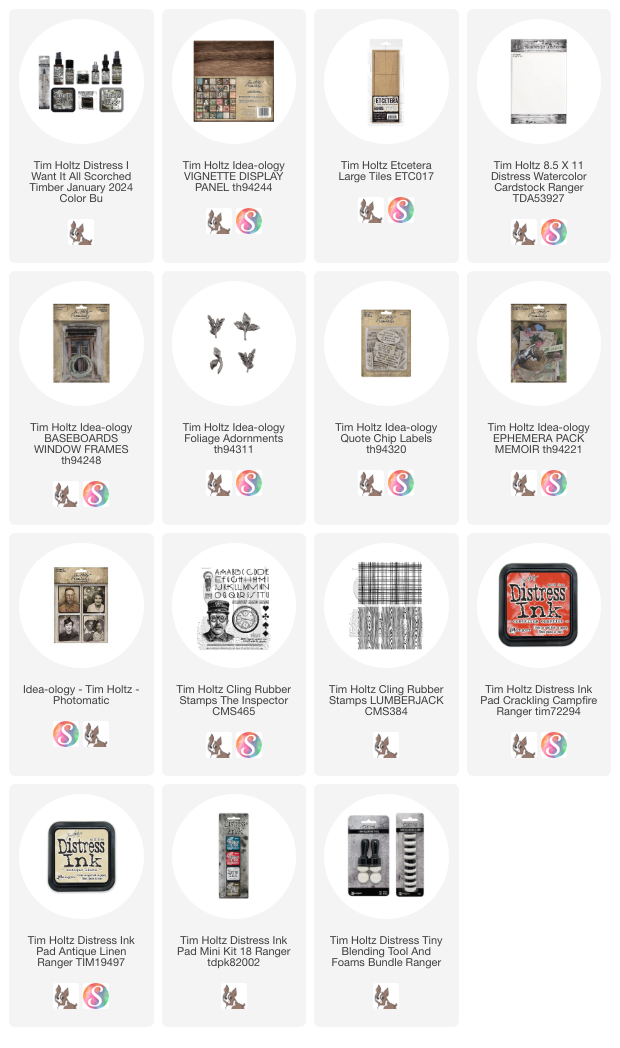
These are some of the pieces that are found in the collage I created. You will be able to spot them when looking at the final photos.
NOTES:
- I cut the clouds out and placed behind the Quote Chip Label. You could use as is but since I was highlighting the background, it made since to fussy cut the clouds.
- In the final piece, the Quote Chip is underneath the transparency.
- I also fussy cut the bird to get rid of the white edge.
- The Etcetera Trim was painted with Scorched Timber before being added to the bottom of the Window Frame with Scor-tape.
- To color the Mummy Cloth, I made a Scorched Timber ink puddle. I shredded the Mummy Cloth and lightly set it in the ink for a second or two before drying. My goal was to only get the ink in random places.
I added the transparency to the frame. Then added the Etcetera Trim piece at the bottom of the frame (you can see this in later photos).
The fussy-cut clouds have two
thin foam squares to raise it just a bit from the background. I also peeled off a bit of the chipboard backing of the Quote Chip, so it would fit between the Transparency and the clouds.
The frame was raised from the back with multiple sets of
double stacked standard 3D foam squares.
The cluster with the bird is very loose, meaning anything goes. I wrapped the vintage lace around the stick, then added the stick to the frame with Collage Medium. Once secure, I added the Mummy Cloth, then the dyed flowers, more lace bits and the pearls. The bird and another Curator label were added next.
The vintage button was added with hot glue.
I stitched the tiny Curator labels, leaving the strings long. I used Collage Medium to add them to the background, then hammered a nail right into the wood tray.
This is a special piece. I love the depth that Scorched Timber gave to the overall feel! It will be fun to think about what I want to do with the Texture Paste sample I have leftover from the experiment. Time will tell!
Now carry on,
paula


