Tuesday, March 31, 2020

Please Pass The Cake

Hi friends!

I'm sharing a quick tag I created using Distress Paint as the real star.  I made some unconventional color choices that you might gasp at but trust me, it all works out in the end thanks to my favorite Distress Crayon.

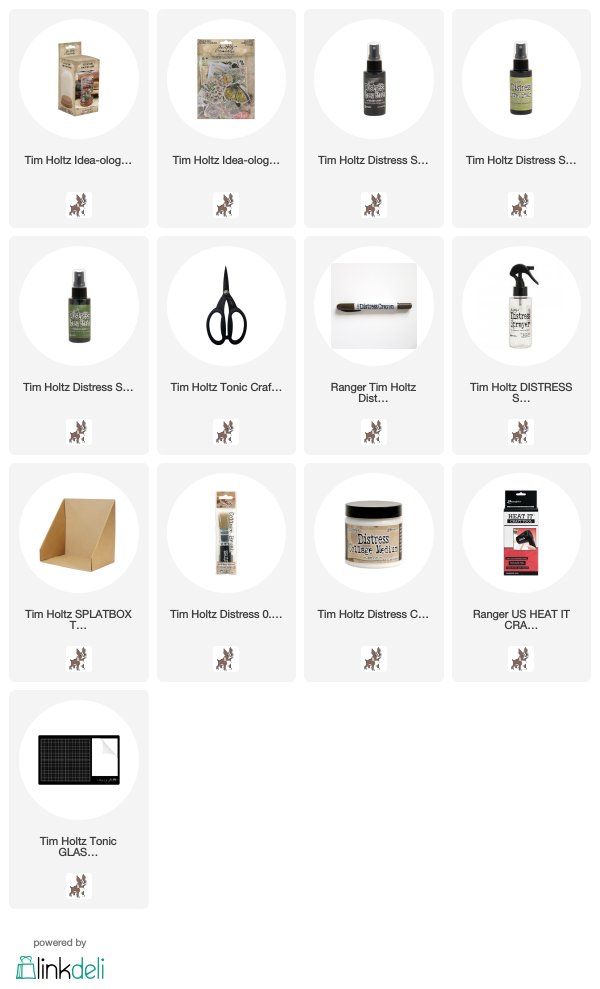
I gathered a few supplies to my desk. I'm using a #8 Etcetera tag as the base.
Paint the tag Black Soot and let it dry.
 Then start by painting some crazy stripes.  Use whatever color you have on hand.  Mine are Squeezed Lemonade, Broken China, worn Lipstick and Wild Honey.  I know, this is a bit garish!  (and it looks kinda like a fish from Finding Nemo!)
I ripped some Collage Paper into strips and glued it down with Collage Medium.  I added a second layer of CM over the top and rubbed it in with my fingertip to make it appear as sheer as possible (still garish, I know).
Once the top coating of Collage Medium is dry, scribble over the top with Walnut Stain crayon.  Totally changes it right?  I couldn't love this part more!
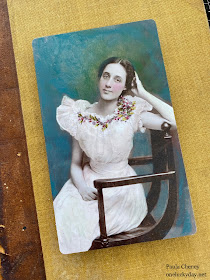
I cut up a Found Relative card to get this cute girl.  I ended up picking her because of her hat.  The flowers came from the Ephemera Pack: "Field Notes Snippets" (meaning that they are scaled smaller than the regular Field Notes Ephemera Pack).  The flowers are smaller so they fit better on her hat!
I did use Distress Crayons to color the Found Relative.  Faded jeans for the dress, Peeled Paint for her bow, Iced Spruce for the collar, Aged Mahogany for her cheeks.  All those colors worked very well with the flowers.
 The words came from the new Clipping Sticker book.
I decided to give her a little sophistication by adding three very small faux pearls to her hat.  My favorite thing about this photos is that new Collage Medium Glue bottle with twice the glue and a smaller tip.  Thank you Ranger for making the change!!!
 I just glued them in a cluster with one spot of glue.
I added a few more pieces from Field Notes Snippets package and also tied a blue ribbon in the top hole.
I just love how this turned out!  Simple but fun and really the color choices are endless!

I'm just kind of in love with this idea of transforming the basic black and white photos...my obsession continues!

Thank you for stopping by! Who knows what's next!!
now carry on,
paula

Sunday, March 29, 2020

Vignette Shrine

Hi friends!
Hope you are doing well and that you have found some crafty things to do while we move through this crazy time.
I have a new tutorial over on the Simon Says Stamp Blog today.  I hope you will pop over to see how easy it is to create something special using the new Vignette Shrine and Distress Embossing Glazes.  This is a favorite new idea-ology structure that can lend itself to so many projects, really sky's the limit!
now carry on,
paula

Thursday, March 26, 2020

Distress Crayons

Hi friends!
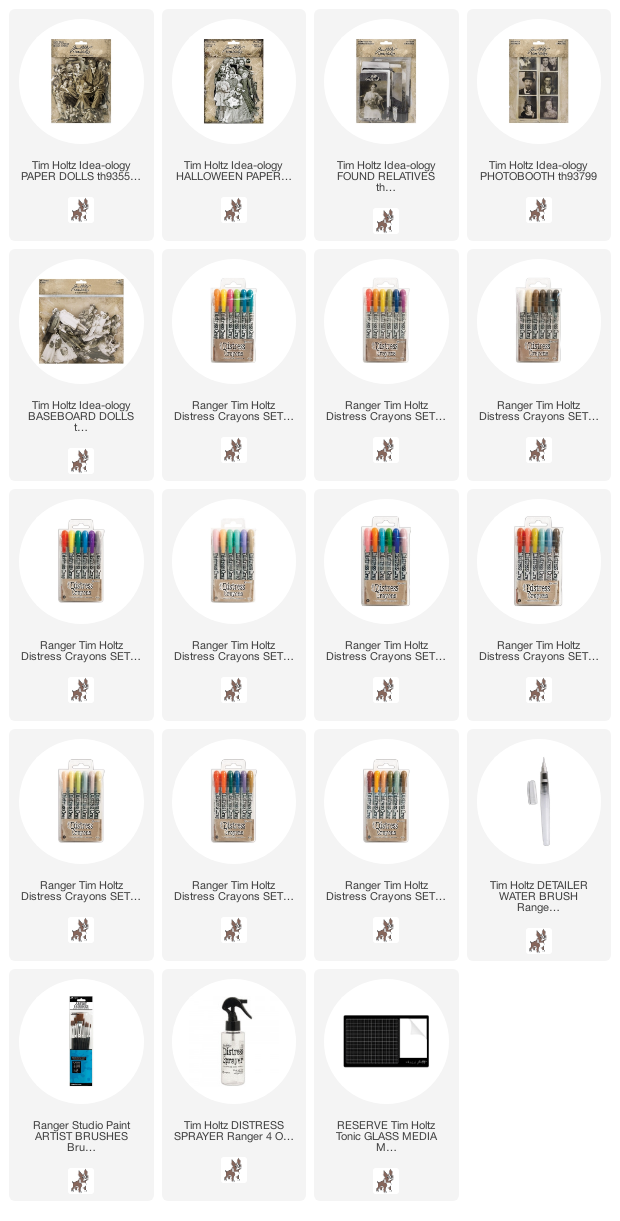
I have talked a lot about Distress Crayons on this blog.  However, during Tims live demo on Facebook (link at the bottom), I could see in the comments, many people asking how to use them to color Paper Dolls.  So I'm going to cover the basics here and add links at the bottom to a few past projects that will show further use with photos.

There are actually four products in the idea-ology line with photos:
Paper Dolls - slick cardstock weight paper, people are cut out and always have feet although they might be sitting or standing.  There are repeats of some people in different sizes.
Found Relatives - slick cardstock weight paper, comes in a pack with 3 sizes of cards (none of the cards are the same).   The Found Relative I am using today is the largest card.
Photobooth - each photo is 1 3/4 x 2" and come in strips of three. The photos can easily be cut apart.
Baseboard Dolls - like Paper Dolls but printed on heavy weight chipboard.  These can easily stand on their own with just a bit of glue.
Each of these photo products are made from the same slick surface 
which is perfect for use with Distress Crayons.

I work on a Glass Media Mat which I love but a craft sheet will work too.  I like to work on the white pallet portion of the mat because you can see true color when you scribble the crayon onto the surface.  You can use whatever colors you have, there is no right or wrong. Sometimes colors will surprise you since they can appear different when used over the lighter or darker portion of the card.

I 'm starting with the background here.  I find that for darker areas, whether it's a background or a dark suit or coat it's best to scribble the crayon directly onto the card.
Then I take my finger to blend the crayon over the background.  I choose to skip the cotton swab here because it's too small for blending. However, if this was a very small area then a cotton swab might be the best choice.  Sometimes I have to dampen my finger tip to get the crayon to move.  If that is the case, just tap on a wet wipe and then rub.  Do not stick your finger in water or you will rub the crayon away almost immediately.  So lets say you did that very thing (wipe it right away), just wait for the card to dry before adding more crayon otherwise it will not stick to the surface (and probably cause you some frustration) since it is still wet.  This can work to your benefit when you choose a color dislike, you always have the ability to wipe it completely away and start over (once the card is dry).
You might notice there is a small flat brush in the photo.  I keep this brush on hand to pull away any crayon that goes over the line, say onto her face, her clothes or skin.  The thin flat bristles will pull it away as long as the brush is damp.  If you do not have a brush such as this, you can use a cotton swab, it is just not quite as precise.
Next up is the Detailer Water brush. I love this tool for the smallest of places like the flowers that surround the neck of her dress.  The tip is pointed and firm which I find helpful.  I don't use the self-feeding feature of the water brush.  I usually spray a bit of water on my Glass Media Mat next to the crayon and dip into it when changing colors.  This gives me more control of the amount of water I add to the brush. Just remember, less is more when it comes to water and if you need to tap over a paper towel before picking up the crayon, do it.
So to start, pick a few colors of Crayon and scribble them onto the Glass Mat.  My favorites to use are Aged Mahogany and Peeled Paint and then I throw in a blue like Stormy Sky or a gold like Fossilized Amber.  It very easy to pick up the crayon with just a damp water brush and dot the area of the flowers.  I usually start with the strongest color (Aged Mahogany in this case), leaving room for more colors, then Peeled Paint for the leaves, which are still just dots for the most part.
Take notice of the swatches of crayon.  You can see where I have picked up the color with a swipe of the brush.  I only needed a damp brush to pick it up.  If you add too much water, the crayon can become frothy/bubbly and that's never good so wipe it up, move to a dry area on the mat and scribble again.  No harm in starting over.
I scribbled some Milled Lavender onto the Glass Mat to test.  It's a color I don't use often so I was unsure how it would work with the others.  Well, it was the happy surprise of the day.  That color purple is very deceiving since the looks so light on the palette but on the card it works perfectly with the Aged Mahogany and the Peeled Paint.
The cheeks - there is a bit of a learning curve to getting it right.  I used to always use Worn Lipstick (which still works well) but I have fallen for Aged Mahogany because of the rich color it brings. The color was put on with the water brush and then made to look like rouge by tapping my finger tip over the top.  Something about what your fingertip does as it flattens over the color makes the difference in creating a realistic cheek color.  I do one cheek at a time and wipe away any excess with cotton swab (since the area is small).  Again, there is a learning cure so practice, practice, practice, it will make a difference.
I used my flat brush to give her dress a light wash of Milled Lavender.  I never did use the Mowed Lawn color, just the top three.
Did you notice that I forgot to color the right side under her arm in Stormy Sky?  Guess I better do that now.
So, can you mix color?  Yes you can.  You can mix colors or even create a pattern (think flowers or plaid) over clothing with the tip of the Water Brush.  Here I'm going to do a basic mix. I scribbled a halo of sorts around her head, right over the Stormy Sky background.  The next step is to rub the crayon with your fingertip to blend the two colors.  Start slow.  You may need a damp finger but remember water is also the enemy and too much will wipe away the blue and green.  So start rubbing and then see if you need to touch the wet wipe to keep going.  If you wipe too much blue away, just add more.
So here is what she looks like after I rubbed the two colors together.
My thought is that it should look like a painting, not perfect but perfectly textural in quality.  The crayon is meant to enhance the background.
I think I love the particular card because she looks like she is sitting for a Sargent painting (one of my very favorite artists).
You might be asking, is she going to 'seal' the crayon color?  First off, I find that the crayon sets in place and is very difficult to rub off the longer you leave it.  If fact the only way to remove it, is to physically rub it with a wet wipe.  So yes, it is still water reactive so I don't take it out in the rain or "lick it" as Tim says.  My projects have gone with me on teaching visits and to trade shows and I have never had to repair a photo that was damaged because of not sealing it.  Not once.  
That being said, if you really want to seal it for your peace of mind, I would use a spray fixative that you can find at any craft store.  Just a light spray once or twice over the top, not too close to the surface will do you. 

Thought maybe you might like to see some other examples of Distress Crayons coloring.
The post shows creating pattern on a dress.  Remember the Detailer Brush is your friend for this one. A color wash for the background.  Let it dry, then start dotting over the top.  That can make it look like a watercolor pattern.
Mowed lawn, Aged Mahogany, Faded Jeans

This post shows crayon layering but using only one color.  It can be done by letting the color dry between layers (just for a few minutes) and then adding layers of color on top.  I like to add the second round of color to enhance ruffles or lace or just add shadows for depth.
Worn Lipstick for her dress, Fossilized Amber for the flowers.
And another with a two color mix of green and blue.  FYI: The girl with the rabbit is from the 2019 Halloween Paper Dolls pack.
Peeled Paint and Stormy Sky

If you haven't had a chance to watch the Tim Holtz Facebook Live on Distress Crayons you can watch it HERE.  Absolutely worth the time to learn more about the Crayons and what they can really do over different surfaces.  Plus you get Tim talking and demoing which is always a treat to watch and learn.
now carry on,
paula
Sunday, March 22, 2020

Display Dome

Hi friends!

I'm here to day sharing a short tutorial on the Display Dome.   To be honest, you don't really need a tutorial to use the dome this is really just about giving you an idea of how to use it!
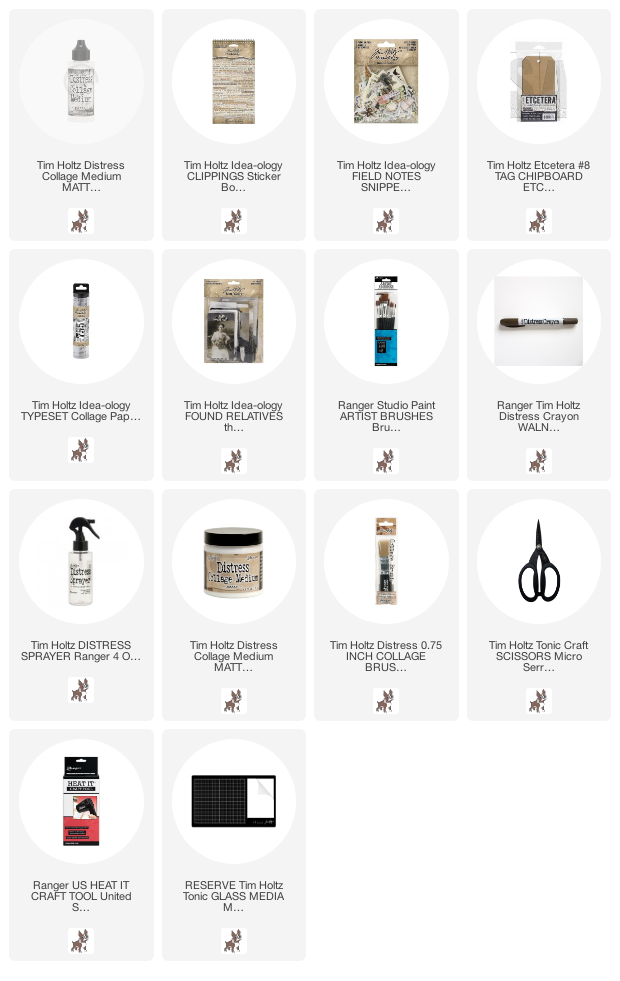
I started by using some of the cheesecloth I made at Halloween and shredding it to get a pile of thread.  If you want to make your own colored cheese cloth just place a piece in a plastic tray and spray with multiple colors of Distress Spray Stain and water.  Dry it with a Heat tool or out in the sunshine (if you have any).
I pulled a few pieces from the Ephemera Field Notes package and grabbed some string leftover from my last project.
I used hot glue to add a stiff piece of wire to the back of the Field Notes card, the small mushroom and the small flower in the foreground.  All other pieces were added with 3D Foam squares.
1.   I added Collage Medium (my glue of choice) to the cork base then added the shredded cheesecloth.
2. I added the large Field Notes Label and then used 3D foam square to add the red mushroom to the card.
3. I added the wire to the small mushrooms with hot glue as well as the small flower (NOTE: I cut apart the flowers shown in the last picture to create two pieces).
You can see the two separate floral pieces here.


I did add the stamp to cover the wire on the back (since the dome can be seen from the backside).
Once the dome was complete, I added the glass to the cork base.  Totally up to you if you secure it with glue.  It doesn't really need it unless it will be handled or moved a lot.
And there it is!  Hope you enjoyed this easy little project!
now carry on,
paula

Thursday, March 12, 2020

Leaving Home Panel

Hello Friends,

I wanted to share a project I created with the new Distress Embossing Glazes.  This is a large Vignette Tray that I flipped over to use the back side.  I love using a Vignette Tray like this because it gives you a great surface to work on and makes the piece easy to hang after it is done.
(Please click on photos to enlarge)

I started by gathering some supplies:
Patterned Paper - From the Abandoned Paper Stash
Worn Wallpaper
Mixed Media Heavystock - used as a plain sheet + the Organic Thinlit
Kraft-Stock - I used gold for the 3D Texture Folder Foundry
Organic Thinlit 
To prepare, I used TWO layers of Weathered Wood embossing glaze over Organic die cut, letting it cool between inking and glazing the second time.
3D Texture Folder Foundry
I used two layers of Hickory Smoke Embossing Glaze over the gold Kraft-Stock to give it a glass like finish.  Because I used a metallic paper coated with a slick finish (unlike the Distress Heavy stock above) you can get a little flaking on corners if you press on it hard like I did when adding Distress Crayon around the edges.  There are plenty of pieces that can be used as patches so if it flaked, I just changed it out.  No big deal - I liked the surface so much that I wasn't willing to change my path.
This piece is all about layering.  First the background, including the giant numbers that can be found in the new Layers Pack - Urban were added to the Vignette Tray with Collage Medium.  Then I moved on to the center collage.  
The boy (Found Relatives pack) and the pencil case were added first and then everything else was built up around them.  The long Pencil box (that the boy is glued to), the playing card and shift key came from the Baseboard pack - Junk Drawer.  They are thick pieces that can stand on their own.  The Butterfly is from Ephemera pack Field Notes and the metal Inventory Tag is from the new Factory Tags pack.  The words have been rubbed with Picket Fence Distress Crayon.
I added the Organic die cut over the Heavystock I colored with Walnut Stain Distress Ink to create contrast.
I also cut two of the Sizzix Mini Globes using the same Kraft Cardstock.  One I left gold and the other I added two layers of Hickory Smoke Distress Glaze.  There are two bingo chips hiding under that globe that raise it off the surface.  Bingo chips and foam squares are very important hidden items that really bring the piece to life with all the layers!

I have to mention the new Stitched Scraps! They are pieces of canvas, felt and linen that have been pre-sewn for you!  I added the eyelet to the end so I could add some string.  The Clippings sticker is from the NEW spiral bound book that we added 2+ pages of new phrases cut from old books (yes, they really are all found in books and cut out by hand).
Here you can see that the Organic die can be used anywhere.  I just cut a piece so that it looks like it is coming out from under the metal corner.  Using a Walnut Stain Crayon helps 'marry' the two pieces together.
You can also see one of the new Label Frames used.  I added paint and Alcohol Ink to age it (fyi: the rivets are already in place so you only have to glue it down!).
I also added Hickory Smoke Glaze over the Typography Letters HOME.  Easy to do and makes a great worn effect.
I just love that one little piece of glazed paper that appears to be holding the surfaces together.  It's a simple detail that just makes me happy.
 I also added some of the new Label Tape at the very end.  The package comes with a roll of letters and a roll of numbers.  Perfect for a lot of occasions.
This is one of my favorite pieces that I made for the Ranger Creativation booth.  I had so much fun with all the new products including the glazes.  I only used them on this project over solid things so the next one will be over patterns and text!  

I'll be back next week with another project, so until then...
carry on,
paula