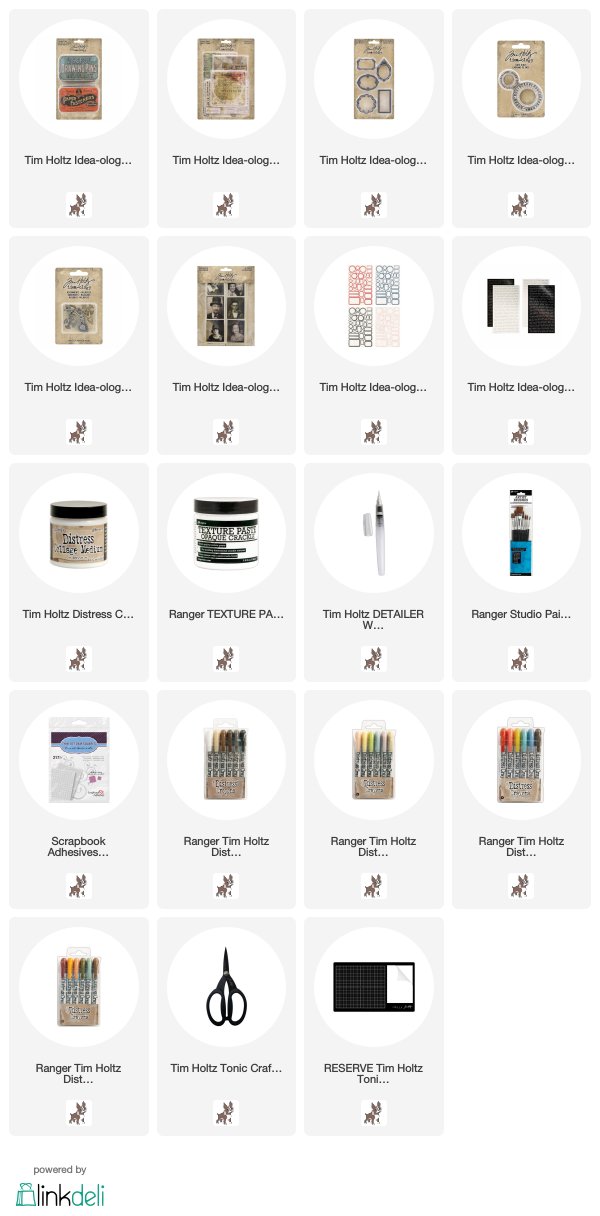
Today i'm sharing an easy little project using a Trinket Tin. I had used Opaque Crackle Texture Paste on Vignette Panels and Collage Paper but never directly on metal so I decided to give that a try.
I sanded the metal just to give it some "tooth" and then wiped the Opaque Crackle over the edges of the lid. Once it was dry I just scribbled Distress Crayon over the crackle and rubbed in it with a wet brush. It's just that easy.
I created the center piece using a few of the new metal pieces, Date Dials and Adornments Deco Frames. I also added a charm from the Adornments Milagros pack to the bottom. It is secured with a foam square so I tucked the loop at the top up under the Deco Frame.
You can see there are holes in the crackle on the left side. I found that when you have larger cracks you can pick at the cracks to create holes in the crackle finish...especially over the painted metal. When you do this technique over paper you often only find a dark spot underneath but the painted metal resists absorption of any ink or crayon so it appears as new.
I used one of the Photobooth pictures from the new pack. There are now 40 strips in the pack (more than before) and we have added new photos along with some old favorites.
You can see everything is layered so that the center is raised up from the tin.
Inside the tin I used the same Journaling Cards as I did in the Petite Fabric Journal but this time I only used the smallest size (seen in the red circle). This size fits perfectly into the Trinket Tin!
I painted the inside of the tin with Media Gesso to again, give the slick metal "tooth" or something for the paint to stick to. Once dry, I painted over the gesso with Weathered Wood Distress Paint, let it dry, then sanded it down on the edges. I added Worn Wallpaper to the little door, coated it with Collage Medium and then "painted" it with Distress Crayon using a damp brush.
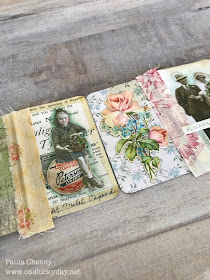
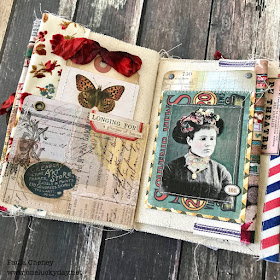
Nine Journaling Cards have been taped together with Design Tape or sewn together with strips of leftover fabric to create a small zig-zag book inside the Trinket Tin. There is no order, I just picked cards I liked and began sewing. I found it was best to sew the cards together first in sets of two and tape the sets together. This way you have visual placement for the Paper Dolls and words.
Speaking of Paper Dolls, these are all from the NEW pack that is now shipping from the warehouse! You should start to see it in stores very quickly.
All the flowers are from the new Layers Botanical that has not started shipping yet but will soon!
All the coloring was done with Distress Crayons and a damp (not wet) Detailer Water Brush.
I popped up some of the girls from the Journaling Card with THIN foam squares. I know I have talked about the Scrapbook Adhesives THIN Foam Squares before, but they are so good that I have to mention them again! They are the perfect 'lift' for most things!
And here is the little book all lined up...this is just my favorite!
I added the following pictures just to show a flat line up. You can see the cards that were sewn together and the ones that were taped on the backside.
The backside - nothing fancy!
I hope you will try this little Trinket Tin idea! It was fun and easy to do and I had the best time coloring all the Paper Dolls...kinda addicting I tell you!
Now carry on,
paula


