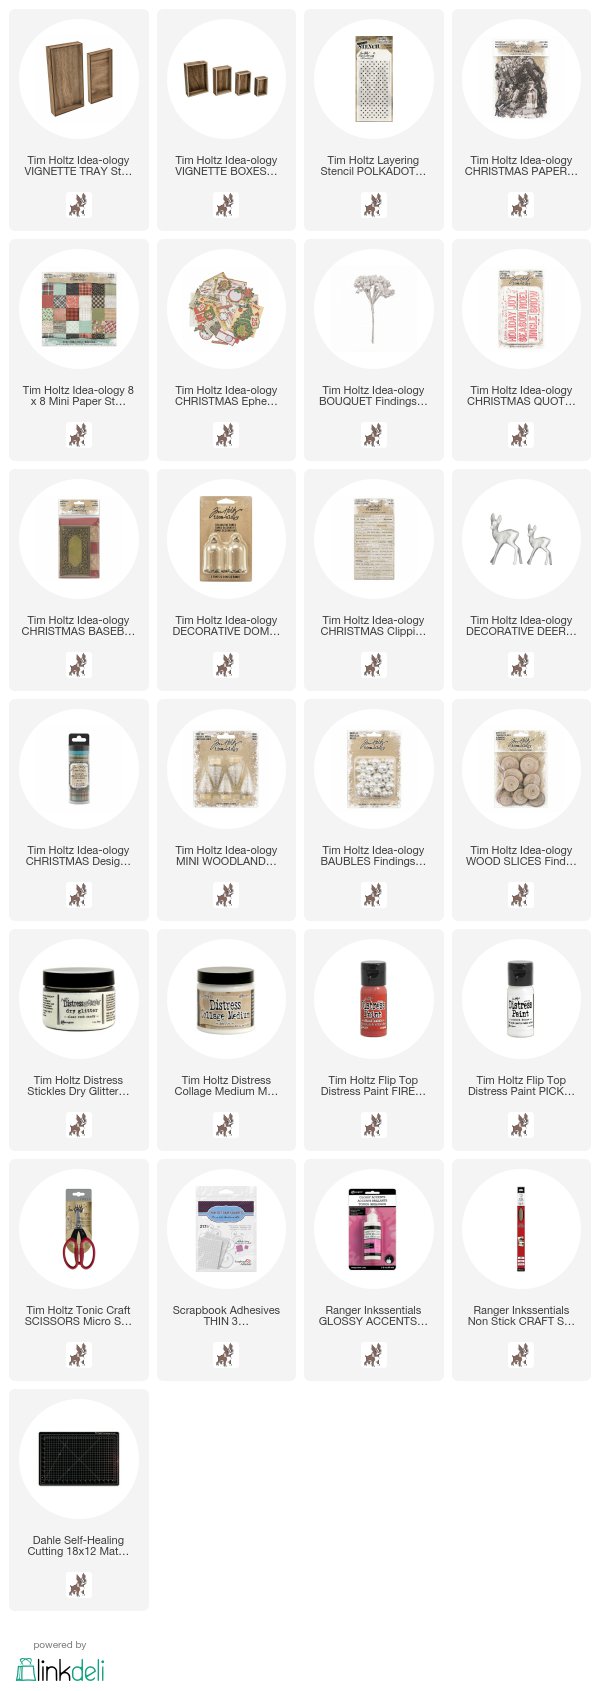
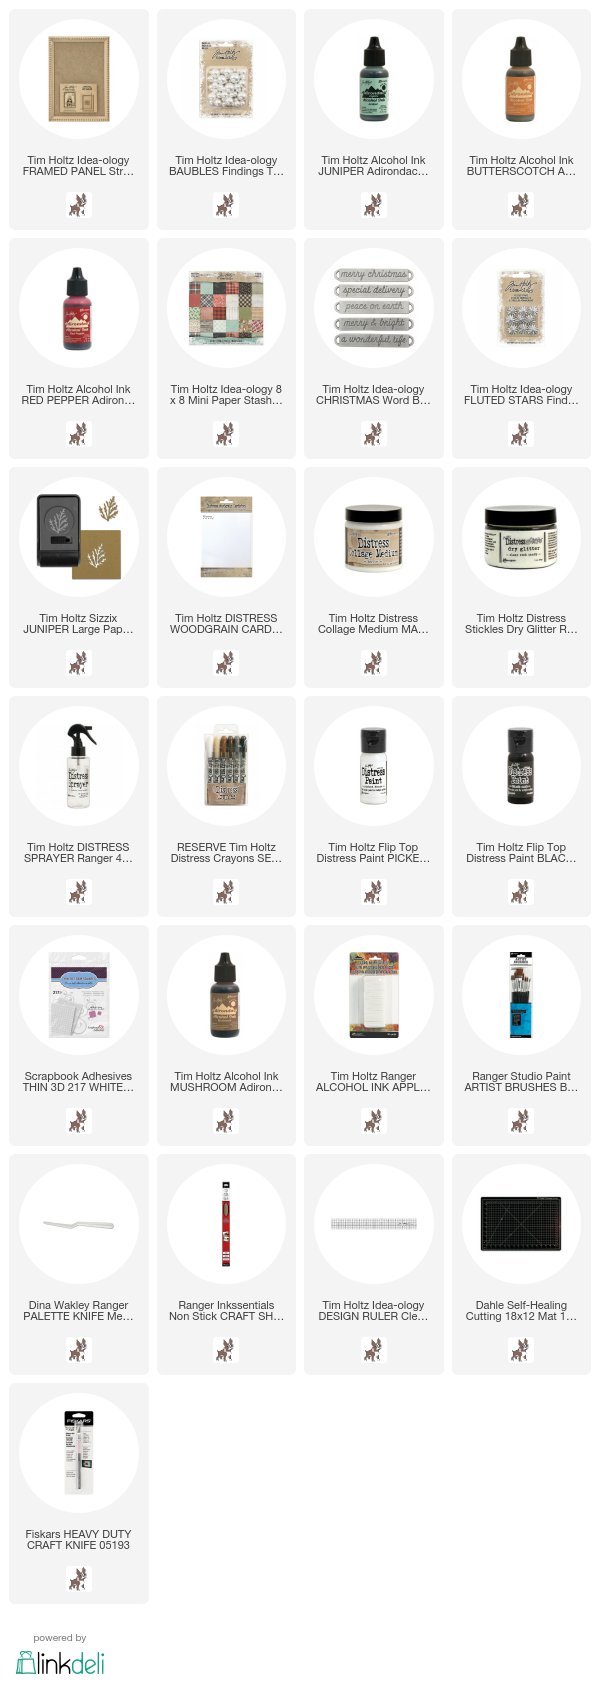
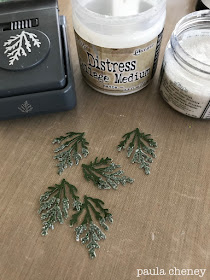
Just a quick pop in today to share the small vignette tray I created for Facebook Live back in the fall. She has been a favorite of students when I have shared her in class so I thought I could pass on some information about how I made it! It's definitely a project you could put together in an afternoon!

I started by painting the small tray with Fired Brick Distress paint (but any red color would do). Once dry I used a palette knife and the Stampers Anonymous Polka Dot stencil to add the Grit-Paste over the red paint. This is tricky because you need about 4 hands but I did it so I know you can too! The hardest part is really the dry time between sides of the tray (in other words I let mine dry on one side before I moved on to the next side). I just worked on getting the pieces ready for the inside while the outside was drying.
1. The box at the bottom is the smallest box from the Vignette Box set. I painted the front lip edge and inside walls with Picket Fence Distress Paint. Once the paint was dry I covered the OUTSIDE of the box with patterned paper (you can see this in the next photo).
2. Add a piece of ephemera to the back of the box with Collage Medium.
3. Paint Collage Medium on the front lip edge of the box and sprinkle it with Clear Rock Candy glitter.
4. Add the Quote Chip, "baby it's cold outside"from the Christmas Quote Chips. Make sure the Quote Chip is flush with the edge of the box so the Decorative Dome can sit on top of it.
5. The inside of the box can be decorated how you wish. I used a Wood Slice, a small Decorative Deer and flower bunches from the Bouquet pack. I wiped each flower with Collage Medium and immersed it in Clear Rock Candy glitter (hard to see the sparkle in the photo though). There are a few Baubles that I also rolled in Collage Medium and Clear Rock Candy to look like snowballs.
6. I added the plaid Design Tape to the inside of the tray (you could also use paper for the step) as well as patterned paper for the background. Now you are ready to add everything else!!
7. Adhere the small Vignette Box to the inside of the tray with Collage Medium.
8. Add a small piece of Warm And Natural (thin cotton batting) to the top of the small box. The batting does NOT run under the dome. If it does, it tends to tip the dome forward. Paint the batting with Collage Medium and sprinkle with Clear Rock Candy.
9. Paint the base of a Mini Tree white. Glue it to the metal base of the Decorative Dome. Let dry.
10. Run a bead of Glossy Accents around the inside edge of the metal base. Then add a very small amount of Clear Rock Candy to the glass dome. In a very quick motion add the two pieces together capturing the "snow" inside. The Glossy Accents will dry clear. Do not pick up until the glue is dry!
11. Adhere the green Baseboard to the back of the tray with foam squares.
12. Adhere ephemera pieces to the green Baseboard. I mounted the poinsettia ephemera onto chipboard and used thin foam squares to mount it to the Base board.
13. The Paper Doll (my favorite) has been colorized with Distress Markers then placed onto the small box with a double stack of foam squares so she is sitting out in front of the ephemera. Layers, layers, layers!
I hope this gives you a few ideas on how to use up your Christmas stash. I know many pieces could be changed up to things you have on hand (I think I have enough stuff on my table right now to create another one, lol).
Happy Holidays!
now carry on,
paula
